由于之前安装双系统时分配给ubuntu的内存比较小,安装各种环境后还是不够用,所以想在windows环境下配置swin transformer。本以为是简单的环境配置,结果却发生了各种意外。错误,比如 xx._ext not found,或者 nms 不支持 GPU,以及其他一些奇怪的问题。 . .
一气之下直接重装了CUDA和anaconda,卸载anaconda的时候真是一把鼻涕一把泪,懂的都懂,就不多说了。
让我们简单看一下安装过程。
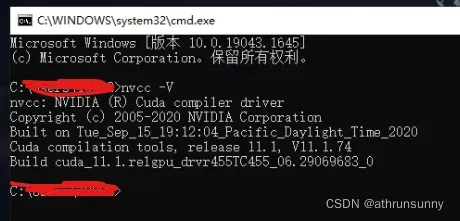
为了能够直接用官方预编译的mmcv-full,我这里直接装了对应的CUDA11.1,这里默认使用CUDA,cpu的环境还没折腾
首先确保电脑上安装了Microsoft Visual Studio2019,并且将cl.exe配置到了环境变量中
像我的一样
C:\Program Files (x86)\Microsoft Visual Studio\2019\Community\VC\Tools\MSVC\14.29.30133\bin\Hostx64\x64
配置完环境变量之后重启下电脑,之后在cmd中输入cl 就会看到如下信息
用于 x64 的 Microsoft (R) C/C++ 优化编译器 19.29.30133 版
版权所有(C) Microsoft Corporation。保留所有权利。用法: cl [ 选项… ] 文件名… [ /link 链接选项… ]
在官方的github上下载源码备用,使用anaconda powershell 创建虚拟环境[0]
conda create -n swin python=3.8
conda activate swin
在swin环境中首先要安装pytorch
pip install torch==1.9.0+cu111 torchvision==0.10.0+cu111 torchaudio==0.9.0 -f https://download.pytorch.org/whl/torch_stable.html这里直接用pip安装,安装过程如果网比较慢可以复制Downloading后面的那个网址到网页上去下载
接下来先安装mmcv,就是这玩意坑死了,装他装的快要砸电脑了。。。官方提供了三种安装方式,一种是懒人一键安装mmcv-full,不过不建议这么做,因为这样下载的是最新的版本(目前1.5.0),而swin transformer支持的最高版本是1.4.0,所以装了能用来推理(需要改一下assert语句),但是训练就会出现什么encoding不对的问题;另一种是使用官方预编译的版本,比较建议使用这个方式;最后就是源码直接编译
1、一键安装
pip install openmim
mim install mmdet
2、预编译
官方网址写的比较明白,这里就不多说了,找到对应的torch版本和cuda版本然后设置好mmcv的版本就可以直接pip安装,不过初次安装时间会比较久[0]
pip install mmcv-full==1.3.9 -f https://download.openmmlab.com/mmcv/dist/cu111/torch1.9.0/index.html我这里安装的是1.3.9的版本,可以使用下面的测试代码看一下,mmcv-full是不是正确被安装
import numpy as np
import torch

from mmcv.ops import box_iou_rotated
from mmcv.utils import collect_env


def check_installation():
    """Check whether mmcv-full has been installed successfully."""
    np_boxes1 = np.asarray(
        [[1.0, 1.0, 3.0, 4.0, 0.5], [2.0, 2.0, 3.0, 4.0, 0.6],
         [7.0, 7.0, 8.0, 8.0, 0.4]],
        dtype=np.float32)
    np_boxes2 = np.asarray(
        [[0.0, 2.0, 2.0, 5.0, 0.3], [2.0, 1.0, 3.0, 3.0, 0.5],
         [5.0, 5.0, 6.0, 7.0, 0.4]],
        dtype=np.float32)
    boxes1 = torch.from_numpy(np_boxes1)
    boxes2 = torch.from_numpy(np_boxes2)

    # test mmcv-full with CPU ops
    box_iou_rotated(boxes1, boxes2)
    print('CPU ops were compiled successfully.')

    # test mmcv-full with both CPU and CUDA ops
    if torch.cuda.is_available():
        boxes1 = boxes1.cuda()
        boxes2 = boxes2.cuda()
        box_iou_rotated(boxes1, boxes2)
        print('CUDA ops were compiled successfully.')
    else:
        print('No CUDA runtime is found, skipping the checking of CUDA ops.')


if __name__ == '__main__':
    print('Start checking the installation of mmcv-full ...')
    check_installation()
    print('mmcv-full has been installed successfully.\n')

    env_info_dict = collect_env()
    env_info = '\n'.join([(f'{k}: {v}') for k, v in env_info_dict.items()])
    dash_line = '-' * 60 + '\n'
    print('Environment information:')
    print(dash_line + env_info + '\n' + dash_line)
运行后会显示
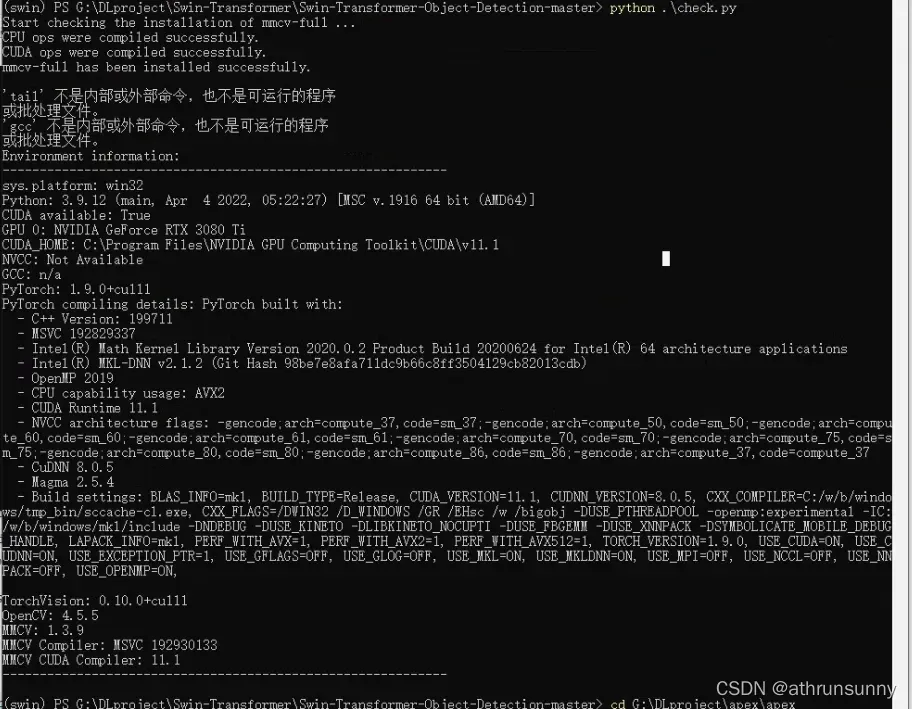
这样就表示安装成功了,这样就可以放心执行之后的步骤,不然后面都是在浪费时间,官网的步骤是接下来直接安装mmdet,不过这里不建议这么干,后面配置工程的时候会安装指定版本的mmdet。
3、从源码安装
从github上下载需要的mmcv release版本,cd到对应的目录下,按照guide安装即可,或者简单build[0][1]
#build
python setup.py build_ext
# install
python setup.py develop
之后编译apex,从github上clone下apex,cd到对应目录[0]
pip install -v --no-cache-dir .或直接
python setup.py install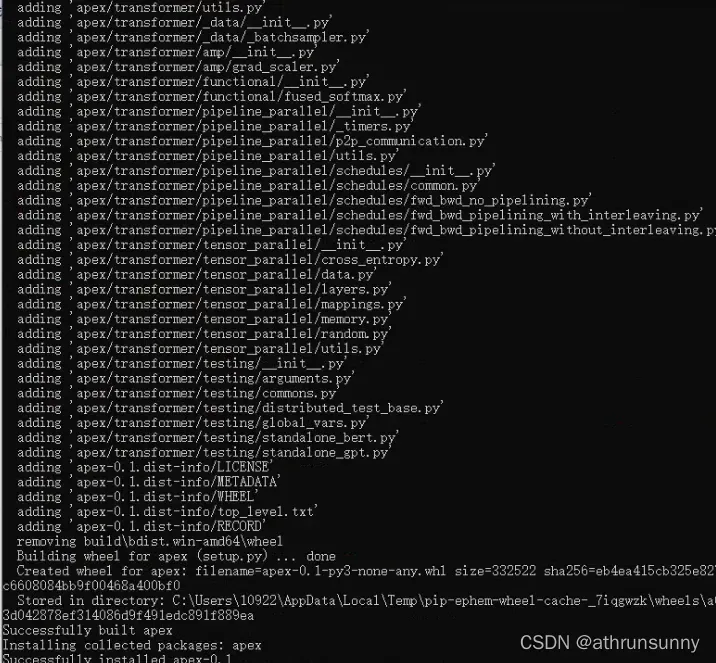
最后就是配置工程,先安装相应的依赖,cd到swin transformer工程路径
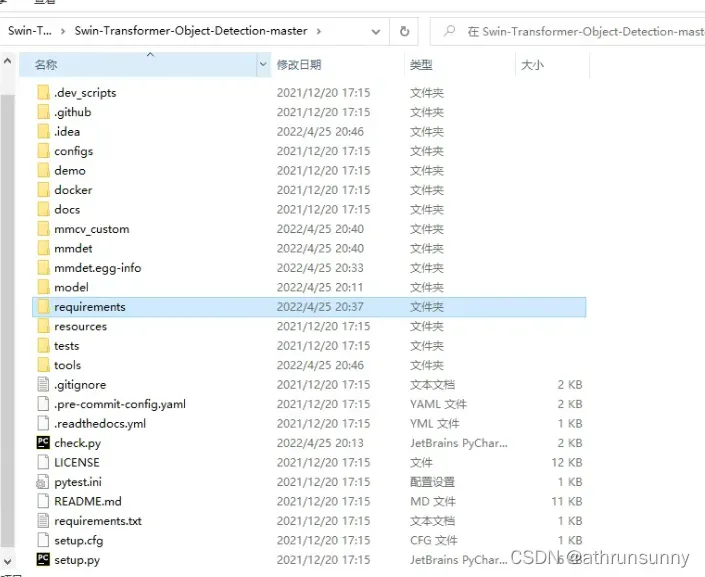
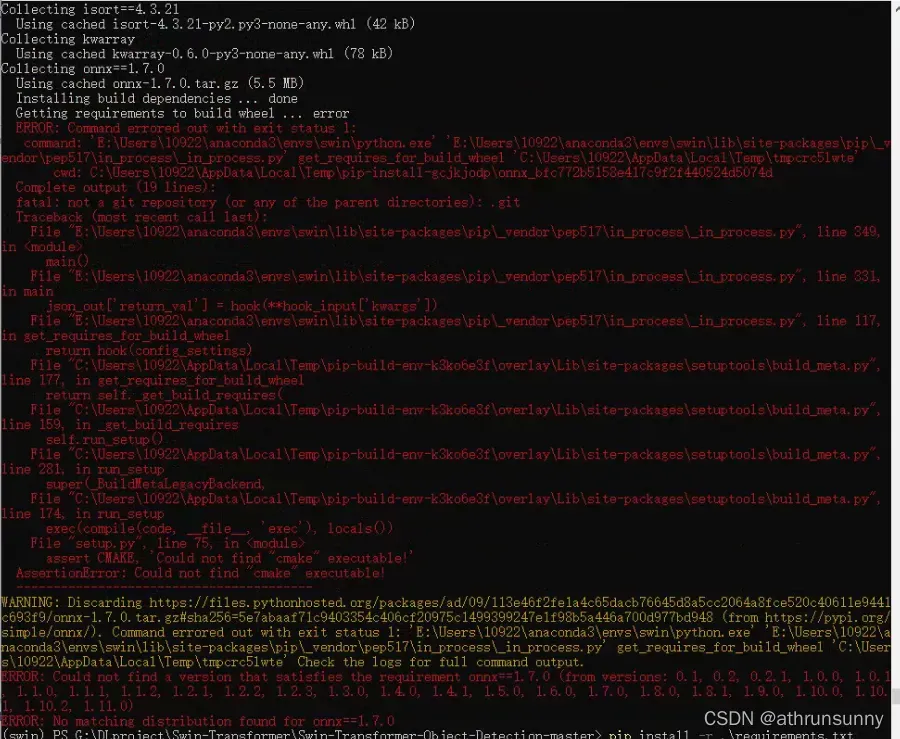
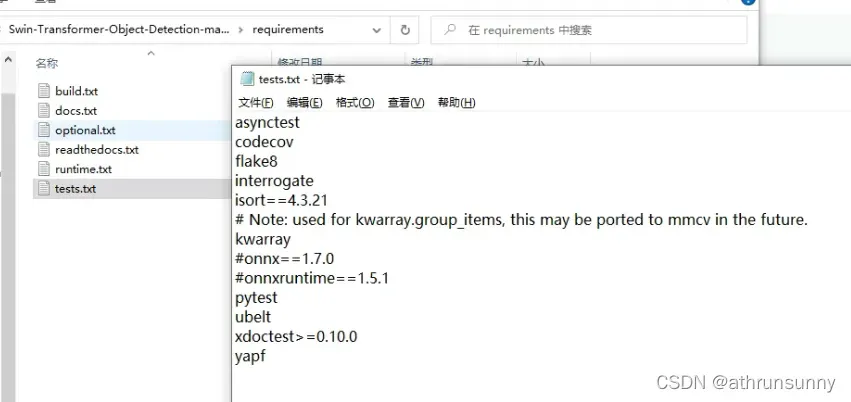
pip install -r requirements.txt
这里有一点要提一下,安装时先把requirements文件夹中的test.txt中的onnx注释掉,不然编译的时候会报错,提示找不到对应的onnx版本,其实是有的。。。
安装依赖项后
python setup.py develop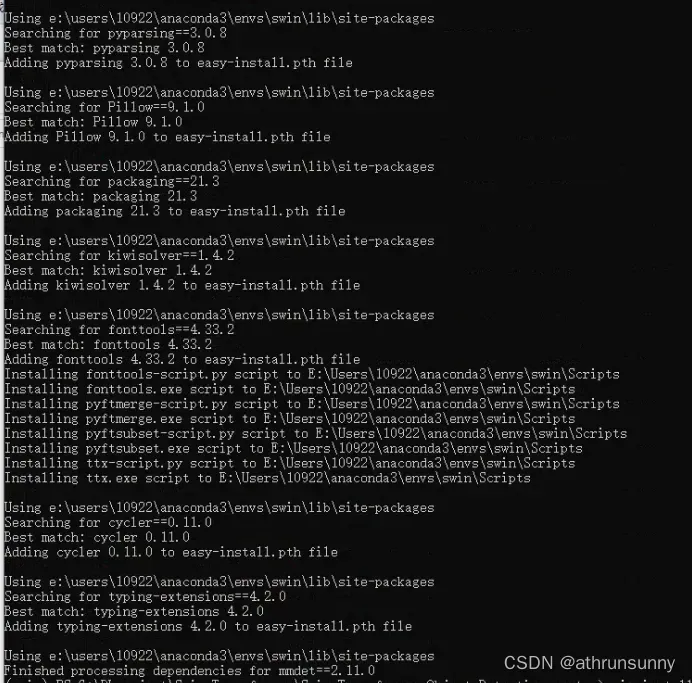
到这里环境基本搭建好了
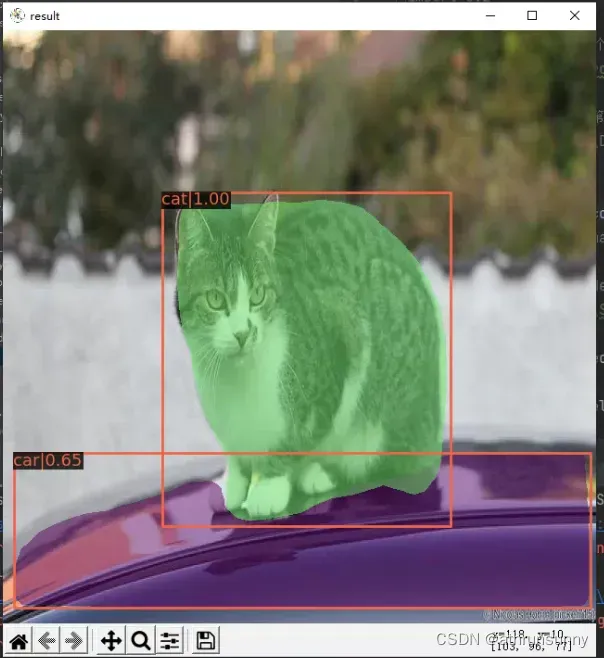
可以在swin transformer工程文件夹下创建test.py来测试一下环境是否可行
from mmdet.apis import init_detector, inference_detector, show_result_pyplot

# configs路径
config_file = r'G:\DLproject\Swin_Transformer\configs\swin\mask_rcnn_swin_tiny_patch4_window7_mstrain_480-800_adamw_1x_coco.py'

# 这个就是权重文件,可自行到官方github上下载
checkpoint_file = r'G:\DLproject\Swin_Transformer\model\mask_rcnn_swin_tiny_patch4_window7_1x.pth'
device = 'cuda:0'
# init a detector
model = init_detector(config_file, checkpoint_file, device=device)
# inference the demo image

# 测试图片
image = r'G:\DLproject\Swin_Transformer\demo\demo.jpg'

result = inference_detector(model, image)

show_result_pyplot(model, image, result, score_thr=0.3)
测试结果:
文章出处登录后可见!