环境
这里我用的linux下kali虚拟机。
Anaconda环境,pycharm编译器。python3.6.13
主包
# 直接就是清华源下载,清华源是真的好用,谁用谁知道
pip install --user -i https://pypi.tuna.tsinghua.edu.cn/simple numpy
pip install --user -i https://pypi.tuna.tsinghua.edu.cn/simple scipy
pip install --user -i https://pypi.tuna.tsinghua.edu.cn/simple hmmlearn
pip install --user -i https://pypi.tuna.tsinghua.edu.cn/simple python_speech_features
环境展示
这里使用的音频一词是我们在上一篇文章中通过文本发音保存的音频。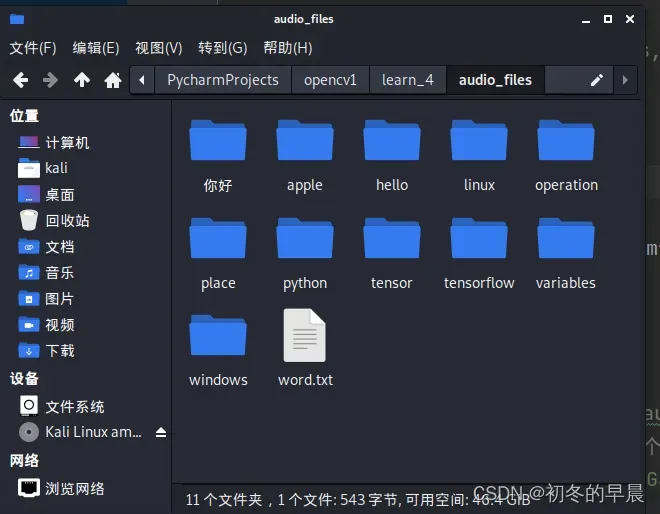
写作过程
1.导入相关包
# 利用隐马尔科夫模型进行语音识别
# 隐马尔科夫模型(Hidden Markov Models,HMM)
import os
import argparse
import numpy as np
from scipy.io import wavfile
from hmmlearn import hmm
from python_speech_features import mfcc
2.定义类来创建隐马尔科夫模型
# 1.定义一个类来创建隐马尔科夫模型
class HMMTrainer(object):
    # 初始化类。下面用到高斯隐马尔科夫(Gaussion HMMs)来对数据建模。
    # 参数n_components定义了隐藏状态的个数,参数cov_type定义了转移矩阵的协方差类型,参数n_iter定义了训练的迭代次数
    def __init__(self, model_name='GaussianHMM', n_components=4, cov_type='diag', n_iter=1000):
        # 初始化变量
        self.model_name = model_name
        self.n_components = n_components
        self.cov_type = cov_type
        self.n_iter = n_iter
        self.models = []
        # 用以下参数定义模型
        if self.model_name == 'GaussianHMM':
            self.model = hmm.GaussianHMM(n_components=self.n_components,
                                         covariance_type=self.cov_type, n_iter=self.n_iter)
        else:
            raise TypeError('Invalid model type')

    # 输入数据是一个numpy数组,数组的每个元素都是一个特征向量,每个特征向量都包含k个纬度
    def train(self, X):
        np.seterr(all='ignore')
        self.models.append(self.model.fit(X))

    # 基于该模型定义一个提取分数的方法
    # 对输入数据运行模型
    def get_score(self, input_data):
        return self.model.score(input_data)
3.定义一个函数来解析其中的命令
# 2.定义一个函数来解析命令行中的输入参数
def build_arg_parse():
    parser = argparse.ArgumentParser(description='Trains the HMM classifier')
    parser.add_argument("--input-folder", dest="input_folder", required=True,
                        help="Input folder containing the audio files insubfolders")
    return parser
4.定义主函数
# 3.定义main函数,解析输入参数
if __name__ == '__main__':
args = build_arg_parse().parse_args()
input_folder = args.input_folder
# print(input_folder)
# 4.初始化隐马尔科夫模型的变量
hmm_models = []
# 5.解析包含所有数据库音频文件的输入路径
for dirname in os.listdir(input_folder):
# 6.提取子文件夹的名称
subfolder = os.path.join(input_folder, dirname)
# print(subfolder)
if not os.path.isdir(subfolder):
continue
# print(dirname)
# 7.子文件夹的名称即为该类的标记。
label = subfolder[subfolder.rfind('/') + 1:]
# print(label)
# 8.初始化用于训练的量
X = np.array([])
y_words = []
# 9.迭代每一个子文件夹中的音频文件:
"""
for x in os.listdir(subfolder):
if x.endswith('.wav'):
print(x)
"""
for filename in [x for x in os.listdir(subfolder) if x.endswith('.wav')]:
print(filename)
# 10.读取每个音频文件
filepath = os.path.join(subfolder, filename)
# print(filepath)
sampling_freq, audio = wavfile.read(filepath)
print(sampling_freq)
# 11.提取MFCC特征
mfcc_features = mfcc(audio, sampling_freq)
# 12.将MFCC特征添加到X变量
if len(X) == 0:
X = mfcc_features
else:
X = np.append(X, mfcc_features, axis=0)
# 13.同时添加标记信息
y_words.append(label)
# print(y_words)
# 14.一旦提取完当前类所有文件的特征,就可以训练并保存隐马尔科夫模型了。
# 因为隐马尔科夫模型是一个无监督学习的生成模型,所以并不需要利用标记针对每一类构建隐马尔科夫模型
# 假设每个类都将构建一个隐马尔科夫模型
# 训练并保存HMM模型
hmm_trainer = HMMTrainer()
hmm_trainer.train(X)
hmm_models.append((hmm_trainer, label))
hmm_trainer = None
# 15.获取一个未被用于训练的测试文件列表
input_files = ['audio_files/hello/hello.wav',
'audio_files/linux/linux.wav',
'audio_files/python/python.wav',
'audio_files/windows/windows.wav',
'audio_files/你好/你好.wav',
'audio_files/place/place.wav',
'audio_files/variables/variables.wav']
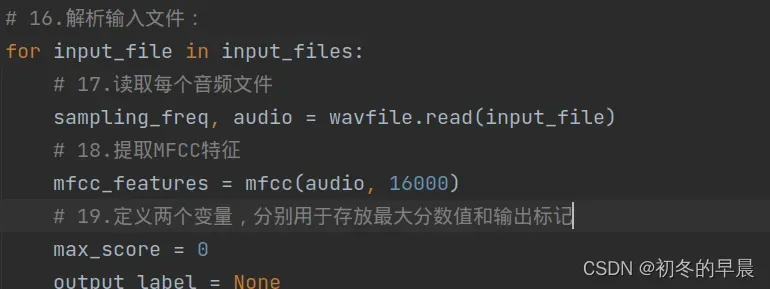
# 16.解析输入文件:
for input_file in input_files:
# 17.读取每个音频文件
sampling_freq, audio = wavfile.read(input_file)
# 18.提取MFCC特征
mfcc_features = mfcc(audio, sampling_freq)
# 19.定义两个变量,分别用于存放最大分数值和输出标记
max_score = 0
output_label = None
# 20.迭代所有模型,并通过所有模型运行输入文件
for item in hmm_models:
hmm_model, label = item
# 21.提取分数,并保存最大分数值
score = hmm_model.get_score(mfcc_features)
if score > max_score:
max_score = score
output_label = label
# 21.打印结果
print('\nTrue:', input_file[input_file.find('/') + 1:input_file.rfind('/')])
print('Predicted:', output_label)
5.运行,这里运行是在终端进行运行的。
python speech_recognizer.py --input-folder audio_files

防范措施
运行上面的代码,有一个问题: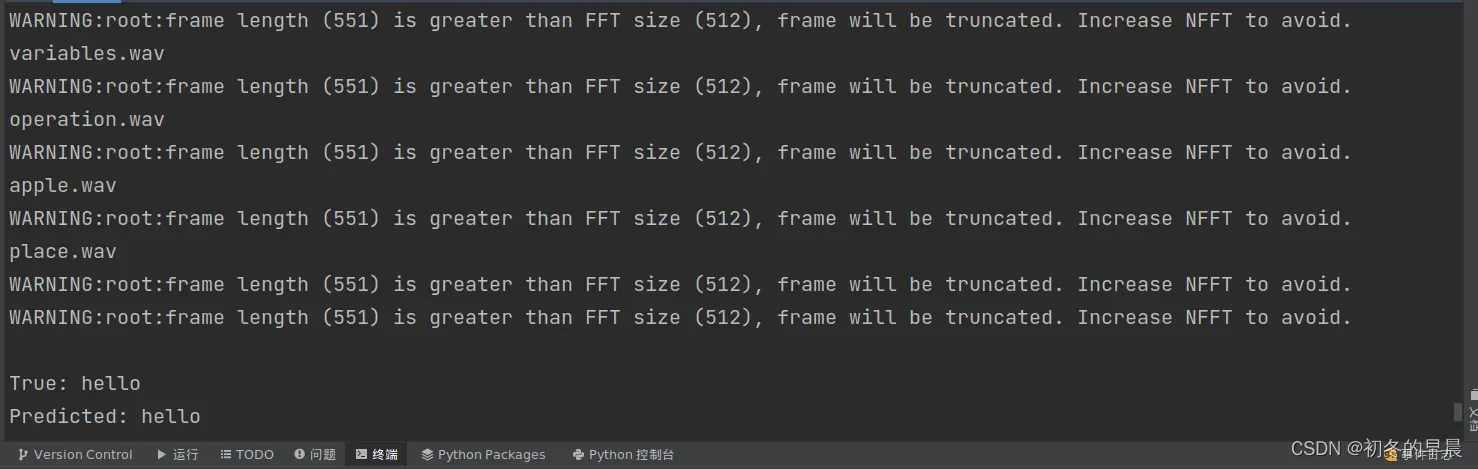
此错误不影响操作,但影响语音识别的准确性。
解决:网上查找资料说是帧率的问题。需要把22kHz帧率改为16kHz.
原回答:https://github.com/mozilla/DeepSpeech/issues/1888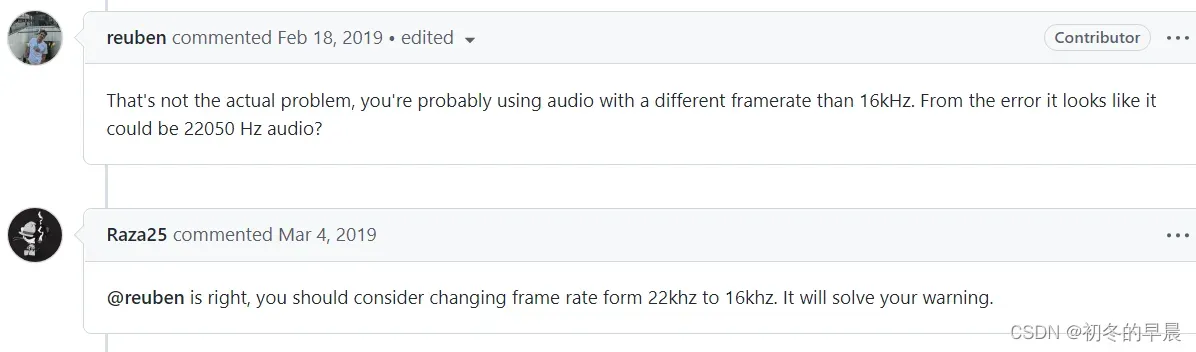
根据提示,我尝试输出帧率,发现确实是22kHz帧率。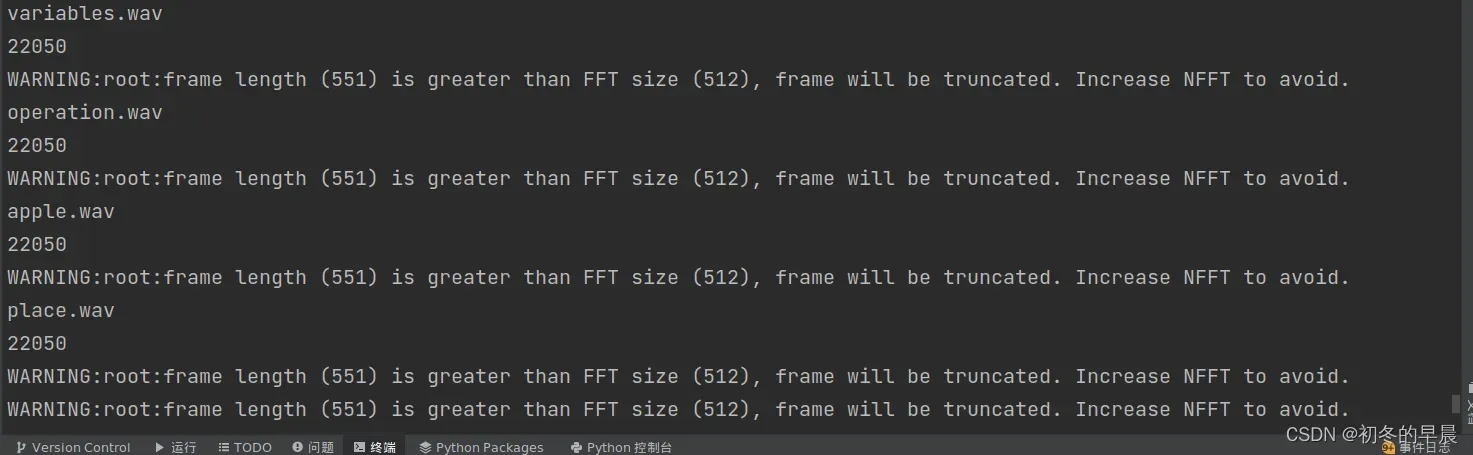
然后就是改变帧率:有两个地方要改变: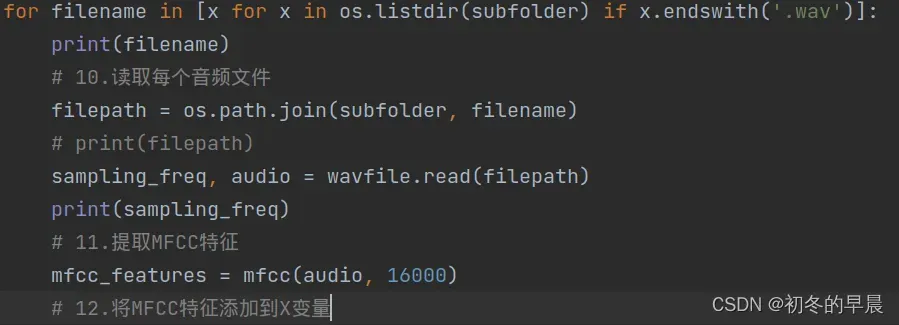
改变帧率后,语音的识别率也提升了很多。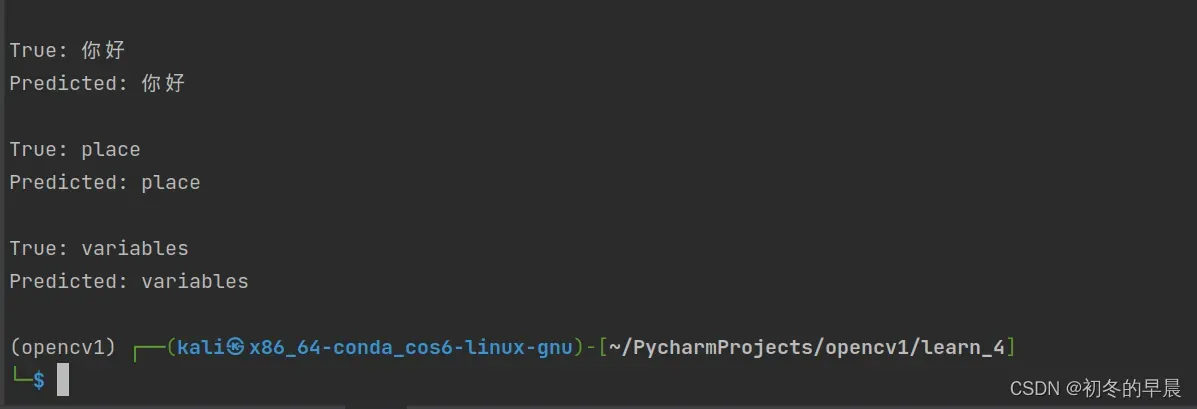
相关书籍
代码参考
本文代码基本仿照《Python 机器学习经典实例》完成。
	英文名:《Python Machine Learning Cookbook》
基础知识学习
深度学习基础知识我参考的是:
	《Python深度学习-基于TensorFlow》
完整代码
# 利用隐马尔科夫模型进行语音识别
# 隐马尔科夫模型(Hidden Markov Models,HMM)
import os
import argparse
import numpy as np
from scipy.io import wavfile
from hmmlearn import hmm
from python_speech_features import mfcc


# 1.定义一个类来创建隐马尔科夫模型
class HMMTrainer(object):
    # 初始化类。下面用到高斯隐马尔科夫(Gaussion HMMs)来对数据建模。
    # 参数n_components定义了隐藏状态的个数,参数cov_type定义了转移矩阵的协方差类型,参数n_iter定义了训练的迭代次数
    def __init__(self, model_name='GaussianHMM', n_components=4, cov_type='diag', n_iter=1000):
        # 初始化变量
        self.model_name = model_name
        self.n_components = n_components
        self.cov_type = cov_type
        self.n_iter = n_iter
        self.models = []
        # 用以下参数定义模型
        if self.model_name == 'GaussianHMM':
            self.model = hmm.GaussianHMM(n_components=self.n_components,
                                         covariance_type=self.cov_type, n_iter=self.n_iter)
        else:
            raise TypeError('Invalid model type')

    # 输入数据是一个numpy数组,数组的每个元素都是一个特征向量,每个特征向量都包含k个纬度
    def train(self, X):
        np.seterr(all='ignore')
        self.models.append(self.model.fit(X))

    # 基于该模型定义一个提取分数的方法
    # 对输入数据运行模型
    def get_score(self, input_data):
        return self.model.score(input_data)


# 2.定义一个函数来解析命令行中的输入参数
def build_arg_parse():
    parser = argparse.ArgumentParser(description='Trains the HMM classifier')
    parser.add_argument("--input-folder", dest="input_folder", required=True,
                        help="Input folder containing the audio files insubfolders")
    return parser


# 3.定义main函数,解析输入参数
if __name__ == '__main__':
    args = build_arg_parse().parse_args()
    input_folder = args.input_folder
    # print(input_folder)
    # 4.初始化隐马尔科夫模型的变量
    hmm_models = []
    # 5.解析包含所有数据库音频文件的输入路径
    for dirname in os.listdir(input_folder):
        # 6.提取子文件夹的名称
        subfolder = os.path.join(input_folder, dirname)
        # print(subfolder)
        if not os.path.isdir(subfolder):
            continue
        # print(dirname)
        # 7.子文件夹的名称即为该类的标记。
        label = subfolder[subfolder.rfind('/') + 1:]
        # print(label)
        # 8.初始化用于训练的量
        X = np.array([])
        y_words = []
        # 9.迭代每一个子文件夹中的音频文件:
        """
        for x in os.listdir(subfolder):
            if x.endswith('.wav'):
                print(x)
        """
        for filename in [x for x in os.listdir(subfolder) if x.endswith('.wav')]:
            print(filename)
            # 10.读取每个音频文件
            filepath = os.path.join(subfolder, filename)
            # print(filepath)
            sampling_freq, audio = wavfile.read(filepath)
            print(sampling_freq)
            # 11.提取MFCC特征
            mfcc_features = mfcc(audio, 16000)
            # 12.将MFCC特征添加到X变量
            if len(X) == 0:
                X = mfcc_features
            else:
                X = np.append(X, mfcc_features, axis=0)
            # 13.同时添加标记信息
            y_words.append(label)
        # print(y_words)
        # 14.一旦提取完当前类所有文件的特征,就可以训练并保存隐马尔科夫模型了。
        # 因为隐马尔科夫模型是一个无监督学习的生成模型,所以并不需要利用标记针对每一类构建隐马尔科夫模型
        # 假设每个类都将构建一个隐马尔科夫模型
        # 训练并保存HMM模型
        hmm_trainer = HMMTrainer()
        hmm_trainer.train(X)
        hmm_models.append((hmm_trainer, label))
        hmm_trainer = None
    # 15.获取一个未被用于训练的测试文件列表
    input_files = ['audio_files/hello/hello.wav',
                   'audio_files/linux/linux.wav',
                   'audio_files/python/python.wav',
                   'audio_files/windows/windows.wav',
                   'audio_files/你好/你好.wav',
                   'audio_files/place/place.wav',
                   'audio_files/variables/variables.wav']
    # 16.解析输入文件:
    for input_file in input_files:
        # 17.读取每个音频文件
        sampling_freq, audio = wavfile.read(input_file)
        # 18.提取MFCC特征
        mfcc_features = mfcc(audio, 16000)
        # 19.定义两个变量,分别用于存放最大分数值和输出标记
        max_score = 0
        output_label = None
        # 20.迭代所有模型,并通过所有模型运行输入文件
        for item in hmm_models:
            hmm_model, label = item
            # 21.提取分数,并保存最大分数值
            score = hmm_model.get_score(mfcc_features)
            if score > max_score:
                max_score = score
                output_label = label
        # 21.打印结果
        print('\nTrue:', input_file[input_file.find('/') + 1:input_file.rfind('/')])
        print('Predicted:', output_label)
文章出处登录后可见!
已经登录?立即刷新