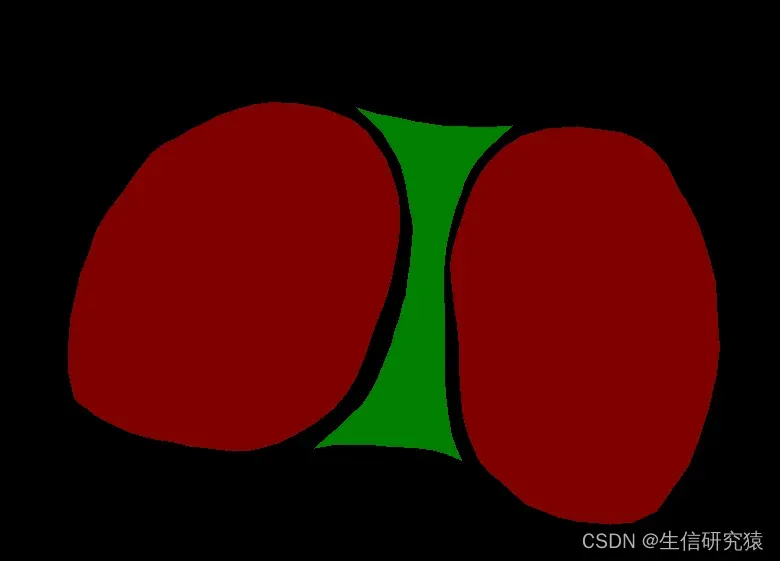
1.效果:将图片中的红绿两色互换
input:

output:
2.实现过程
2.1 查看要变换颜色的RGB值
将图片用画图工具打开,用取色器点击要转换的颜色区域,获得RGB值
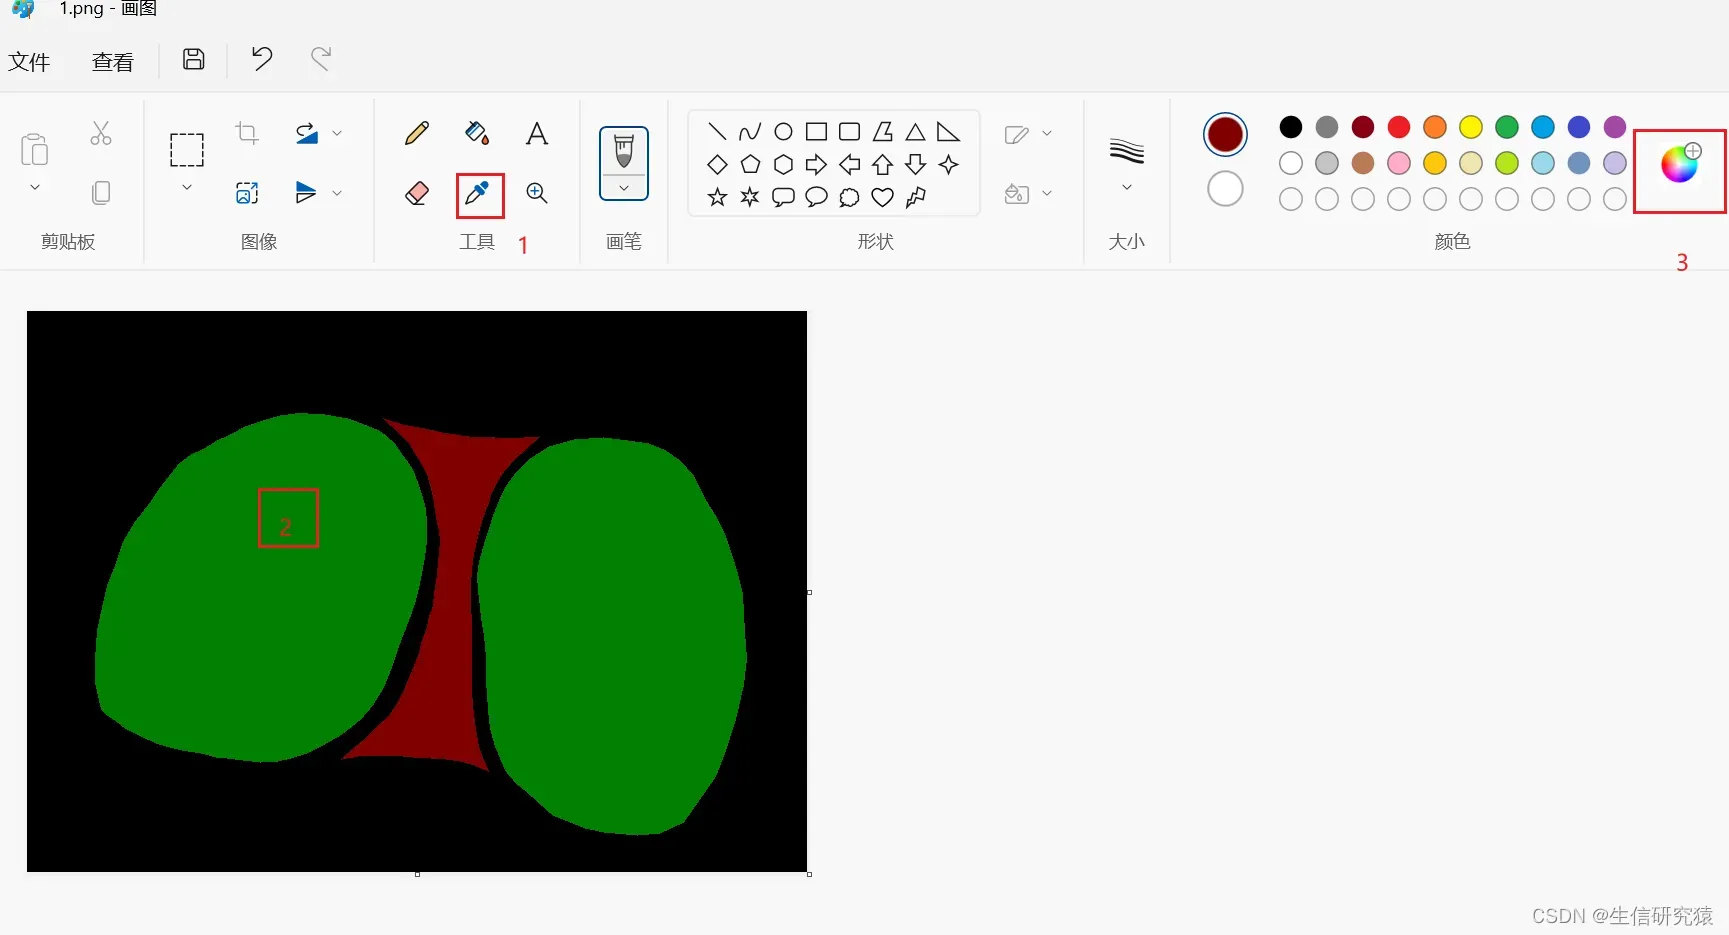
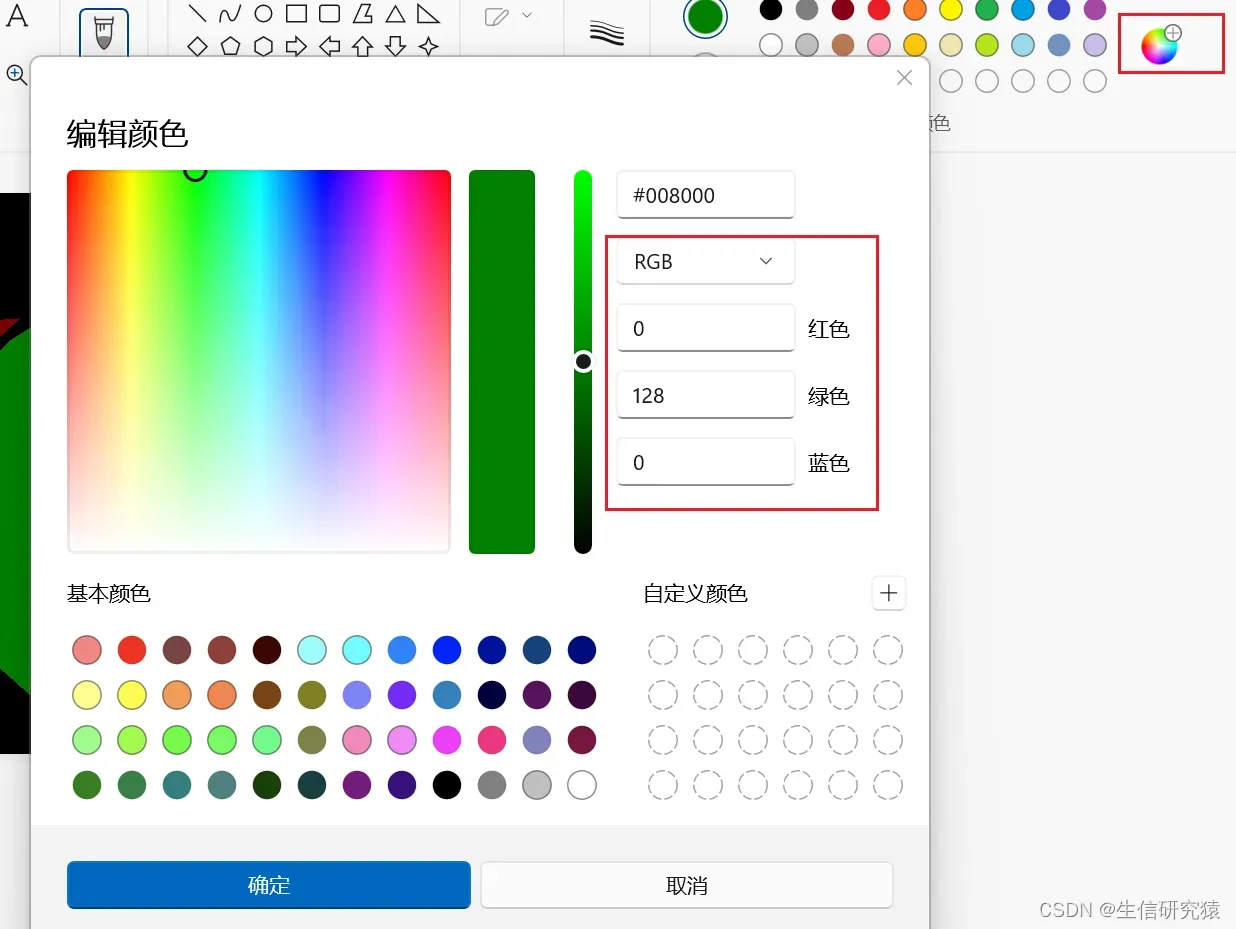 最终获得所需RGB,本例图片红色的RGB为128 0 0 ,绿色的RGB为0 128 0
2.2代码(转换单张图片)
注:在python中numpy数组存储的每个像素点的RGB顺序其实是BGR,所以代码中像素点代表红色的numpy数组是[0 0 128],而绿色不变仍是[0 128 0]
还要注意numpy与list的区别,numpy数组无逗号,如[0 0 128],转为list型是[0 ,0,128]
# This is a sample Python script.

# Press Shift+F10 to execute it or replace it with your code.
# Press Double Shift to search everywhere for classes, files, tool windows, actions, and settings.
#from filecmp import cmp

import cv2
import operator

import numpy as np

def img_input(img_path):
    img = cv2.imread(img_path)  # 使用 cv2 来打开图片
    return img


def trans(img):#转换颜色
    img2 = img
    Size = img.shape
    width = Size[0]
    length = Size[1]
    num = Size[2]
    list1_red = [0, 0, 128]
    list2_green = [0,128,0]
    for i in range(0,width):
        for j in range(0,length):
            if operator.eq(img[i][j].tolist(),list1_red) == True:
                img2[i][j] = np.array([0,128,0])
            elif operator.eq(img[i][j].tolist(),list2_green) == True:
                img2[i][j] = np.array([0, 0, 128])
    return img2


if __name__ == '__main__':
    img_path = "E:\\input\\1.png"
    img = img_input(img_path)
    img2 = trans(img)
    cv2.imwrite(filename="E:\\output\\1.png",img = img2)
    #cv2.imshow("img", img)
    #cv2.waitKey(0)
2.3代码(批量转换图片)
以10张图片为例,可修改代码改变图片数量(图片格式png,jpg也可以在代码中修改)
原图片:

代码运行后:

# This is a sample Python script.

# Press Shift+F10 to execute it or replace it with your code.
# Press Double Shift to search everywhere for classes, files, tool windows, actions, and settings.
#from filecmp import cmp

import cv2
import operator

import numpy as np

def img_input(img_path):
    img = cv2.imread(img_path)  # 使用 cv2 来打开图片
    return img


def trans(img):
    img2 = img
    Size = img.shape  #获得一个元组,存储图片的numpy数组长宽等信息
    width = Size[0]
    length = Size[1]
    num = Size[2]  #num应该是3,代表一个像素点的RGB值[a b c]
    list1_red = [0, 0, 128]
    list2_green = [0,128,0]
    for i in range(0,width):
        for j in range(0,length):
            if operator.eq(img[i][j].tolist(),list1_red) == True:
                img2[i][j] = np.array([0,128,0])
            elif operator.eq(img[i][j].tolist(),list2_green) == True:
                img2[i][j] = np.array([0, 0, 128])
    return img2


# Press the green button in the gutter to run the script.
if __name__ == '__main__':
    # print_hi('PyCharm')
    dir_path = "E:\\input\\"
    for i in range(1,11):
        img_path = dir_path + str(i) + ".png"
        img = img_input(img_path)
        img2 = trans(img)
        cv2.imwrite(filename="E:\\output\\"+str(i)+".png", img=img2)

    #cv2.imshow("img", img)
    #cv2.waitKey(0)
文章出处登录后可见!
已经登录?立即刷新