yolo-pose的文件下载
链接:https://pan.baidu.com/s/1vFXTMTVUKQDYpA8AYWGkFQ
提取码:本人QQ 2241007915
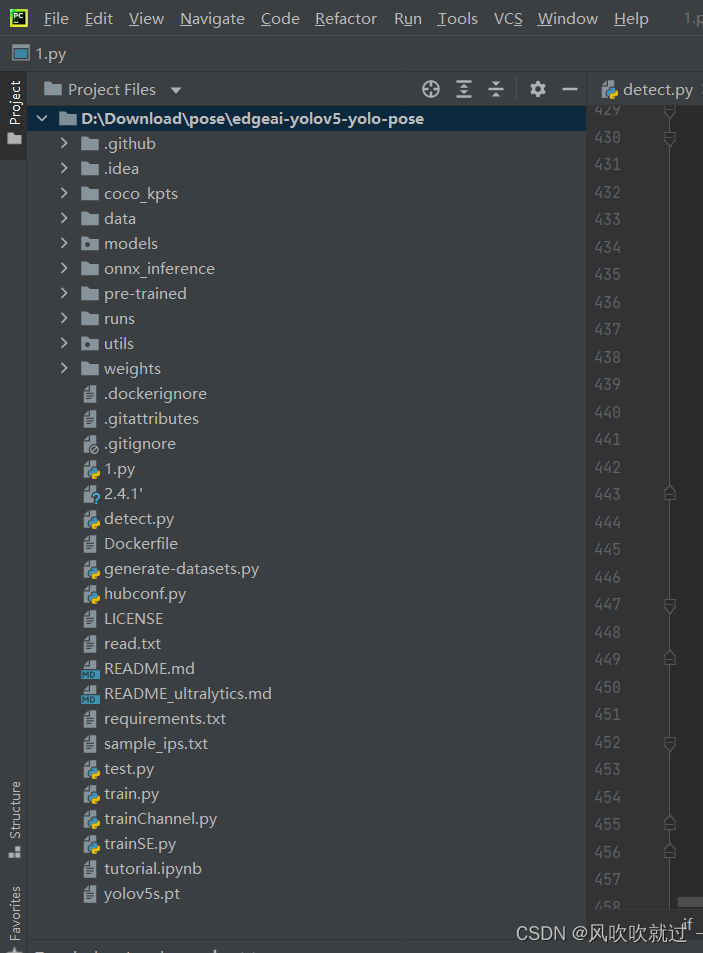
一、制作数据集
这里我使用的是coco2017的数据集,数据集的下载地址为:
COCO 2017 数据集下载 – 腾讯云开发者社区-腾讯云 (tencent.com)![]() https://cloud.tencent.com/developer/article/1765601COCO 2017数据集包含:
https://cloud.tencent.com/developer/article/1765601COCO 2017数据集包含:
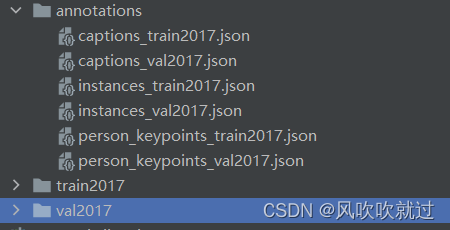
可以看到coco2017的标签文件为.json格式,而yolopose这个网络训练的时候需要改成YOLO格式(也就是.txt),大家使用这个程序将person_keypoints_train2017.json和person_keypoints_val2017.json转换成.txt即可
#COCO 格式的数据集转化为 YOLO 格式的数据集
#--json_path 输入的json文件路径
#--save_path 保存的文件夹名字,默认为当前目录下的labels。

import os
import json
from tqdm import tqdm
import argparse

parser = argparse.ArgumentParser()
#这里根据自己的json文件位置,换成自己的就行
parser.add_argument('--json_path', default='coco_kpts/annotations/instances_val2017.json',type=str, help="input: coco format(json)")
#这里设置.txt文件保存位置
parser.add_argument('--save_path', default='coco_kpts/labels/val2017', type=str, help="specify where to save the output dir of labels")
arg = parser.parse_args()

def convert(size, box):
    dw = 1. / (size[0])
    dh = 1. / (size[1])
    x = box[0] + box[2] / 2.0
    y = box[1] + box[3] / 2.0
    w = box[2]
    h = box[3]
#round函数确定(xmin, ymin, xmax, ymax)的小数位数
    x = round(x * dw, 6)
    w = round(w * dw, 6)
    y = round(y * dh, 6)
    h = round(h * dh, 6)
    return (x, y, w, h)

if __name__ == '__main__':
    json_file =   arg.json_path # COCO Object Instance 类型的标注
    ana_txt_save_path = arg.save_path  # 保存的路径

    data = json.load(open(json_file, 'r'))
    if not os.path.exists(ana_txt_save_path):
        os.makedirs(ana_txt_save_path)

    id_map = {} # coco数据集的id不连续!重新映射一下再输出!
    with open(os.path.join(ana_txt_save_path, 'classes.txt'), 'w') as f:
        # 写入classes.txt
        for i, category in enumerate(data['categories']):
            f.write(f"{category['name']}\n")
            id_map[category['id']] = i
    # print(id_map)
    #这里需要根据自己的需要,更改写入图像相对路径的文件位置。
    list_file = open(os.path.join(ana_txt_save_path, 'train2017.txt'), 'w')
    for img in tqdm(data['images']):
        filename = img["file_name"]
        img_width = img["width"]
        img_height = img["height"]
        img_id = img["id"]
        head, tail = os.path.splitext(filename)
        ana_txt_name = head + ".txt"  # 对应的txt名字,与jpg一致
        f_txt = open(os.path.join(ana_txt_save_path, ana_txt_name), 'w')
        for ann in data['annotations']:
            if ann['image_id'] == img_id:
                box = convert((img_width, img_height), ann["bbox"])
                f_txt.write("%s %s %s %s %s\n" % (id_map[ann["category_id"]], box[0], box[1], box[2], box[3]))
        f_txt.close()
        #将图片的相对路径写入train2017或val2017的路径
        list_file.write('train2017/%s.jpg\n' %(head))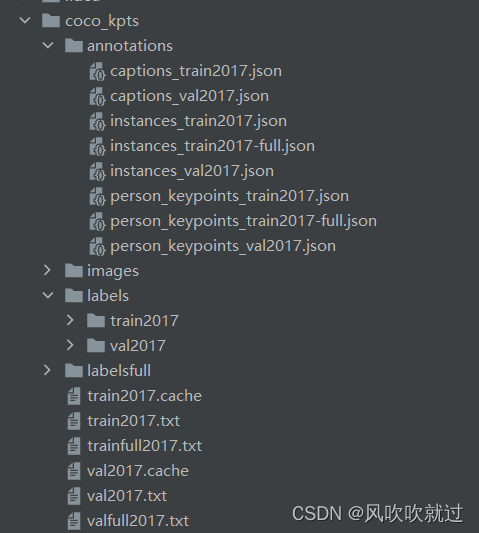
list_file.close()注意:annotations中为下载的coco数据集的标签文件(.json格式),labels中的标签文件格式为(.txt) train2017.txt为训练的时候需要加载的图片路径 val2017.txt为验证的时候加载的图片路径 ,train2017.cache和val2017.cache(不用管,训练的时候自动生成)
二、训练
大家数据集按照我的方式准备好之后,就可以开始进行人体关键的训练了,使用以下命令
python train.py --data coco_kpts.yaml --cfg yolov5s6_kpts.yaml --batch-size 4 --img 640 --kpt-label注意:这里大家会有个疑问 ,找不到 yolov5s6_kpts.yaml这个文件(这样运行不会出现错误的,因为–cfg 会重新根据配置文件对网络进行构建,–weights是加载已经训练好的预训练模),这里可以直接使用预训练权重yolov5s.pt文件进行训练
中断之后继续上次训练
python train.py --resume runs/exp0/weights/last.pt --data coco_kpts.yaml --cfg yolov5s6_kpts.yaml --batch-size 4 --img 640 --kpt-label
三、预测
1.摄像头
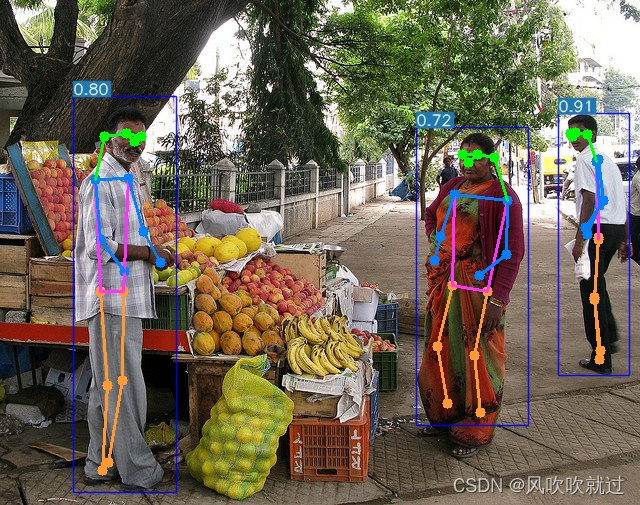
python detect.py --source 0 --kpt-label2.单张图片
python detect.py --source data/images/000000069356.jpg --kpt-label预测效果如下:
3.文件夹图片
python detect.py --source data/images --kpt-label整个程序的环境配置好之后就可以进行训练和预测,这里提供的源码里面包括了数据集,按照命令可以很轻松的进行部署。
文章出处登录后可见!