前言
ChatGPT最近挺火的,据说还能写程序,感到有些惊讶。于是在使用ChatGPT有一周左右后,分享一下用它写程序的效果如何。
1、对于矩阵,把减法操作转换加法?
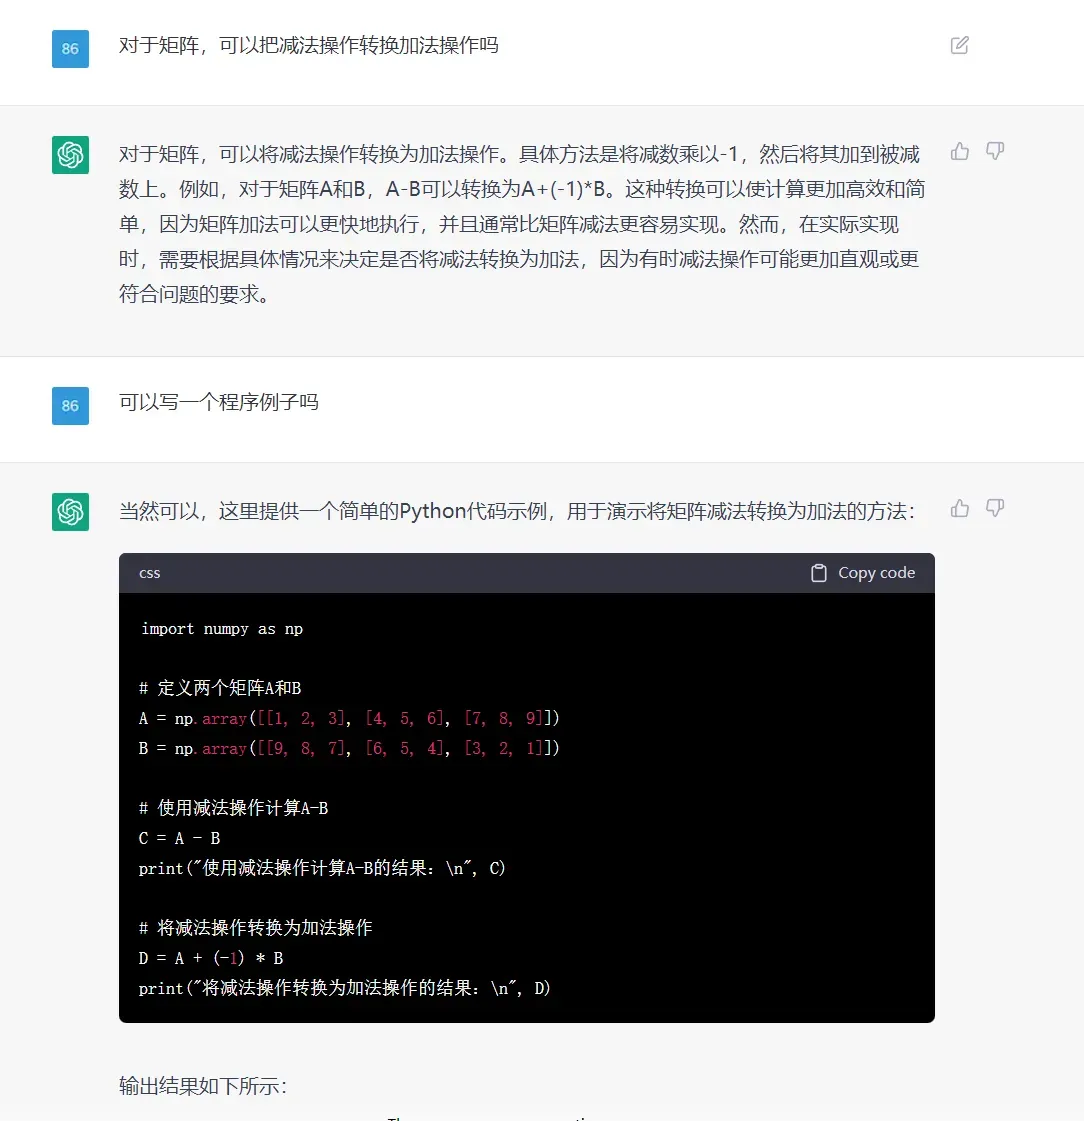
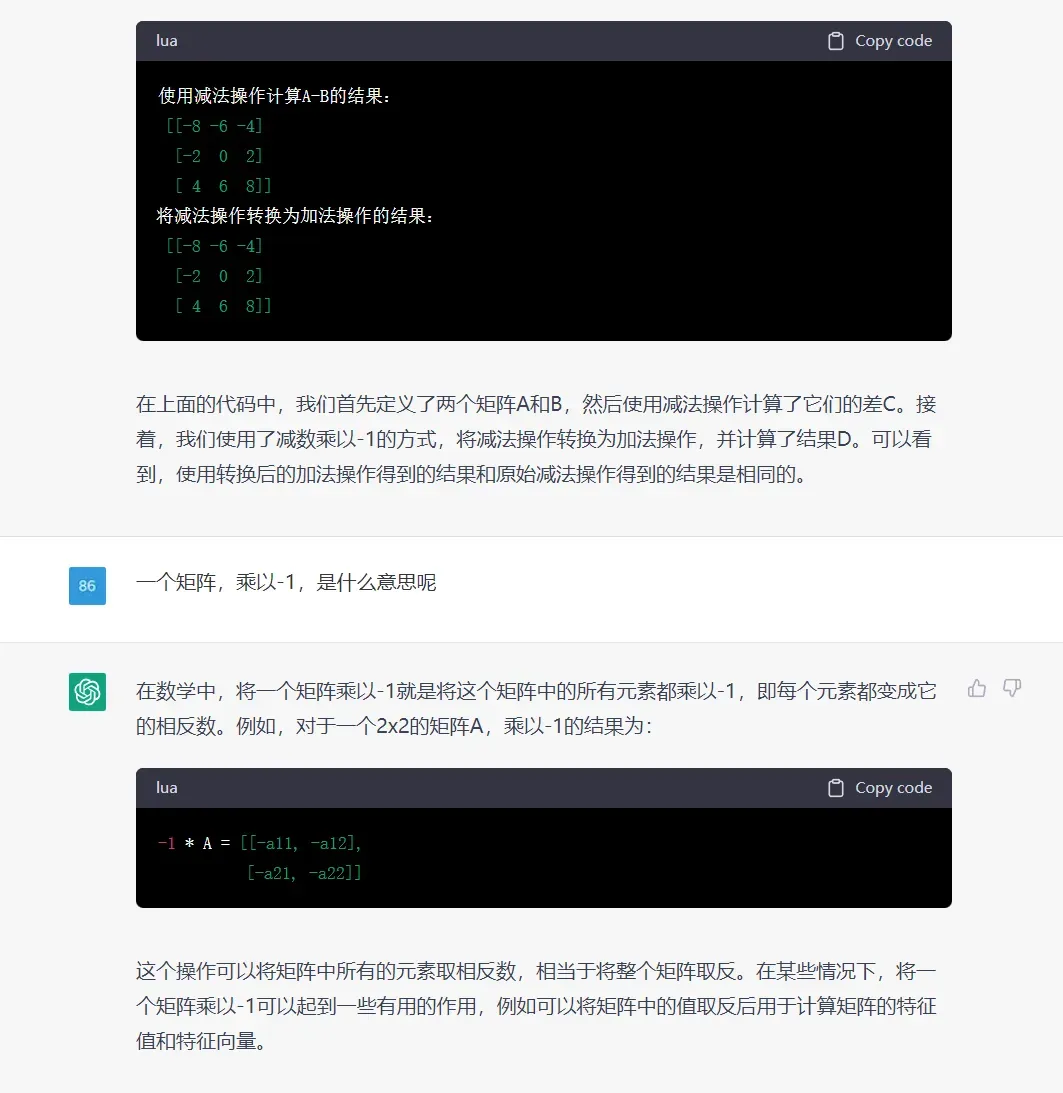
感觉不错的,能清晰介绍原理,然后写示例程序,还给出了示例的运行结果。
2、写一个程序,矩阵除法转换为矩阵除法
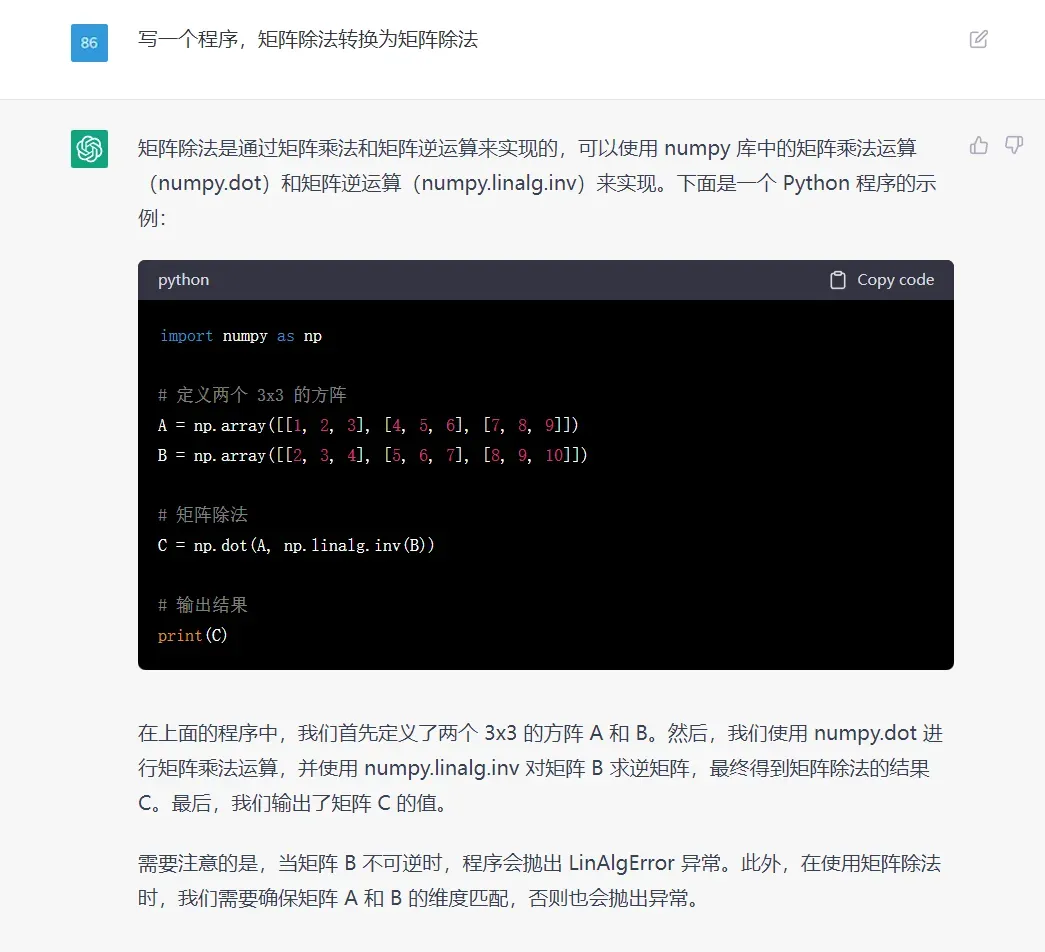
上面是一个简答的例子,要求程序详细一些
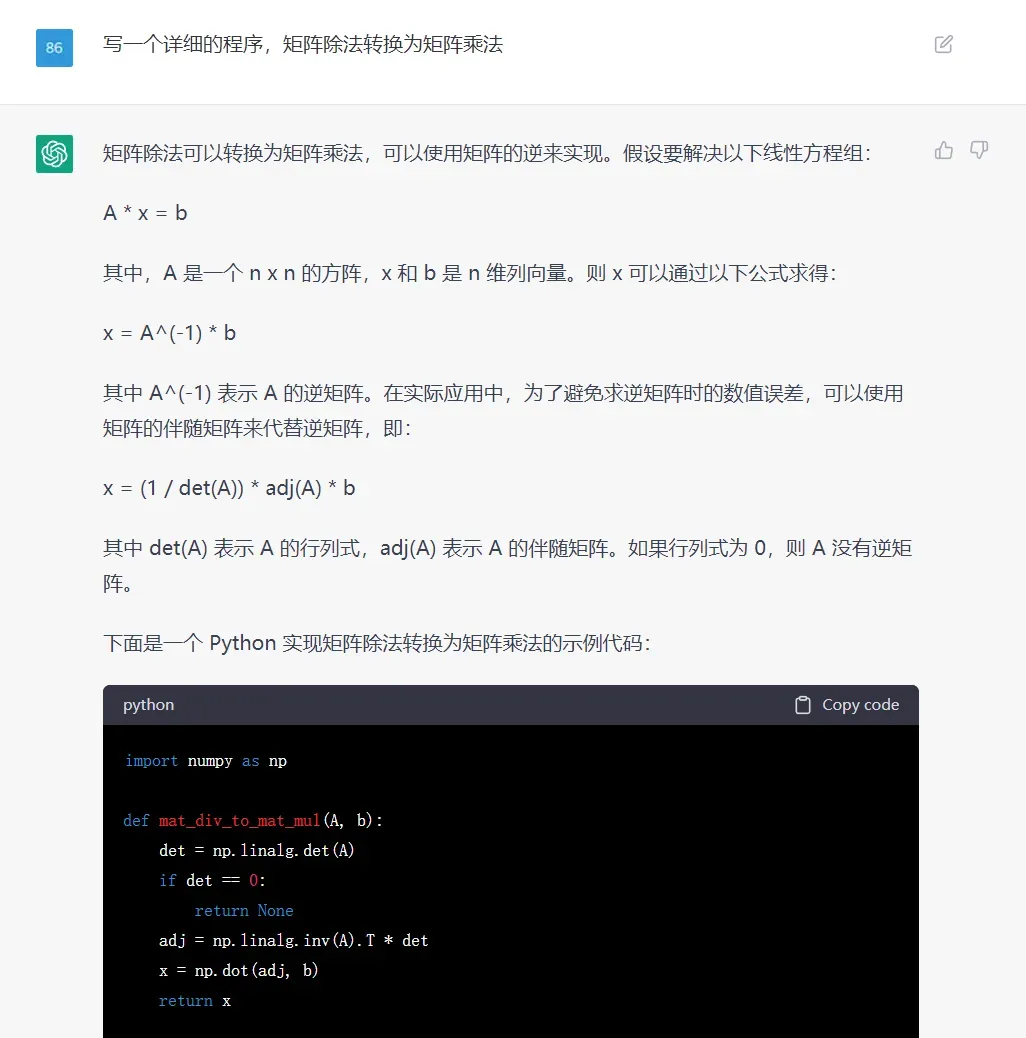
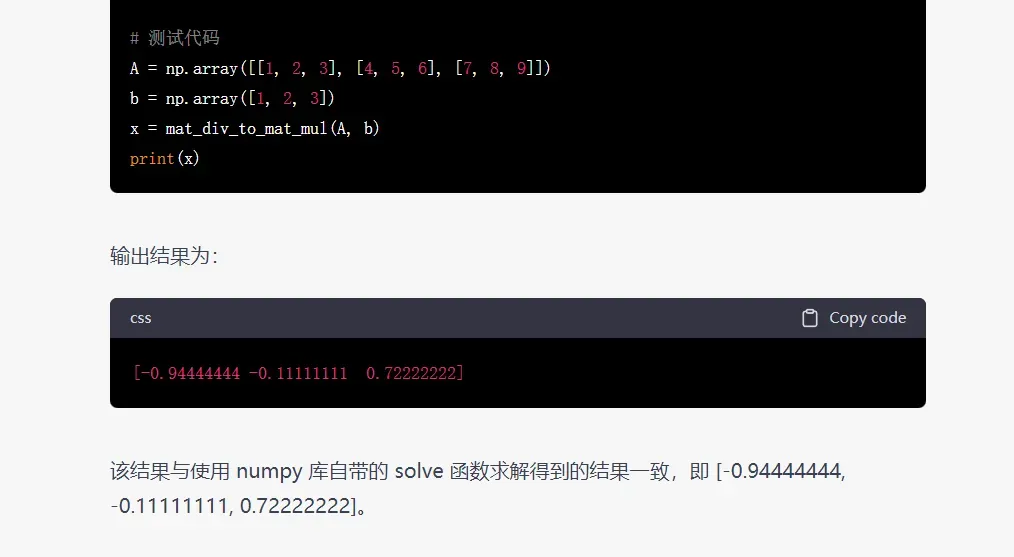
当要求程序详细一些时,它会写得很详细些,这个不错的;
但是在解释原理时,公式显示乱码了,这点有待完善。
3、写一个程序,pytorch模型转onnx
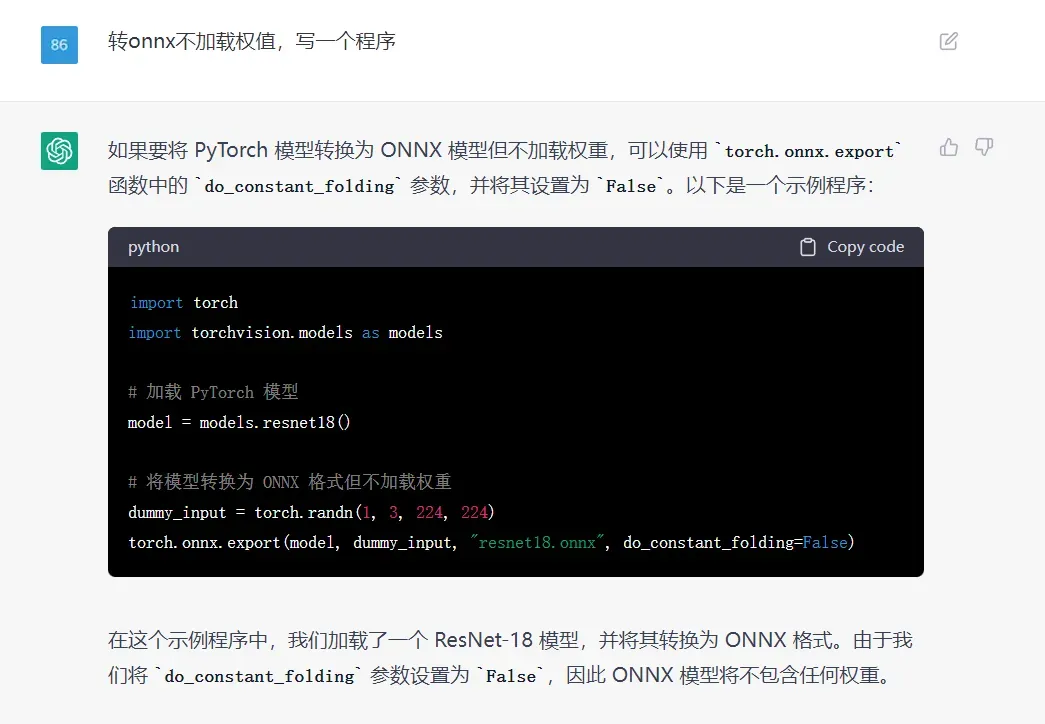
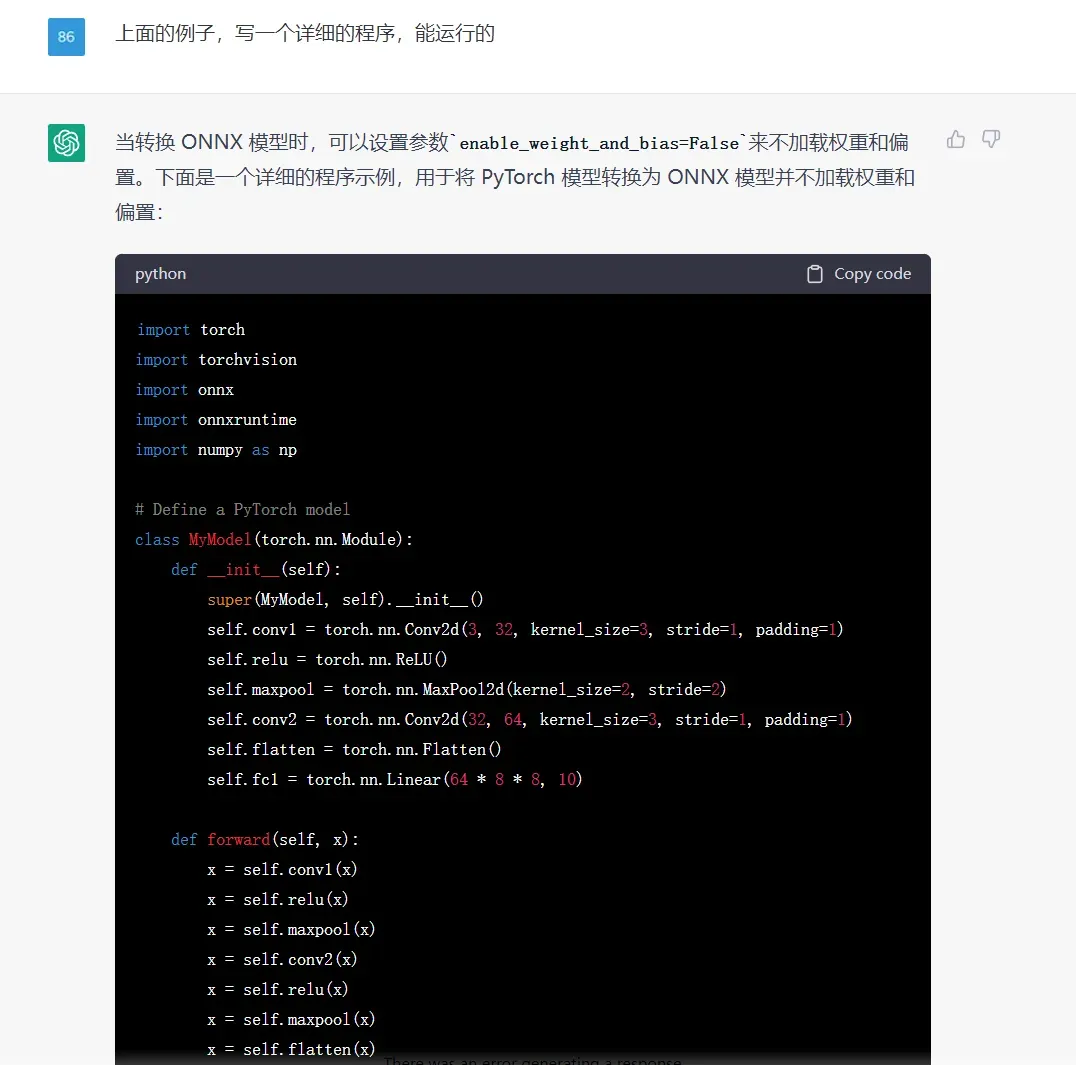
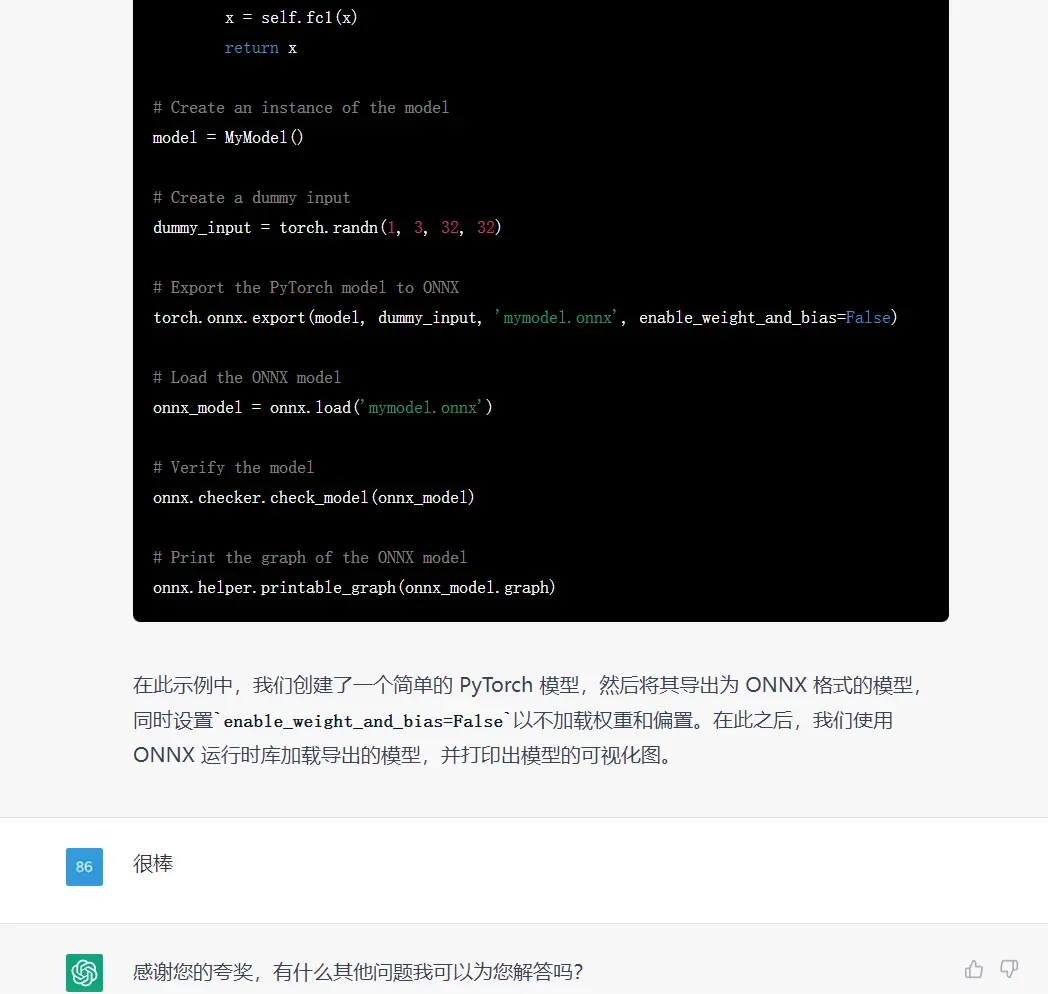
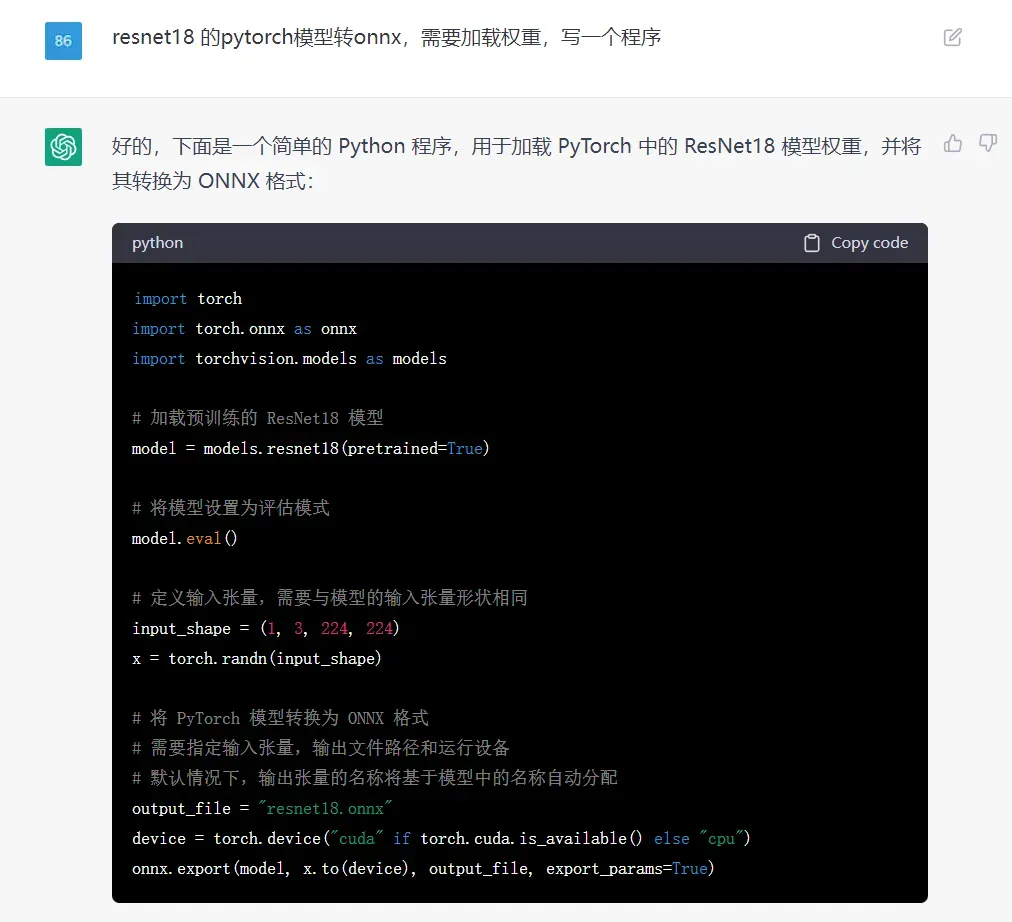
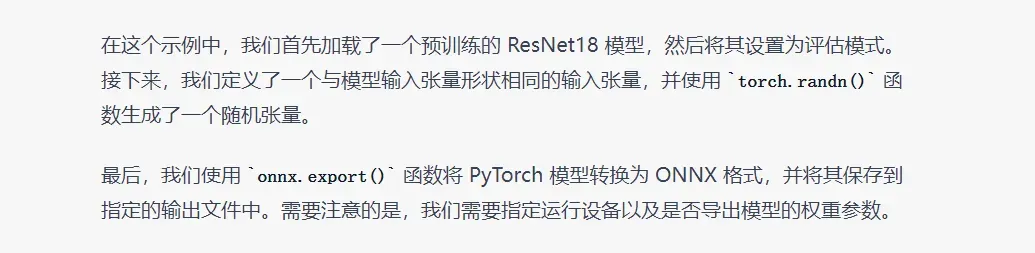
对于特定领域的知识(ONNX模型转换),它也是知道的,能根据需求,写出示例程序。
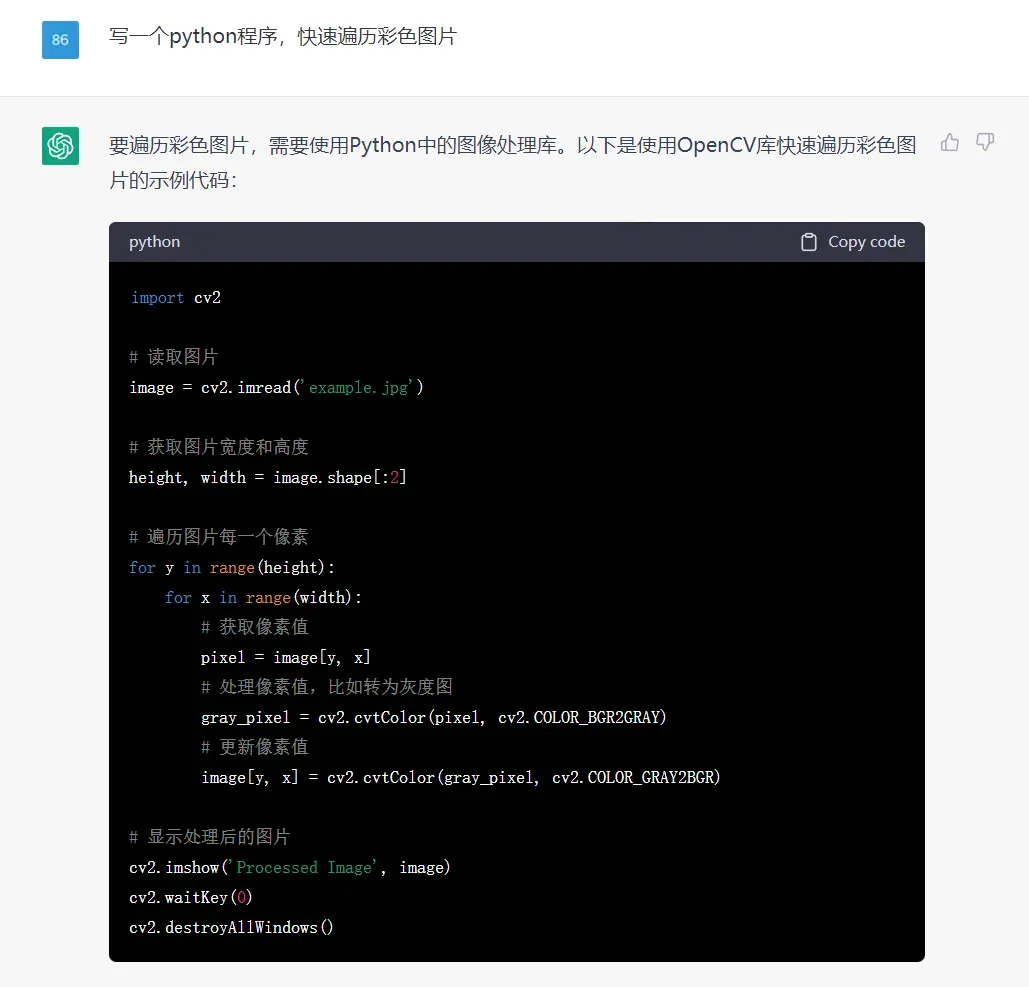
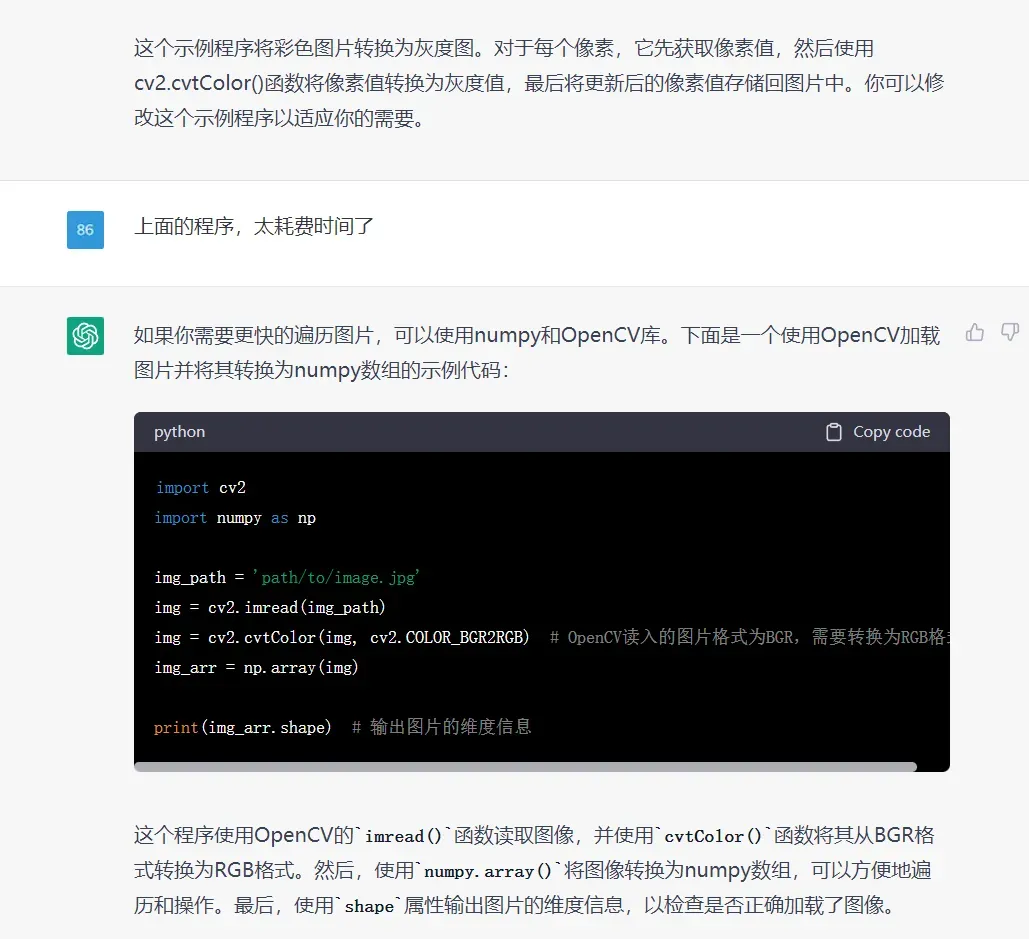
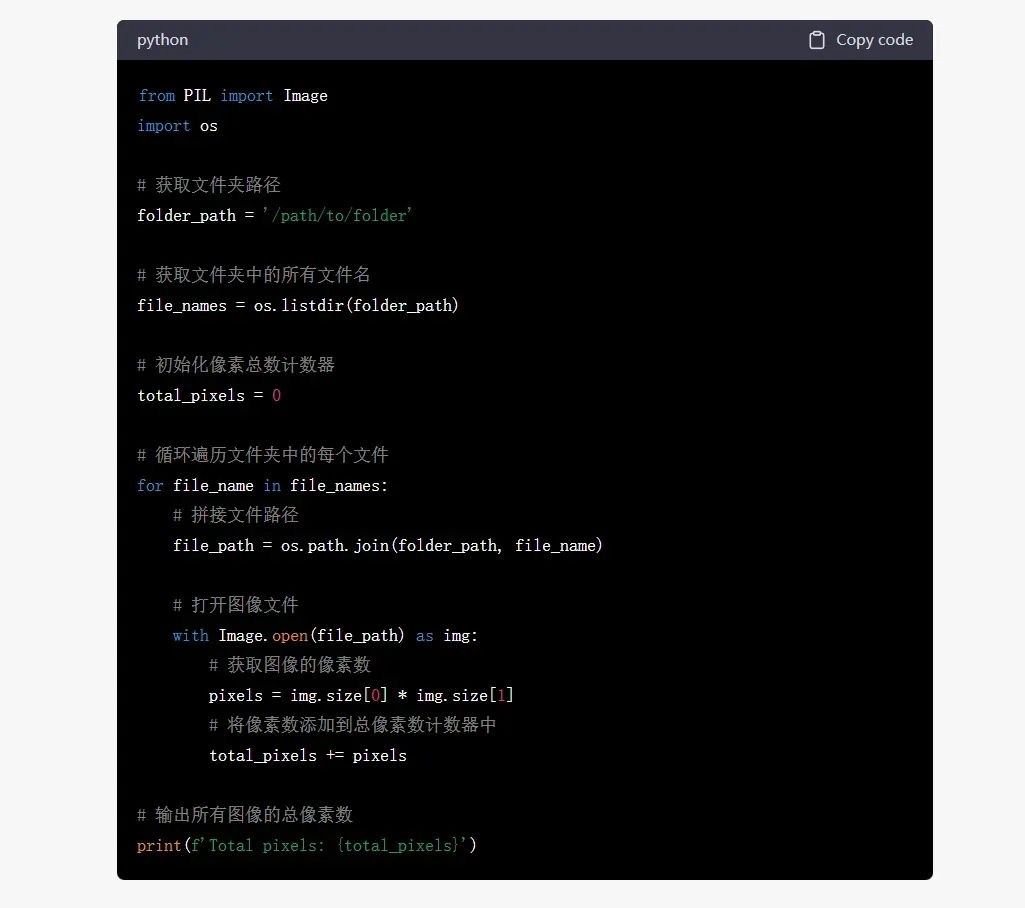
4、写一个程序,遍历彩色图片


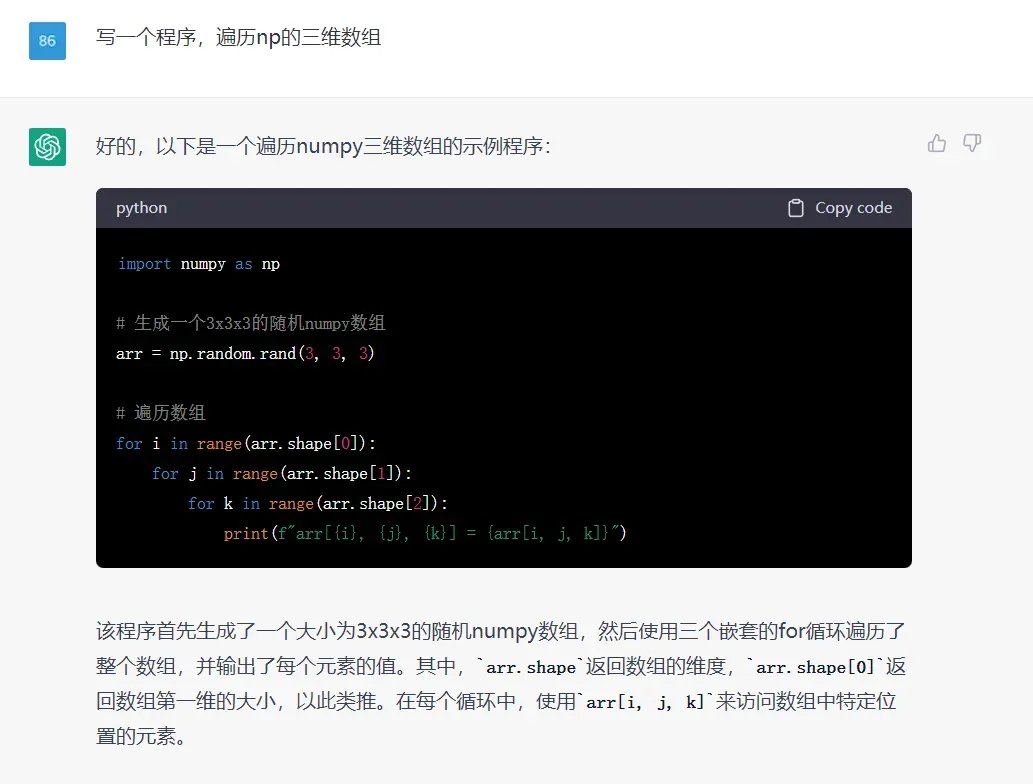
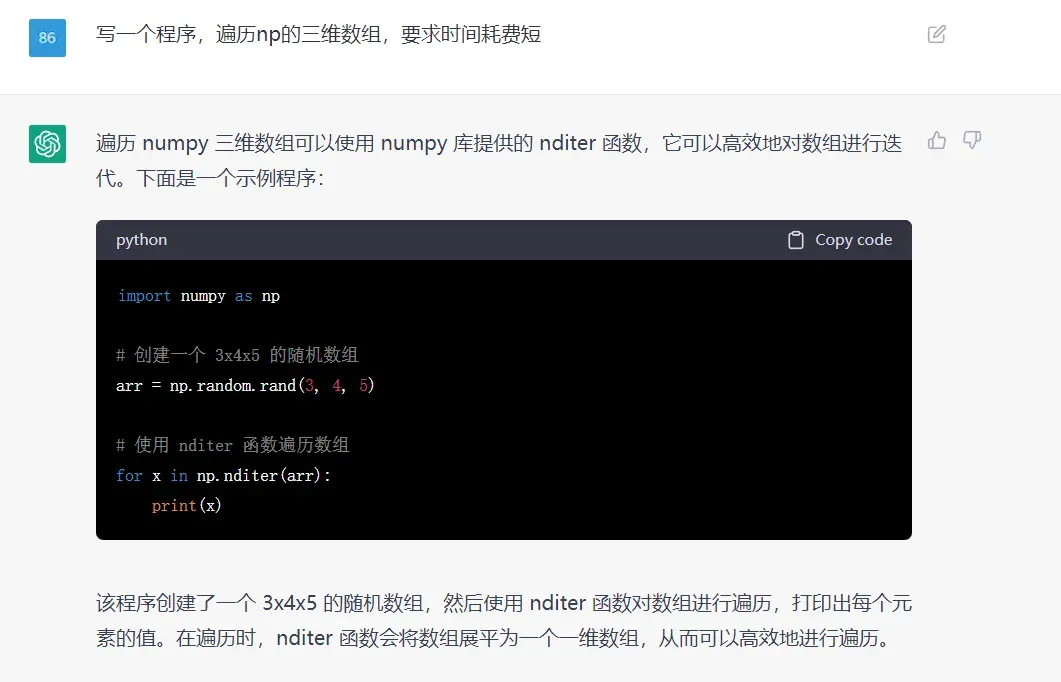
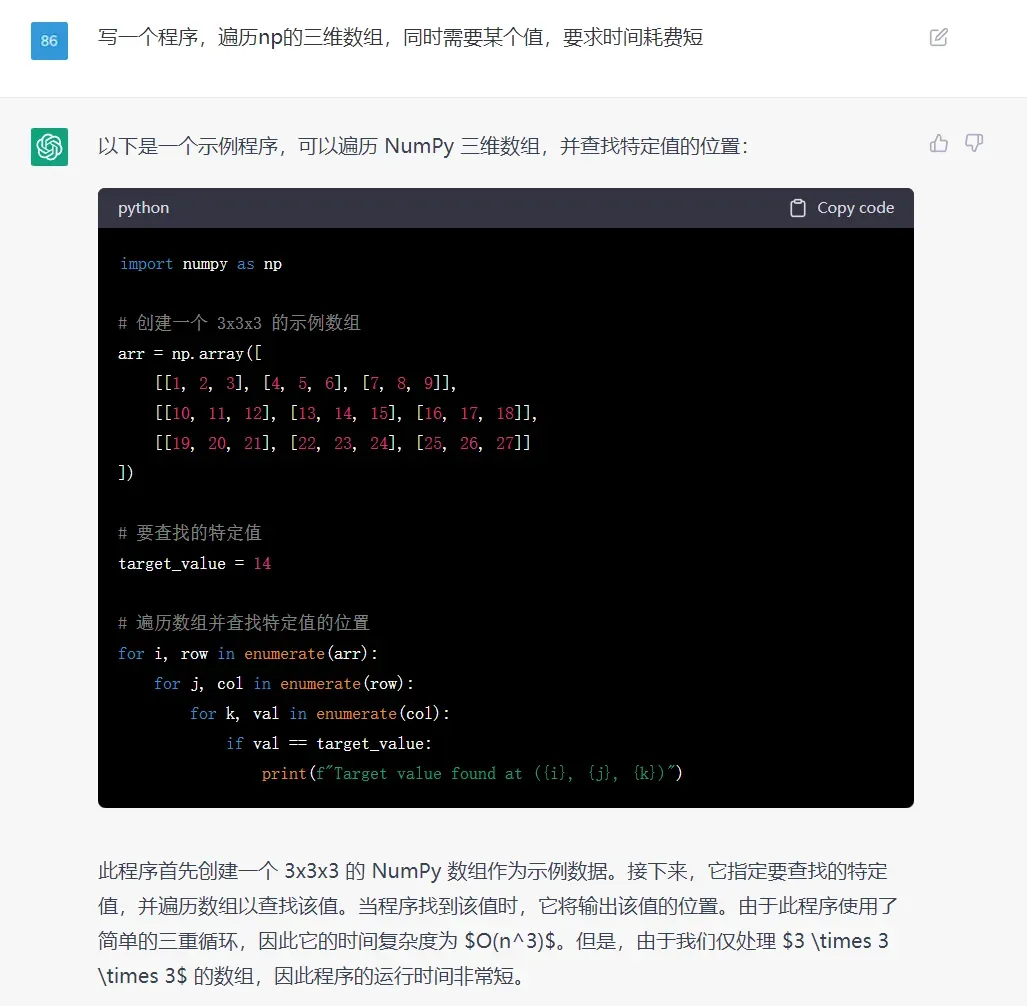
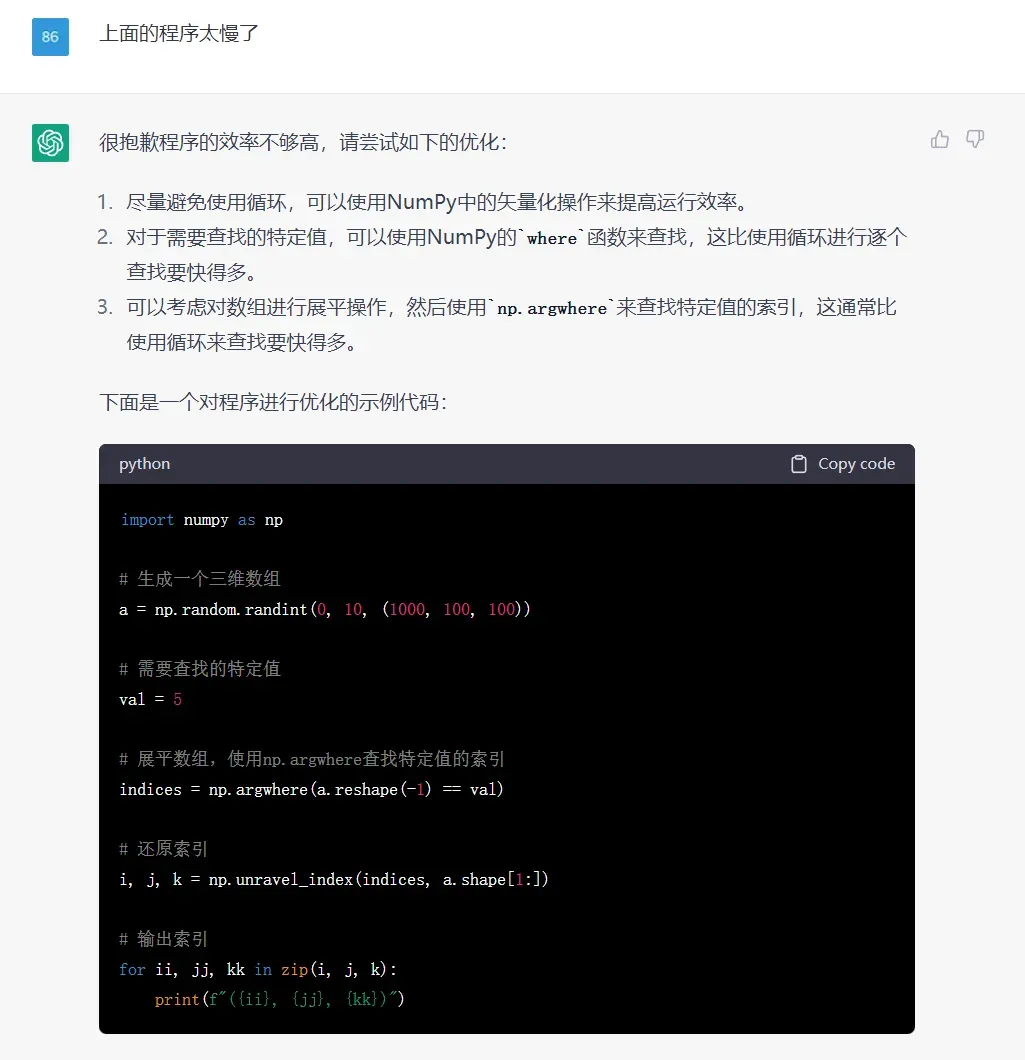
5、写一个程序,遍历三维数组

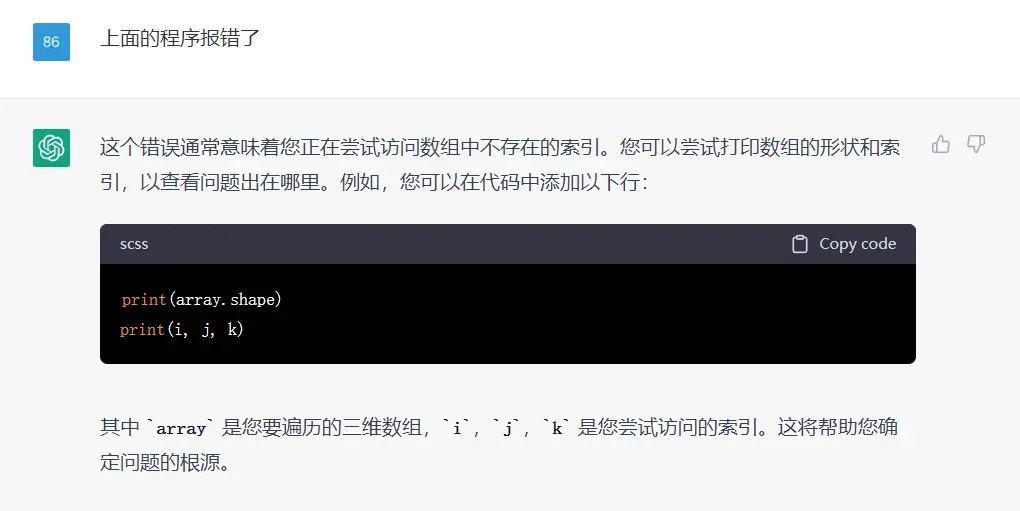
但是呢,上面的程序会报错:
ValueError: index 10016 is out of bounds for array with size 10000
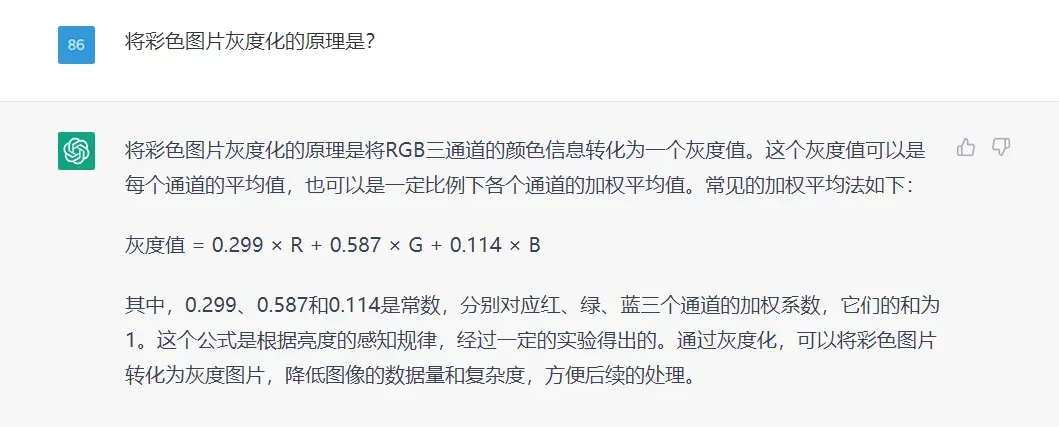
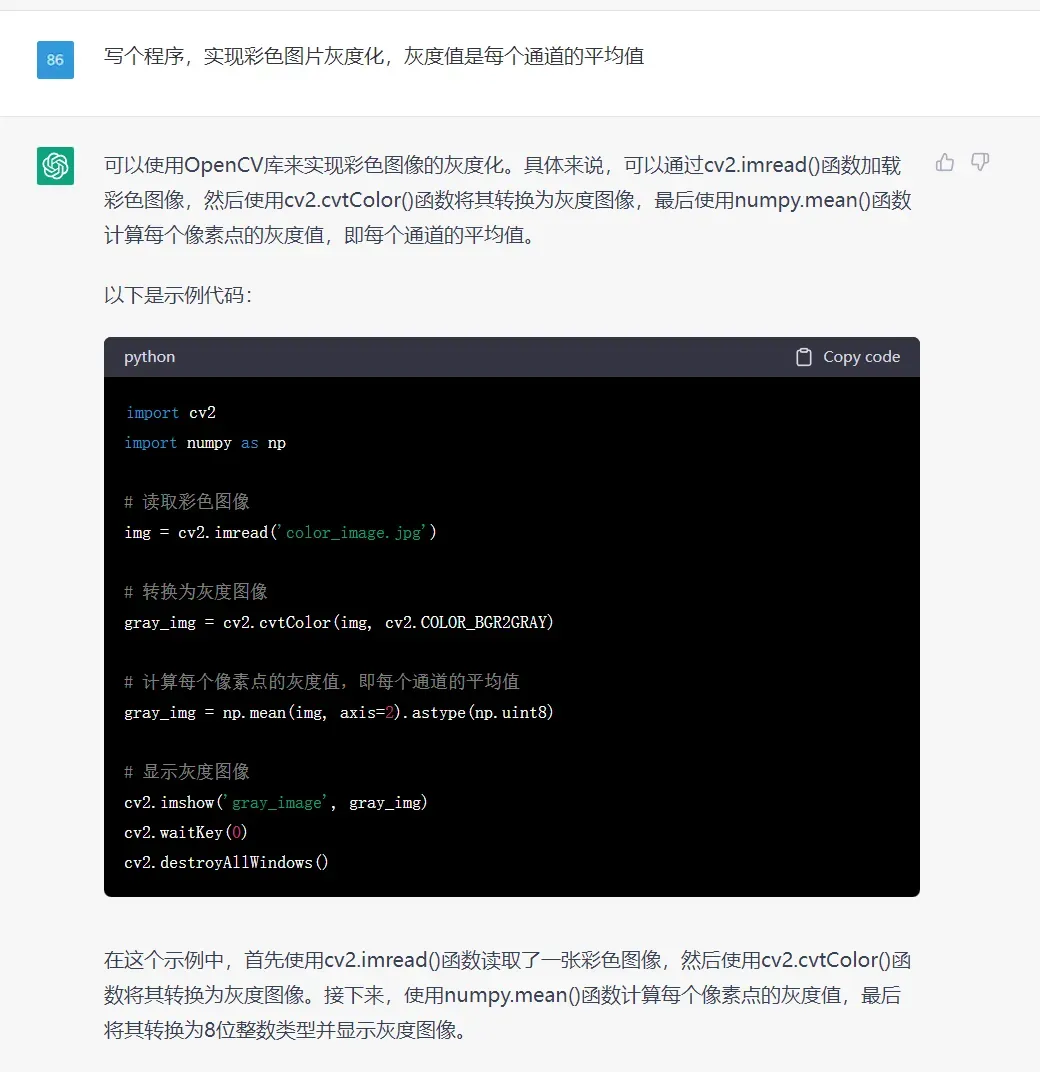
6、写个程序,实现彩色图片灰度化,灰度值是每个通道的平均值
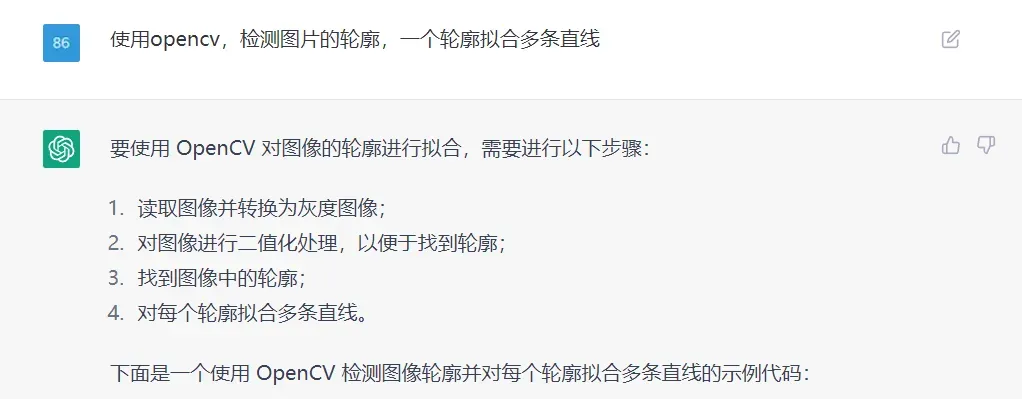
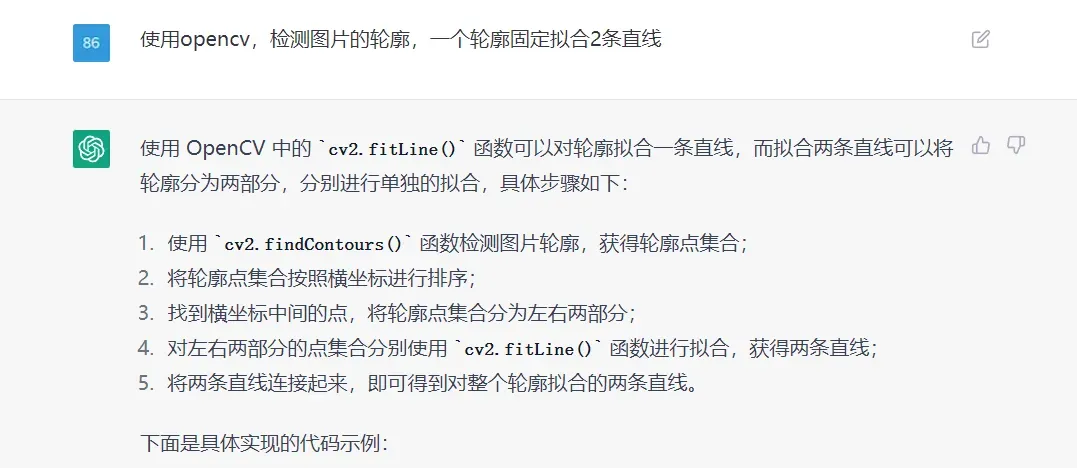
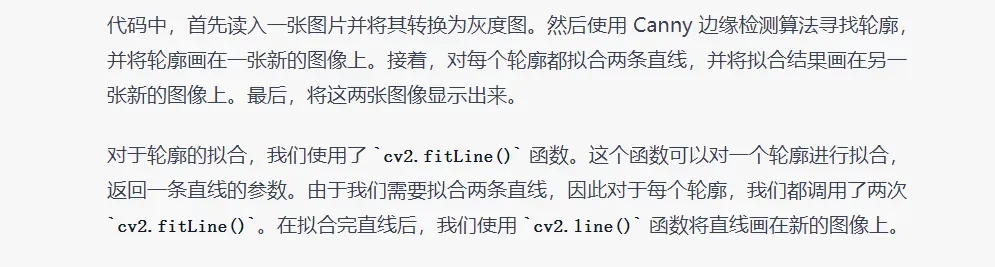
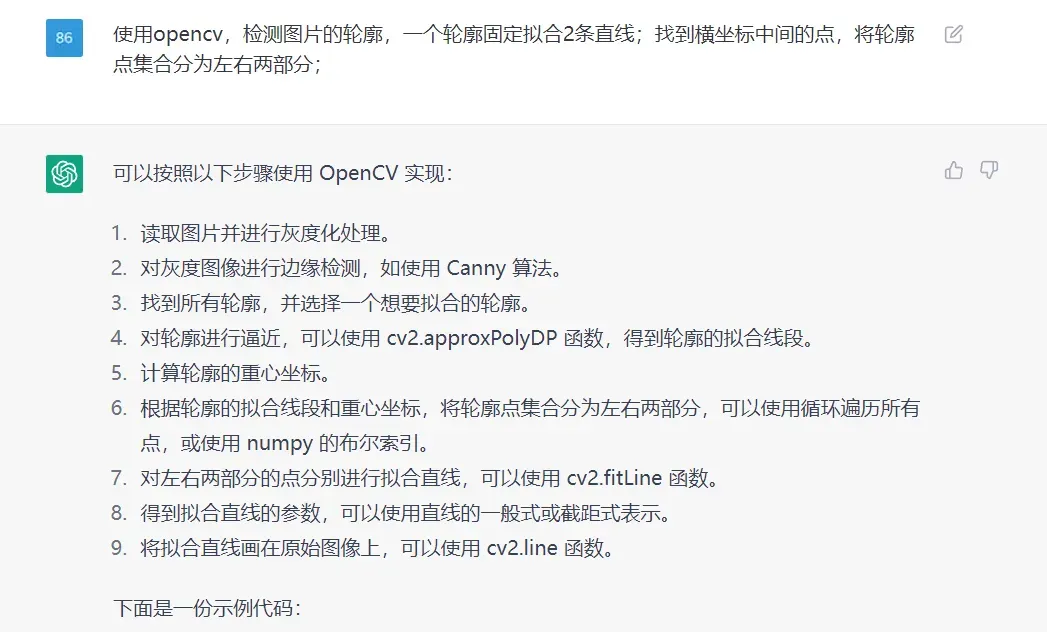
7、使用opencv检测图片的轮廓,拟合直线
import cv2
import numpy as np

# 读取图像并转换为灰度图像
img = cv2.imread('image.jpg')
gray = cv2.cvtColor(img, cv2.COLOR_BGR2GRAY)

# 对图像进行二值化处理
ret, thresh = cv2.threshold(gray, 127, 255, cv2.THRESH_BINARY)

# 找到图像中的轮廓
contours, hierarchy = cv2.findContours(thresh, cv2.RETR_TREE, cv2.CHAIN_APPROX_SIMPLE)

# 对每个轮廓拟合多条直线
for cnt in contours:
    # 近似轮廓
    epsilon = 0.01 * cv2.arcLength(cnt, True)
    approx = cv2.approxPolyDP(cnt, epsilon, True)

    # 计算轮廓的凸包
    hull = cv2.convexHull(approx, returnPoints=False)

    # 如果轮廓点的数量不足 5 个,则不做拟合
    if len(approx) < 5:
        continue

    # 寻找轮廓的顶点
    defects = cv2.convexityDefects(approx, hull)
    vertices = []
    for i in range(defects.shape[0]):
        s, e, f, d = defects[i, 0]
        start = tuple(approx[s][0])
        end = tuple(approx[e][0])
        far = tuple(approx[f][0])
        vertices.append(far)

    # 对轮廓进行拟合
    lines = cv2.fitLine(np.array(vertices), cv2.DIST_L2, 0, 0.01, 0.01)

    # 绘制拟合直线
    x0, y0 = int(lines[2] - lines[0] * 100), int(lines[3] - lines[1] * 100)
    x1, y1 = int(lines[2] + lines[0] * 100), int(lines[3] + lines[1] * 100)
    cv2.line(img, (x0, y0), (x1, y1), (0, 255, 0), 2)

cv2.imshow('image', img)
cv2.waitKey(0)
cv2.destroyAllWindows()

import cv2
import numpy as np

# 读取图片
img = cv2.imread('example.png')

# 转为灰度图
gray = cv2.cvtColor(img, cv2.COLOR_BGR2GRAY)

# 二值化处理
ret, binary = cv2.threshold(gray, 127, 255, cv2.THRESH_BINARY)

# 查找轮廓
contours, hierarchy = cv2.findContours(binary, cv2.RETR_EXTERNAL, cv2.CHAIN_APPROX_SIMPLE)

# 对轮廓点集合按照横坐标排序
contour_points = contours[0]
contour_points = contour_points[np.argsort(contour_points[:, :, 0])]

# 分离轮廓点集合
mid_x = (contour_points[0][0][0] + contour_points[-1][0][0]) // 2
left_points = contour_points[0:mid_x, :, :]
right_points = contour_points[mid_x:, :, :]

# 拟合左侧直线
left_vx, left_vy, left_x, left_y = cv2.fitLine(left_points, cv2.DIST_L2, 0, 0.01, 0.01)

# 拟合右侧直线
right_vx, right_vy, right_x, right_y = cv2.fitLine(right_points, cv2.DIST_L2, 0, 0.01, 0.01)

# 计算直线的截距和斜率
left_k = left_vy / left_vx
left_b = left_y[0][0] - left_k * left_x[0][0]
right_k = right_vy / right_vx
right_b = right_y[0][0] - right_k * right_x[0][0]

# 画出拟合的直线
height, width, _ = img.shape
left_x0 = 0
left_y0 = int(left_k * left_x0 + left_b)
left_x1 = width
left_y1 = int(left_k * left_x1 + left_b)
right_x0 = 0
right_y0 = int(right_k * right_x0 + right_b)
right_x1 = width
right_y1 = int(right_k * right_x1 + right_b)
cv2.line(img, (left_x0, left_y0), (left_x1, left_y1

import cv2
import numpy as np

# 读入图像
img = cv2.imread("example.jpg")

# 灰度化和边缘检测
gray = cv2.cvtColor(img, cv2.COLOR_BGR2GRAY)
edges = cv2.Canny(gray, 50, 150, apertureSize=3)

# 获取轮廓
contours, hierarchy = cv2.findContours(edges, cv2.RETR_EXTERNAL, cv2.CHAIN_APPROX_SIMPLE)

# 对每个轮廓进行拟合
for contour in contours:
    # 拟合直线
    [vx, vy, x, y] = cv2.fitLine(contour, cv2.DIST_L2, 0, 0.01, 0.01)
    slope = vy / vx
    y_intercept = y - slope * x
    x1 = 0
    y1 = int(x1 * slope + y_intercept)
    x2 = img.shape[1] - 1
    y2 = int(x2 * slope + y_intercept)
    cv2.line(img, (x1, y1), (x2, y2), (0, 0, 255), 2)

    [vx, vy, x, y] = cv2.fitLine(contour, cv2.DIST_L2, 0, 0.01, 0.01)
    slope = vy / vx
    y_intercept = y - slope * x
    x1 = 0
    y1 = int(x1 * slope + y_intercept)
    x2 = img.shape[1] - 1
    y2 = int(x2 * slope + y_intercept)
    cv2.line(img, (x1, y1), (x2, y2), (0, 0, 255), 2)

# 显示结果
cv2.imshow("result", img)
cv2.waitKey(0)
cv2.destroyAllWindows()


import cv2
import numpy as np

# 读入图片,转为灰度图
img = cv2.imread("image.jpg")
gray = cv2.cvtColor(img, cv2.COLOR_BGR2GRAY)

# Canny 边缘检测
edges = cv2.Canny(gray, 50, 150)

# 寻找轮廓
contours, _ = cv2.findContours(edges, cv2.RETR_EXTERNAL, cv2.CHAIN_APPROX_SIMPLE)

# 画出轮廓
contour_img = np.zeros_like(img)
cv2.drawContours(contour_img, contours, -1, (0, 255, 0), 3)

# 对每个轮廓拟合两条直线
line_img = np.zeros_like(img)
for cnt in contours:
    # 拟合第一条直线
    [vx, vy, x, y] = cv2.fitLine(cnt, cv2.DIST_L2, 0, 0.01, 0.01)
    lefty = int((-x * vy / vx) + y)
    righty = int(((img.shape[1] - x) * vy / vx) + y)
    cv2.line(line_img, (img.shape[1]-1, righty), (0, lefty), (255, 0, 0), 2)

    # 拟合第二条直线
    [vx, vy, x, y] = cv2.fitLine(cnt, cv2.DIST_L2, 0, 0.01, 0.01)
    lefty = int((-x * vy / vx) + y)
    righty = int(((img.shape[1] - x) * vy / vx) + y)
    cv2.line(line_img, (img.shape[1]-1, righty), (0, lefty), (0, 0, 255), 2)

# 显示结果
cv2.imshow("Contour", contour_img)
cv2.imshow("Lines", line_img)
cv2.waitKey(0)
cv2.destroyAllWindows()
同样的问题,实现的方式有多种;在编写程序需求时,明确一下思路,它写出来的代码会更符合我们所想的。
import cv2
import numpy as np

# 读取图片并进行灰度化处理
img = cv2.imread('test.png')
gray = cv2.cvtColor(img, cv2.COLOR_BGR2GRAY)

# 对灰度图像进行边缘检测,如使用 Canny 算法
edges = cv2.Canny(gray, 50, 150)

# 找到所有轮廓,并选择一个想要拟合的轮廓
contours, hierarchy = cv2.findContours(edges, cv2.RETR_LIST, cv2.CHAIN_APPROX_SIMPLE)
cnt = contours[0]

# 对轮廓进行逼近,得到轮廓的拟合线段
epsilon = 0.1 * cv2.arcLength(cnt, True)
approx = cv2.approxPolyDP(cnt, epsilon, True)

# 计算轮廓的重心坐标
M = cv2.moments(cnt)
cx = int(M['m10']/M['m00'])
cy = int(M['m01']/M['m00'])

# 将轮廓点集合分为左右两部分
left_cnt = []
right_cnt = []
for i in range(len(cnt)):
    if cnt[i][0][0] < cx:
        left_cnt.append(cnt[i])
    else:
        right_cnt.append(cnt[i])

left_cnt = np.array(left_cnt)
right_cnt = np.array(right_cnt)

# 对左右两部分的点分别进行拟合直线
[vx_l, vy_l, x_l, y_l] = cv2.fitLine(left_cnt, cv2.DIST_L2, 0, 0.01, 0.01)
[vx_r, vy_r, x_r, y_r] = cv2.fitLine(right_cnt, cv2.DIST_L2, 0, 0.01, 0.01)

# 得到拟合直线的参数,可以使用直线的一般式或截距式表示
k_l = vy_l / vx_l
b_l = y_l - k_l * x_l
k_r = vy_r / vx_r
b_r =

这个代码没写完,又被中断了;感觉写稍微长一些的代码,就容易出现中断的情况。
总体感受
对于简单的运算,感觉不错的,能清晰介绍原理,然后写示例程序,还给出了示例的运行结果。
在示例程序中,要求程序详细一些时,它会写得很详细些,这个不错的。
对于一些特定领域的知识,它也是知道的,能根据描述需求,写出示例程序。
有些复杂一些的运算,它写出的程序会报错;这个需要我们检测和修正。
写稍微长一些的代码,就容易出现中断的情况,代码还没写完呢。
总体感觉挺挺强的,适合我们去了解一个新的知识(原理和思路),然后参考它的示例程序。
文章出处登录后可见!
已经登录?立即刷新