1、安装虚拟环境
conda create --name OPENAI python ==3.7
注意,一定要python的版本 一定要 3.9及以下!!
否则一直会出错
出错
ImportError: cannot import name ‘COMMON_SAFE_ASCII_CHARACTERS’ from ‘charset_normalizer.constant’ (D:\anaconda3\envs\AIGC\lib\site-packages\charset_normalizer\constant.py)
用
pip install chardet
pip install charset-normalizer==2.1.0
都不管用
要确保python的版本号
最好python>=3.8 否则openai的有些库不能用
conda install python==3.8
2、安装openai
又是出错
ERROR: Could not find a version that satisfies the requirement openai (from versions: none) ERROR: No matching distribution found for openai
这时候用国内源就好了
pip install openai -i http://mirrors.aliyun.com/pypi/simple/ --trusted-host mirrors.aliyun.com
3、连接不上
一直出现问题
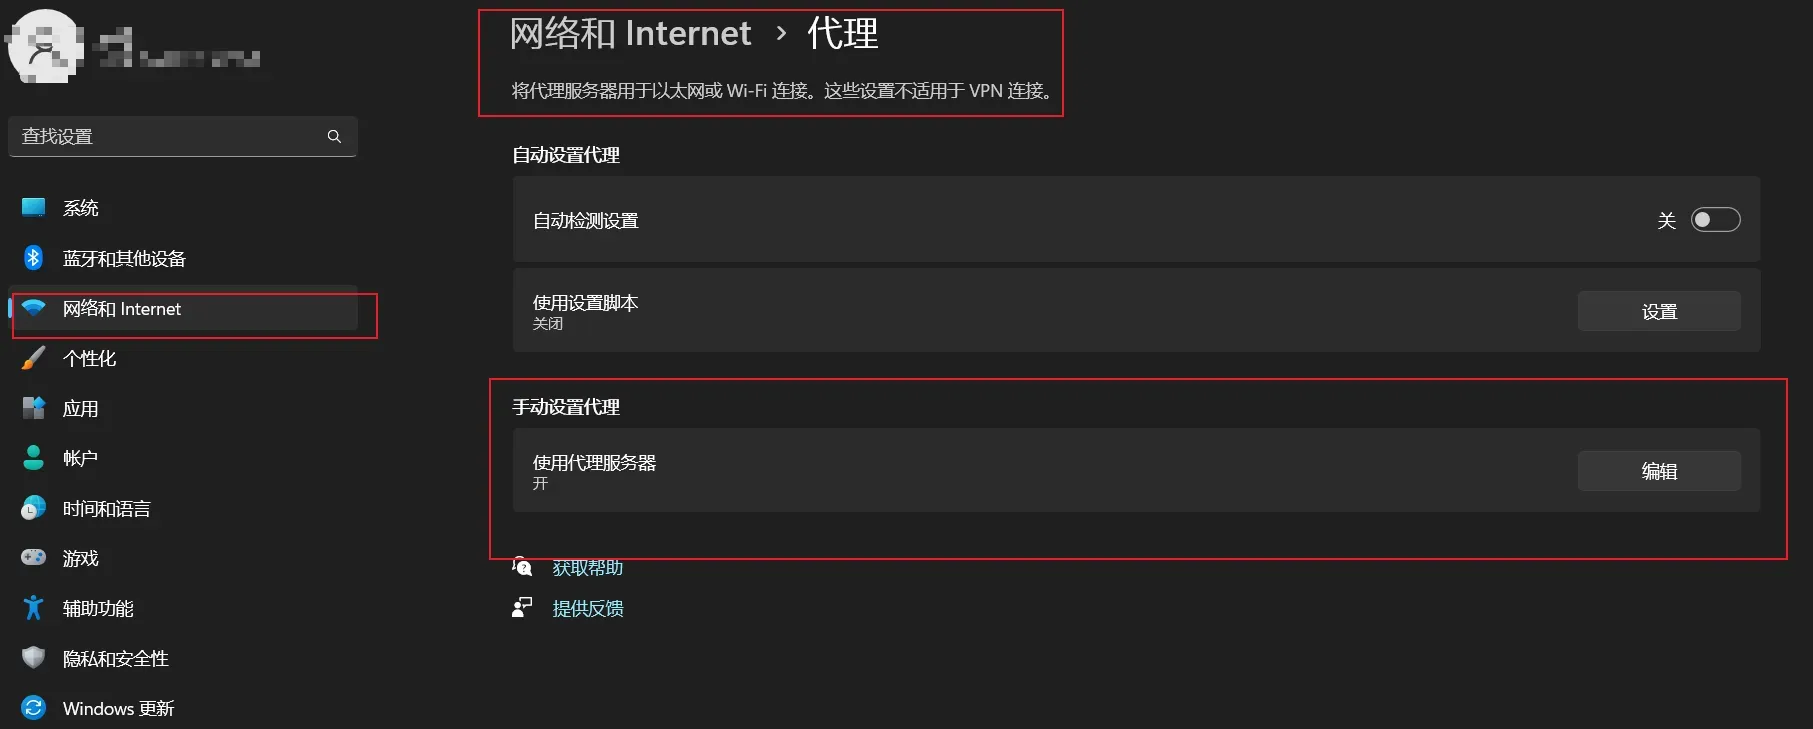
openai.error.APIConnectionError: Error communicating with OpenAI: HTTPSConnectionPool(host='api.openai.com', port=443): Max retries exceeded with url: /v1/chat/completions (Caused by ProxyError('Cannot connect to proxy.', OSError(0, 'Error')))
后来在知乎回答—— 找到了答案
原因是
urllib3的版本问题,环境内的urllib3版本是1.26.14版本,回退到1.25.11版本问题就解决了。
检查了一下urllib3的更新日志,应该是1.26.0的修改导致的:
最后
conda install urllib3==1.25.11
4、一直显示无chatCompletion
即显示
AttributeError: module 'openai' has no attribute 'ChatCompletion'
openai的版本号不够新,参照2进行更新
pip install -U openai -i http://mirrors.aliyun.com/pypi/simple/ --trusted-host mirrors.aliyun.com
能跑通啦,棒棒!!!!
5、no model named win32api
pip install win32api
ERROR: Could not find a version that satisfies the requirement win32api (from versions: none)
ERROR: No matching distribution found for win32api
实际的安装方法
conda install win32api
6、连接错误
Error communicating with OpenAI: HTTPSConnectionPool(host=‘api.openai.com’, port=443): Max retries exceeded with url: /v1/chat/completions (Caused by ProxyError(‘Cannot connect to proxy.’, NewConnectionError(‘<urllib3.connection.HTTPSConnection object at 0x0000027039BA40A0>: Failed to establish a new connection: [WinError 10061] 由于目标计算机积极拒绝,无法连接。’)))
解决方法
解决办法:
①打开文件路径:D:\Anaconda3\envs\py\Lib\site-packages\openai\api_reuqestor.py(openai库路径)
②找到if not hasattr(_thread_context,“session”): 方法,并在此方法上加入代理。(此方法大概在512行)
每一个人的代理不一定一样

# proxy = {
#    'http': 'http://<代理ip>:<代理端口>',
#    'https': 'https://<代理ip>:<代理端口>'
#       }

proxy={
            'http':'127.0.0.1:10809',
            'https':'127.0.0.1:10809'
        }
③在result = _thread_context.session.request(中加入代理
result = _thread_context.session.request(
                method,
                abs_url,
                headers=headers,
                data=data,
                files=files,
                stream=stream,
                timeout=request_timeout if request_timeout else TIMEOUT_SECS,
                proxies=proxy    # 新增此行
            )
再次运行API测试代码发现已经成功返回数据
文章出处登录后可见!
