微软用·chatGPT 4· 对·github copilot X·升级后,本是怀着赠热点的心态测试了一下其功能。但 Copilot 智能化程度之高,令我吃惊,两周下来已离开不这个工具了。 下面简单分享一下其使用过程,以及对如何使用好这个工具的个人看法.
1. 安装与注册
IDE开发环境我使用的是 VSCode 与 Visual Studio2022,通过在扩展组件中搜索 github copilot,点击安装即可。 安装完成后,右下角出现copilot 的图标,提醒注册。
copilot主页也有注册入口:https://github.com/features/copilot
注册前需要准备好信用卡,前60天免费,之后是10$/月。
注册完成后,右下角的图标如下,表示已连接成功
2. 测试生成 Python 与 C++ 代码的效果
使用 Copilot ,就是用注释语法写出编程要求,可以要求 Copilot 创建1个函数,1个类,或者是语句块,但要写清楚要求。如果函数简单,就一句话写明要求,如果复杂,可以写大致流程简单写出来。 如下
输入注释语句:
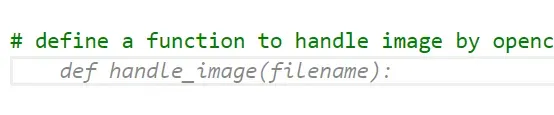
# define a function to handle image by opencv, including operations: read image, resize image, and draw a circle and put text on image, restore image into a new file.
回车后,copilot 开始在后台匹配最佳代码,按 Tab键,即弹出淡色字体的建议,再按 Tab键即输入屏幕。
Copilot 对1个功能要求,会提共10条建议,按 alt + ] 为下条,alt + [ 为上一条。 也可以打开Copilot窗口再选择合适的建议双击。
如上面的语句生成的代码如下:
def handle_image(filename):
    img = cv2.imread(filename)
    # resize image to 1/4 of original size
    img = cv2.resize(img, (0,0), fx=0.25, fy=0.25)
    # draw a circle on image
    cv2.circle(img, (100, 100), 50, (0, 255, 0), 3)
    # put text on image
    cv2.putText(img, "Hello, I am PyPy", (100, 200), cv2.FONT_HERSHEY_SIMPLEX, 1, (0, 0, 255), 2)
    # save image to a new file
    cv2.imwrite('newimage.jpg', img)
更复杂一些的例子,copilot会自动进行分析注释语句。
# define a interface named "Shape" including 2 methods: calc_area, calc_perimeter, inherited from abc.ABC class, inherite by two classes: "Rectangle" and "Circle"
from abc import ABC, abstractmethod
class Shape(ABC):
    @abstractmethod
    def calc_area(self):
        pass
    @abstractmethod
    def calc_perimeter(self):
        pass

# generate two subcalsses of Shape: Rectangle and Circle
class Rectangle(Shape):
    def __init__(self, width, height):
        self._width = width
        self._height = height
    #generate a property named "width"
    @property
    def width(self):
        return self._width
    @width.setter
    def width(self, width):
        self._width = width
    #generate a property named "height"
    @property
    def height(self):
        return self._height
    @height.setter
    def height(self, height):
        self._height = height

    def calc_area(self):
        return self.width * self.height
    def calc_perimeter(self):
        return 2 * (self.width + self.height)
# subclass Circle
class Circle(Shape):
    def __init__(self, radius):
        self.radius = radius
    def calc_area(self):
        return 3.14 * self.radius * self.radius
    def calc_perimeter(self):
        return 2 * 3.14 * self.radius
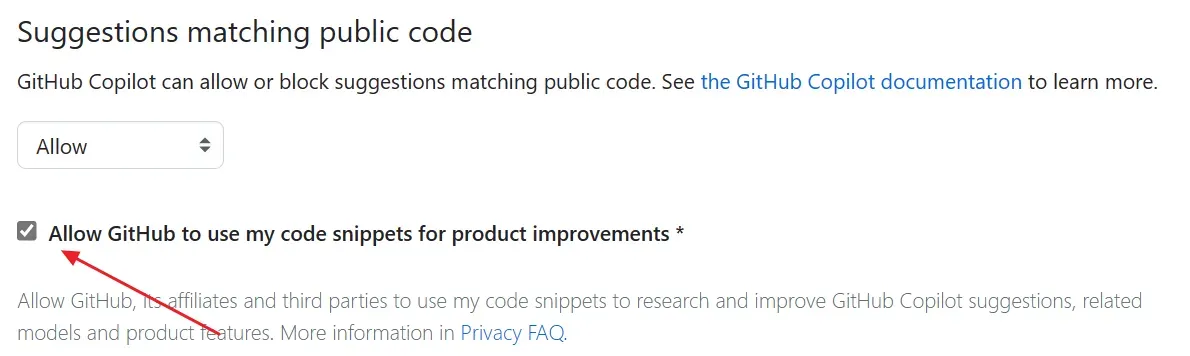
注册时我设置了“允许copilot 学习我的代码” 选项,所以copilot分析输入要求时,会优先将我自己曾以写过代码推荐出来,也蛮方便的。
# generate a function for asyncio websockets client
async def ws_client(url):
    for i in range(1, 40):
        async with websockets.connect(url) as websocket:
            await websocket.send("Hello, I am PyPy.")
            response = await websocket.recv()
        print(response)
        time.sleep(1)
如果不想让 copilot 学习自己的代码,或者用户项目,可以登录 github 帐号在setting中,将该功能关掉。
下面再看生成C++代码的测试
先输入要求:
// generate a function to sort an array
// of integers in ascending order
// using the bubble sort algorithm, the array is stored as gloabl variable
// and the function is called in main
Copilot 窗口马上给出了完整的代码, 选择accept suggestion
#include <iostream>
using namespace std;

const int SIZE = 10;
int numbers[SIZE] = { 10, 2, 78, 4, 45, 32, 7, 11, 0, 66 };

void sortArray(int [], int);
void showArray(int [], int);

int main()
{
    cout << "The unsorted array is:";
    showArray(numbers, SIZE);
    sortArray(numbers, SIZE);
    cout << "The sorted array is:";
    showArray(numbers, SIZE);
    return 0;
}

void sortArray(int array[], int size)
{
    int temp;
    bool swap;
    do
    {
        swap = false;
        for (int count = 0; count < (size - 1); count++)
        {
            if (array[count] > array[count + 1])
            {
                temp = array[count];
                array[count] = array[count + 1];
                array[count + 1] = temp;
                swap = true;
            }
        }
    } while (swap);
}

void showArray(int array[], int size)
{
    for (int count = 0; count < size; count++)
        cout << array[count] << " ";
    cout << endl;
}
结果还是可以接收的。C++写代码的速度快了不少。
使用技巧:
1)生成函数,写要求时,要写明函数主要功能,参数,返回值。
# generate a function to do XXXX, parameters include x: int, y:float, return the result z: float.
2)生成类,应写从哪个类继承,拥有哪些属性,方法,构造方法要输入的参数等,属性是否要创建getter, setter等。 如
# create a stack class inheriting deque, override append and pop methods, both operation are done at left side, own atttibutes: length, also generate setter and getter methods
# init method include a len parameter, default value is 10
对前端Javascript, CSS, Vue.js 代码的支持似乎比python还要好。 最近在开发1个MQTT--WebSocket网络协议网关,在Copilot 的帮助下,顺便把前端vue测试页面写好了。
对于 Copilot 对程序员影响的感想
两周使用下来,总的体验,Copilot 非常适合生成函数框架,类框架,自动化测试代码等,对于能用文字表述清楚的任务,生成的代码质量可以接受,关键是效率很高。
再看一下不足,对于复杂任务,还是无法胜任,如线程间通信。其次,对比较新的技术点,Copilot 给出的建议往往不合适。也发现其对于中文的理解,不如英文好。 程序员们看来还要学好英文啊。
Copilot做为编程AI辅助工具,对于日常工作效率的提升,效果还是明显的。用好这个工具,可以让程序员腾出更多时间来思考系统架构、接口、流程、算法、用户交互体验、整合等方面的工作。如果不使用类似的AI工具,时间长了,真可能真的会落后于同行。所以,还是建议熟悉并积极应用此工具。
文章出处登录后可见!