文章目录
- 环境安装
- 创建主项目和应用程序
- 在 settings.py 文件中注册应用程序
- 在 views.py 文件中为应用程序创建视图
- 配置应用程序的 URL
- 创建和渲染模板
- KEY
- 实现发送提示功能
- 注意事项
- 完整源码
环境安装
pip install django openai
创建主项目和应用程序
处理完项目的环境后,让我们现在创建主项目,在端中运行此命令:
django-admin startproject webassistant
根据Django 文档,django-admin它是一个用于管理任务的命令行实用程序。切换到项目的文件夹,使用命令如下
cd webassistant
并创建应用程序assistant,运行命令:
python manage.py startapp assistant
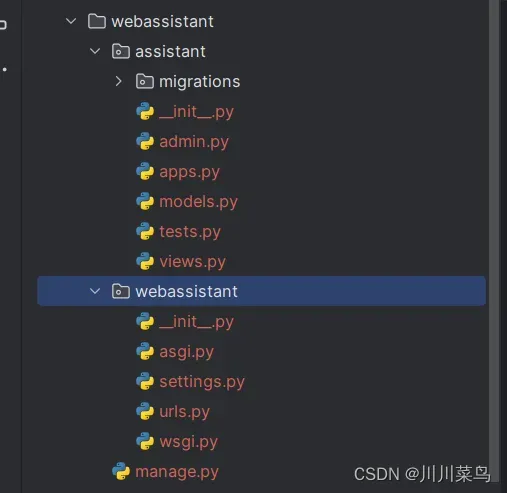
到目前为止,现在应该有一个如下所示的文件夹结构:
让我们通过测试 Django 是否安装成功来结束本节,在终端中运行此命令:
python manage.py runserver
上面的命令用于启动 Django 本地服务器,如果服务器运行成功,请复制 URL地址: http://127.0.0.1:8000/并将其粘贴到您的网络浏览器中。确保在浏览器中获得此结果:

恭喜Django安装成功!
在 settings.py 文件中注册应用程序
使用 Django,可以在项目中创建任意数量的应用程序,但每个项目都必须注册。在 Django 中,所有应用程序都注册在一个名为 的文件中settings.py,可以在项目文件夹中找到该文件。
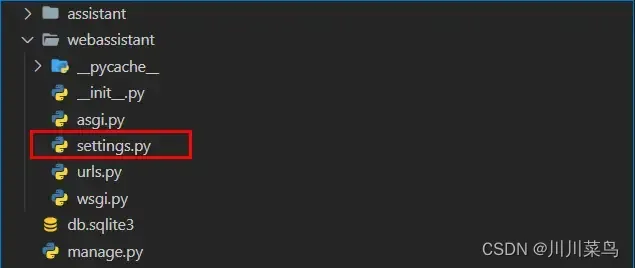
这个文件负责项目的所有配置,编辑它时要小心,因为一行乱七八糟的代码可能会破坏你的整个项目。打开它并向下滚动到列表INSTALLED_APPS,像这样添加assistant应用程序:
INSTALLED_APPS = [
    'django.contrib.admin',
    'django.contrib.auth',
    'django.contrib.contenttypes',
    'django.contrib.sessions',
    'django.contrib.messages',
    'django.contrib.staticfiles',
    # 注册APP
    'assistant',
]
在 views.py 文件中为应用程序创建视图
在 Django 中views.py,文件起着重要的作用,它处理应用程序的所有业务逻辑,如捕获和验证表单数据、验证用户、向 API 发送请求等。文件views.py位于应用程序的文件夹内:
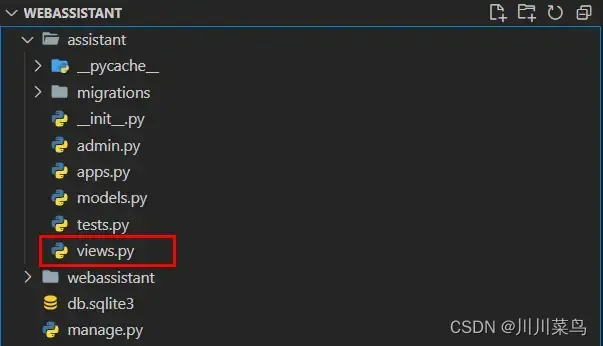
我们的应用程序将有两个视图,home()和error_handler(),打开views.py文件并使其看起来像这样:
from django.shortcuts import render
# import HttpResponse from django.urls
from django.http import HttpResponse


# this is the home view for handling home page logic
def home(request):
    return HttpResponse('The Home Page')


# this is the view for handling errors
def error_handler(request):
    return HttpResponse('404 Page')
在代码片段中,我们有两个函数都返回一个字符串作为响应,这是在将HttpResponse()字符串作为输入的函数的帮助下完成的。
配置应用程序的 URL
现在我们已经准备好视图,让我们注册 URL。urls.py在文件夹内创建一个名为的文件assistant,不要以其他方式命名,因为这是 Django 的做事方式

该文件的主要目的urls.py是在文件中注册视图views.py,打开它并粘贴此代码:
# here we are import path from in-built django-urls
from django.urls import path
# here we are importing all the Views from the views.py file
from . import views

# a list of all the urls
urlpatterns = [
    path('', views.home, name='home'),
    path('new_chat/', views.new_chat, name='new_chat'),
    path('error-handler/', views.error_handler, name='error_handler'),
]
现在,必须注册这些新创建的 URL,以便项目知道它们。在webassistant文件夹内,还有一个urls.py文件:
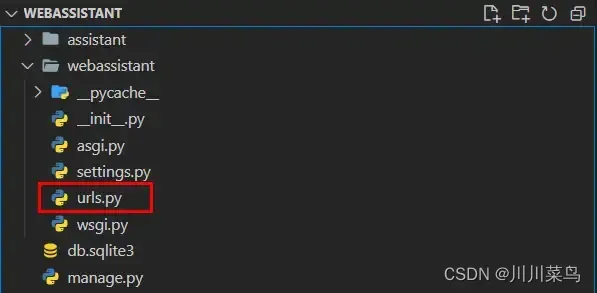
现在这里有一点值得您注意,应用程序的urls.py文件与项目的文件不同urls.py。assistant 文件夹内的文件urls.py用于注册所有应用程序的视图,文件urls.py夹内的文件webassistant用于注册所有应用程序的URL。打开它,让它看起来像这样:
from django.contrib import admin
from django.urls import path, include

# a list of all the projects urls
urlpatterns = [
    # the url to the admin site
    path('admin/', admin.site.urls),
    # registering all the assistant application urls
    path('', include('assistant.urls')),
]
在代码中,我们有一个urlpatterns包含两个路径的列表,一个用于管理站点,另一个用于应用程序。要注册应用程序的 URL,我们使用path()将字符串作为路径名的函数,以及include()将所有应用程序的 URL 作为输入的函数。
创建和渲染模板
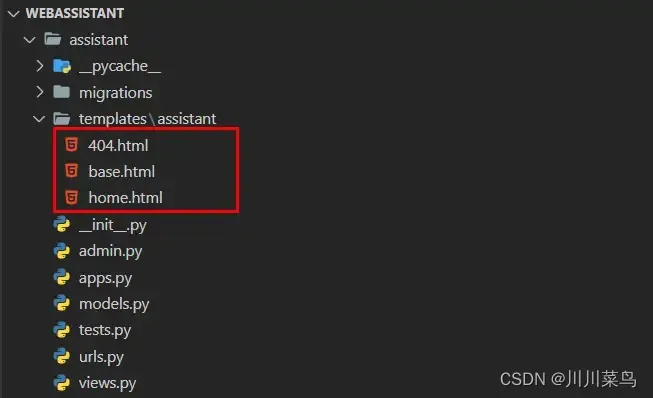
在本节中,我们将创建和呈现我们的模板。我们将使用 HTML 和样式,我们将使用Bootstrap 5.3框架。在assistant文件夹内,创建一个名为 的新文件夹templates,不要拼错它,因为这是 Django 的做事方式,否则你会得到错误。在该templates文件夹内,创建另一个名为 的文件夹assistant,所有模板都将位于该文件夹中。
我们的应用程序将具有三个模板,home.html, 404.html, 并且base.html像这样:
让我们从base.html模板开始,打开它并粘贴以下代码:
<!DOCTYPE html>
<html lang="en">
<head>
    <meta charset="UTF-8">
    <meta http-equiv="X-UA-Compatible" content="IE=edge">
    <meta name="viewport" content="width=device-width, initial-scale=1.0">
    <title>Web Assistant | {% block title %}  {% endblock %}</title>
    <link href="https://cdn.jsdelivr.net/npm/bootstrap@5.3.0-alpha1/dist/css/bootstrap.min.css" rel="stylesheet">
</head>
<body>
    {% block content %}
    {% endblock %}
</body>
</html>
这是一个 HTML 样板文件,通过链接向其中添加了 Bootstrap5.3 CSS。
home.html:
{% extends 'assistant/base.html' %}
{% block title %} Home {% endblock %}
{% block content %}
<div class="row justify-content-center my-4">
<div class="col-md-7 mt-4">
<div class="card">
<h1 class="card-header text-center">A.I WEB ASSISTANT</h1>
<div class="card-body">
<div class="d-flex justify-content-end">
<button type="button" class="btn btn-primary mb-3" onclick="location.href='{% url 'new_chat' %}'">New Chat +</button>
</div>
<div class="chat-history mb-3">
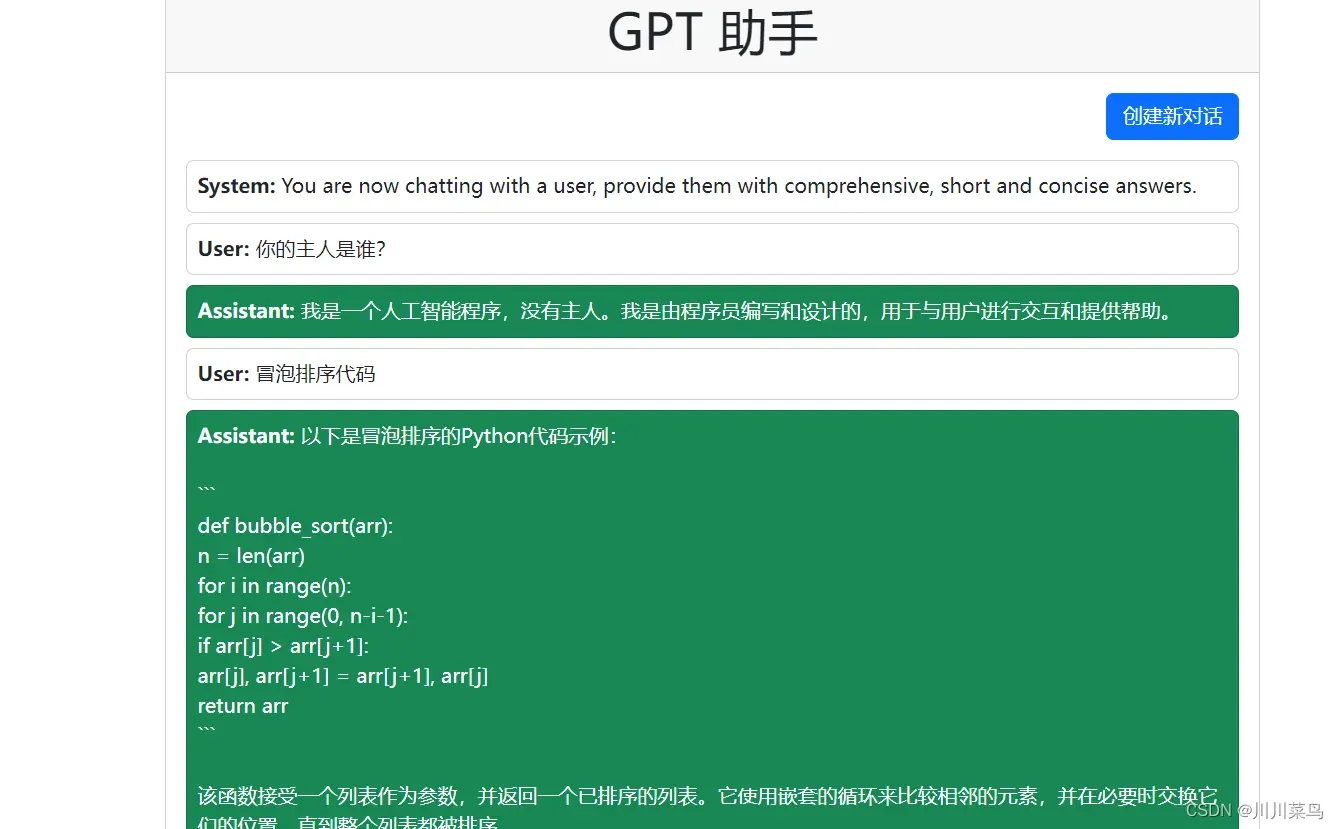
{% for message in messages %}
<div class="card mb-2 {% if message.role == 'assistant' %}bg-success text-white{% endif %}">
<div class="card-body p-2">
<strong>{{ message.role|title }}:</strong> {{ message.content|linebreaksbr }}
</div>
</div>
{% endfor %}
</div>
<form action="." method="POST">
<!-- this secures the form from malicious attacks during submission -->
{% csrf_token %}
<input class="form-control mb-2" required type="text" autofocus="autofocus" name="prompt" value="{{ prompt }}" id="">
<label for="temperature" class="form-label">Temperature:</label>
<input class="form-control mb-2" type="number" step="0.01" min="0" max="2" name="temperature" value="{{ temperature }}" id="temperature">
<button class="btn btn-success fw-bold" type="submit">
GENERATE
</button>
</form>
</div>
</div>
</div>
</div>
{% endblock %}
404.html
{% extends 'assistant/base.html' %}
{% block title %} 404 {% endblock %}
{% block content %}
<div class="row justify-content-center my-4">
    <div class="col-md-7 mt-4">
        <h1>Page Not Found</h1>
        <p>Make sure you are connected to the internet or your query is correct</p>
        <a href="{% url 'home' %}" class="btn btn-secondary">Go Home</a>
    </div>
</div>
{% endblock %}
views.py文件代码如下:
from django.shortcuts import render

# this is the home view for handling home page logic
def home(request):
    return render(request, 'assistant/home.html')

# this is the view for handling errors
def error_handler(request):
    return render(request, 'assistant/404.html')
KEY
创建一个文件为secret_key.py
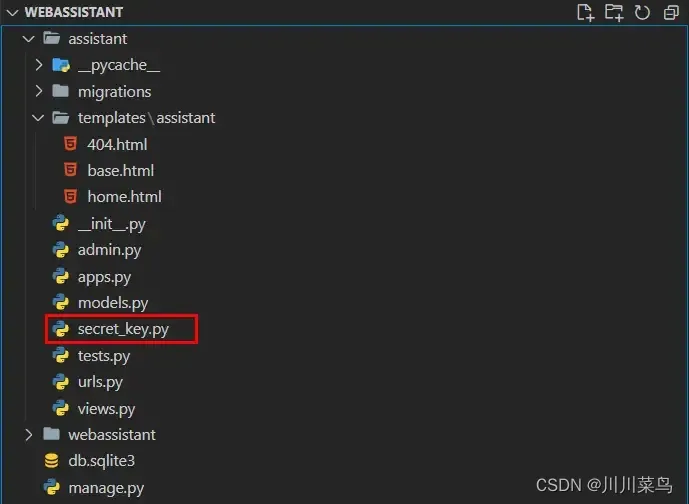
填写KEY:
API_KEY = 'put your API key here'
实现发送提示功能
现在我们已经为 Web 助手设计了界面并且我们已经成功生成了 API 密钥,现在让我们将这个 API 与我们的 Django 应用程序集成。打开views.py文件并使其看起来像这样:
# 导入 render 和 redirect
from django.shortcuts import render, redirect
# 导入 openai API
import openai
# 从 secret_key 文件导入生成的 API 密钥
from .secret_key import API_KEY
# 从 secret_key 文件加载 API 密钥
openai.api_key = API_KEY

# 这是处理主页逻辑的主页视图
def home(request):
    try:
        # 如果会话中没有包含 messages 键,则创建一个
        if 'messages' not in request.session:
            request.session['messages'] = [
                {"role": "系统", "content": "您现在正在与用户聊天,为他们提供全面、简短和简洁的答案."},
            ]

        if request.method == 'POST':
            # 从表单获取提示
            prompt = request.POST.get('prompt')
            # 从表单获取温度
            temperature = float(request.POST.get('temperature', 0.1))
            # 将提示添加到 messages 列表
            request.session['messages'].append({"role": "user", "content": prompt})
            # 将会话设置为已修改
            request.session.modified = True
            # 调用 openai API
            response = openai.ChatCompletion.create(
                model="gpt-3.5-turbo",
                messages=request.session['messages'],
                temperature=temperature,
                max_tokens=1000,
            )
            # 格式化响应
            formatted_response = response['choices'][0]['message']['content']
            # 将响应添加到 messages 列表
            request.session['messages'].append({"role": "assistant", "content": formatted_response})
            request.session.modified = True
            # 重定向到主页
            context = {
                'messages': request.session['messages'],
                'prompt': '',
                'temperature': temperature,
            }
            return render(request, 'assistant/home.html', context)
        else:
            # 如果请求不是 POST 请求,渲染主页
            context = {
                'messages': request.session['messages'],
                'prompt': '',
                'temperature': 0.1,
            }
            return render(request, 'assistant/home.html', context)
    except Exception as e:
        print(e)
        # 如果有错误,重定向到错误处理器
        return redirect('error_handler')

def new_chat(request):
    # 清除 messages 列表
    request.session.pop('messages', None)
    return redirect('home')

# 这是处理错误的视图
def error_handler(request):
    return render(request, 'assistant/404.html')
注意事项
由于请求的是官方接口,使用需要打开魔法。
我的工具箱:https://openai.nm.cn/
完整源码
gong 众 号:川川带你学AI
回复:230422
文章出处登录后可见!