一、基本说明
批量裁剪图片的背景区域,通常是白色背景,从而减少背景值的干扰,减少存储空间。
原文链接:Python批量裁剪图形外围空白区域
原文是检索所有图片的最小裁剪区域坐标值,然后对图片进行裁剪。原文中的图片都是标准化的,核心图片的内容尺度是一样的。因此,如果有很多不同大小的图片,即图片中内容区域的大小和形状不同,则一一搜索。然后裁剪图的背景区域。即,裁剪区域被一一检索并裁剪。
2.实现代码
修改原文中的代码,逐张检索每张图片的裁剪区域坐标,然后进行裁剪。
代码显示如下:
from PIL import Image
import numpy as np
import os

imagesDirectory = r"C:\Users\Administrator\Desktop\out"  # tiff图片所在文件夹路径

i = 0
for imageName in os.listdir(imagesDirectory):
    imagePath = os.path.join(imagesDirectory, imageName)
    image = Image.open(imagePath)  # 打开tiff图像
    ImageArray = np.array(image)
    row = ImageArray.shape[0]
    col = ImageArray.shape[1]
    print(row,col)
    # 先计算所有图片的裁剪范围,然后再统一裁剪并输出图片
    x_left = row
    x_top = col
    x_right = 0
    x_bottom = 0
    # 上下左右范围
    """
    Image.crop(left, up, right, below)
    left:与左边界的距离
    up:与上边界的距离
    right:还是与左边界的距离
    below:还是与上边界的距离
    简而言之就是,左上右下。
    """
    i += 1
    for r in range(row):
        for c in range(col):
            #if ImageArray[row][col][0] < 255 or ImageArray[row][col][0] ==0:
            if ImageArray[r][c][0] < 255 and ImageArray[r][c][0] !=0: #外框有个黑色边框,增加条件判断
                if x_top > r:
                    x_top = r  # 获取最小x_top
                if x_bottom < r:
                    x_bottom = r  # 获取最大x_bottom
                if x_left > c:
                    x_left = c  # 获取最小x_left
                if x_right < c:
                    x_right = c  # 获取最大x_right
    print(x_left, x_top, x_right, x_bottom)
     # image = Image.open(imagePath)  # 打开tiff图像
    cropped = image.crop((x_left-5, x_top-5, x_right+5, x_bottom+5))  # (left, upper, right, lower)
    cropped.save(r"C:\Users\Administrator\Desktop\out_cut_bg\{}.png".format(imageName[:-4], i))
    print("imageName completed!")
三、效果
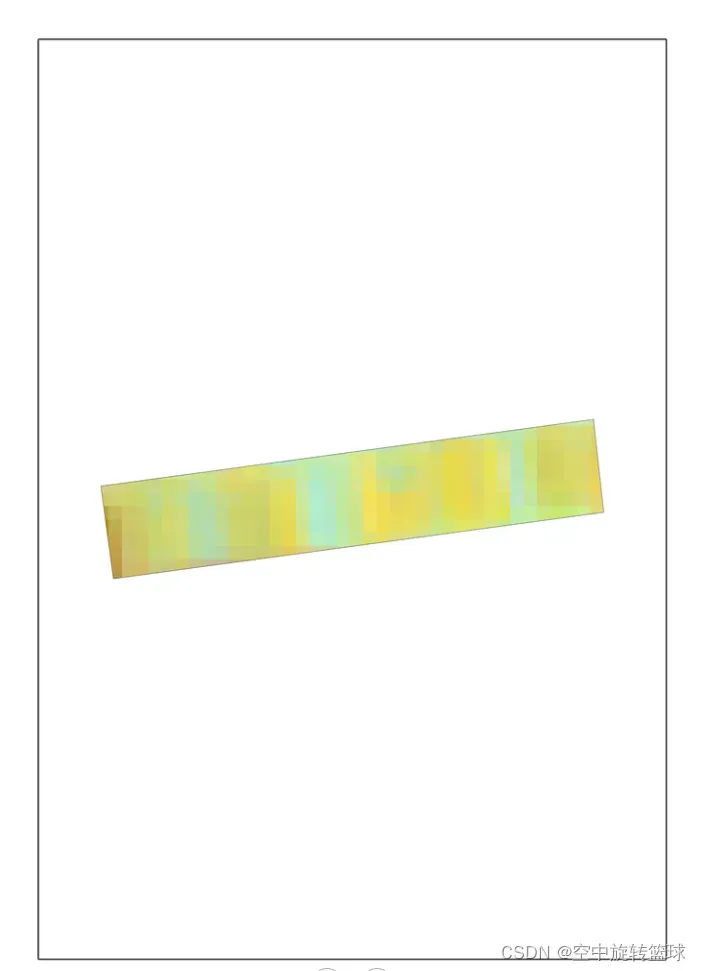
原图显示:
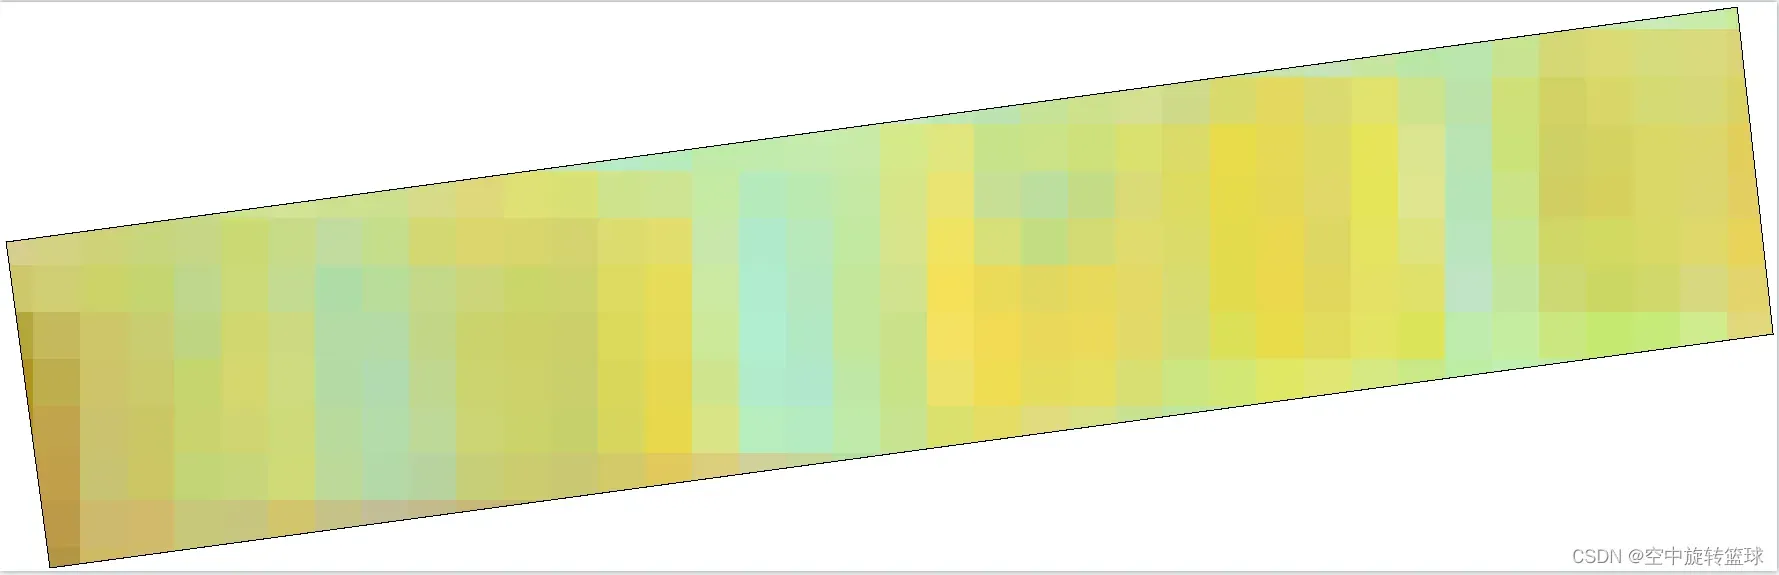
裁剪结果显示:
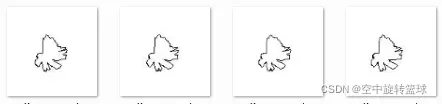
原始效果:

文章出处登录后可见!
已经登录?立即刷新