环境
- Python 3.8.8
- PyCharm 2021
- opencv-python
影响
原戒指: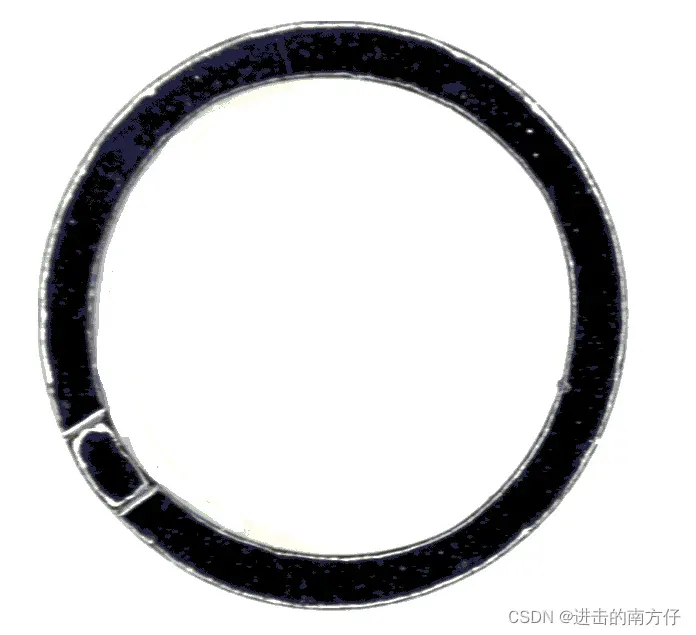
压扁后:
基本的
- 首先是对圆环进行圆检测,检测出外圆和内圆的圆心和半径。关于圆检测,可以看我这篇博客 https://blog.csdn.net/weixin_53598445/article/details/123495680
- 然后用外圆的周长,圆的宽度,也就是内圆和外圆的半径之差,作为宽度来创建一个矩形。如果检测不到内圆,大致可以用外圆半径的一半作为宽度。
- 从圆环的最外圈开始遍历,最外圈即对应着矩形中的第一行(遍历时半径从外围开始逐渐减一),宽度为多少,则矩形中就有多少行以圆心为中心构成极坐标系,则圆环上任意一点可以用 rho 和 theta 来表示再根据下面所示公式计算出该点在图上的真实坐标,把像素值赋给矩形框中对应的位置。
- 因为在计算过程中像素值可能是 float 类型,所以要将矩形的数据类型转回 np.uint8 类型。
代码
import cv2 as cv
import numpy as np
import copy

def circle_flatten() :
    img = cv.imread('images/circle_band.bmp')
    img_gray = cv.cvtColor(img, cv.COLOR_BGR2GRAY)
    # img_gray = cv.medianBlur(img_gray, 3)

    circles = cv.HoughCircles(img_gray, cv.HOUGH_GRADIENT, 1, 50, param1 = 170, param2 = 100).squeeze()
    #获得检测到的所有圆的半径
    circle_radius = circles[ : , 2]
    #获得最大半径的下标
    radius_biggest_index = np.argsort(circle_radius)[-1]
    print(radius_biggest_index)
    #做出最大圆
    circle = np.uint16(np.around(circles[radius_biggest_index]))
    cv.circle(img, (circle[0], circle[1]), radius = circle[2], color = (0, 0, 255), thickness = 5)
    cv.circle(img, (circle[0], circle[1]), radius = 2, color = (255, 0, 0), thickness = 2)

    #取展平后条形圆环的宽为最大半径的一半,而长取最大圆的周长
    height = int(circle_radius[radius_biggest_index] * np.pi * 2)
    width = int(circle_radius[radius_biggest_index] / 3)
    rectangle = np.zeros([width, height])
    print(rectangle.shape)
    print(img_gray.shape)
    for row in range(width) :
        for col in range(height) :
            #转成极坐标系
            theta = np.pi * 2.0 / height * (col + 1)
            rho = circle_radius[radius_biggest_index] - row - 1
            #以圆心为原点,求得原来圆环对应的坐标
            position_x = int(circle[0] + rho * np.cos(theta) + 0.5)
            position_y = int(circle[1] - rho * np.sin(theta) + 0.5)
            rectangle[row, col] = img_gray[position_y, position_x]
    #要转回np.uint8型数据,否则显示有问题
    rectangle = np.uint8(rectangle)
    cv.imwrite('flatten.png', rectangle)
    cv.imshow('rectangle', rectangle)
    cv.imshow('img', img)
    cv.waitKey(0)

if __name__ == '__main__':
    circle_flatten()
文章出处登录后可见!
已经登录?立即刷新