1 准备工作
-
训练Yolo模型要准备的文件及文件格式如下:
/trianing # 根目录 /datasets # 数据集目录(可以任意取名) /images /train /val /labels /train /val /yolov5 -
先创建一个training文件夹
mkdir training/ -
在training文件夹下使用
git clone把yolov5克隆下来并安装依赖
cd traininggit clone clone https://github.com/ultralytics/yolov5pip install -qr requirements.txt -
检查pytorch和torchvision的版本
pip install --upgrade torchpip install --upgrade torchvision -
检查label是否连续,如不连续需要重新编码
-
使用Weights & Bias进行可视化,其中login的API可以在Weights & Biases上获取。
%load_ext tensorboard
%tensorboard --logdir /kaggle/training/yolov5/runs
%pip install -q --upgrade wandbimport wandb wandb.login()
2 将coco数据集转换为yolo数据集
-
使用
json.load(open(file_path,'r'))读取数据 -
创建一个csv存放图片的id和文件名
-
读取2创建的csv,用
train_test_split来切分训练集和验证集 -
在切分出来的trian和test文件中分别新增一列,用来标记该图片为训练图片还是测试图片
train['split']='train'
val['split']='val'
df = pd.concat([trian,val],axis=0).rest_index(drop=True) -
将每张图片的标签单独存放到各自的.txt文件中,其中coco数据集的annotation是
[lowest_x,lowest_y,w,h],而yolo的annotation要求[center_x,center_y,w,h],使用以下函数:def coco2yolo(image_w,image_h,annotation): """Convert coco format data into yolo format data. Note: x,y in coco format are lowest left x and y. x,y in yolo format are center x,y. """ x,y,w,h = annotation['bbox'] x = (x+w)/2.0 y = (y+h)/2.0 return (x/image_w,y/image_h,w/image_w,h/image_h) -
在training目录下创建dataset文件夹
os.makedirs('/kaggle/training/cowboy/images/train', exist_ok=True)os.makedirs('/kaggle/training/cowboy/images/test', exist_ok=True)os.makedirs('/kaggle/training/cowboy/labels/train', exist_ok=True)os.makedirs('/kaggle/training/cowboy/labels/test', exist_ok=True) -
将对应的图片和标签复制到train和test文件夹下
-
创建一个.ymal文件,该文件用于存放:
1)训练数据和测试数据的路径
2)类别总数
3)类别对应的名称data_yaml = dict(train='/kaggle/training/cowboy/images/train/' ,val='/kaggle/training/cowboy/images/test/' ,nc=5 ,names=['belt', 'sunglasses', 'boot', 'cowboy_hat', 'jacket']) with open('/kaggle/training/yolov5/data/data.yaml', 'w') as outfile: yaml.dump(data_yaml, outfile, default_flow_style=True)
3 训练参数定义
参数如下:
lr0: 0.01  # initial learning rate (SGD=1E-2, Adam=1E-3)
lrf: 0.2  # final OneCycleLR learning rate (lr0 * lrf)
momentum: 0.937  # SGD momentum/Adam beta1
weight_decay: 0.0005  # optimizer weight decay 5e-4
warmup_epochs: 3.0  # warmup epochs (fractions ok)
warmup_momentum: 0.8  # warmup initial momentum
warmup_bias_lr: 0.1  # warmup initial bias lr
box: 0.05  # box loss gain
cls: 0.5  # cls loss gain
cls_pw: 1.0  # cls BCELoss positive_weight
obj: 1.0  # obj loss gain (scale with pixels)
obj_pw: 1.0  # obj BCELoss positive_weight
iou_t: 0.20  # IoU training threshold
anchor_t: 4.0  # anchor-multiple threshold
# anchors: 3  # anchors per output layer (0 to ignore)
fl_gamma: 0.0  # focal loss gamma (efficientDet default gamma=1.5)
hsv_h: 0.015  # image HSV-Hue augmentation (fraction)
hsv_s: 0.7  # image HSV-Saturation augmentation (fraction)
hsv_v: 0.4  # image HSV-Value augmentation (fraction)
degrees: 0.0  # image rotation (+/- deg)
translate: 0.1  # image translation (+/- fraction)
scale: 0.5  # image scale (+/- gain)
shear: 0.0  # image shear (+/- deg)
perspective: 0.0  # image perspective (+/- fraction), range 0-0.001
flipud: 0.0  # image flip up-down (probability)
fliplr: 0.5  # image flip left-right (probability)
mosaic: 1.0  # image mosaic (probability)
mixup: 0.0  # image mixup (probability)
copy_paste: 0.0  # segment copy-paste (probability)
4 训练模型
选择模型的时候,可以选择不同大小的模型:Yolov5
BATCH_SIZE = 32 # wisely choose, use the largest size that can feed up all your gpu ram
EPOCHS = 5
MODEL = 'yolov5m.pt'  # 5s, 5m 5l
name = f'{MODEL}_BS_{BATCH_SIZE}_EP_{EPOCHS}'

# 在yolov5目录下
!python train.py --batch {BATCH_SIZE} \
                 --epochs {EPOCHS} \
                 --data data.yaml \
                 --weights {MODEL} \
                 --save-period 1 \
                 --project /kaggle/working/kaggle-cwoboy \
                 --name {name} \
                 -- workers 4
5 预测
-
训练好的模型存放在W&B中,把最好的模型下载下来并上传到kaggle
-
将测试图片放到
VALID_PATH文件夹下 -
回到yolov5路径下跑下面这行代码进行预测
!python detect.py --weights {MODEL_PATH} \
	                  --source {VALID_PATH} \
	                  --conf 0.546 \
	                  --iou-thres 0.5 \
	                  --save-txt \
	                  --save-conf \
	                  --augment
最终预测结果在/kaggle/training/yolov5/runs/detect/exp/labels/
-
若要转换成coco的坐标使用下面这个函数
def yolo2cc_bbox(img_width, img_height, bbox): x = (bbox[0] - bbox[2] * 0.5) * img_width y = (bbox[1] - bbox[3] * 0.5) * img_height w = bbox[2] * img_width h = bbox[3] * img_height return (x, y, w, h) -
若之前对标签进行了编码,要把标签再映射回去
-
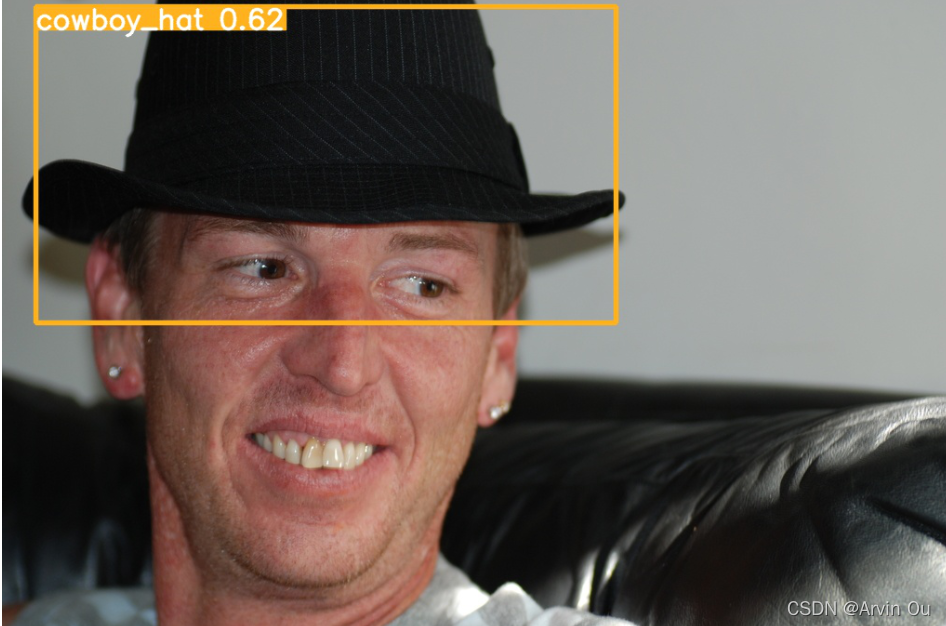
若要可视化结果可以使用Opencv或PIL读取yolov5/runs/detect/exp/下的照片。
m = Image.open('/kaggle/training/yolov5/runs/detect/exp/0007c3f55f707547.jpg')
im
文章出处登录后可见!
