文章目录
- xformers
- bug 记录
- txt2img
- diffusers
- 参考
基础环境承接Stable Diffusion v1, 详情请见我的博文【文生图系列】 Stable Diffusion v1复现教程。然后更新pytorch和torchvision的版本,因为要使用GPU和xformers,需要下载gpu版本的pytorch。再下载open-clip-torch库文件,安装命令如下所示:
conda install pytorch == 1.12.1 torchvision == 0.13.1 torchaudio0.12.1 cudatoolkit=11.3 -c pytorch
pip install open-clip-torch2.7.0
pip install -e .
在pytorch官网上寻找下载命令,pytorch为1.12.1时,有cuda 10.2, 11.3 和11.6的版本,我选择了cuda为11.3版本,那么对应的cudatoolkit=11.3,pytorch安装命令如上所示。
xformers
xformers能够有效地利用GPU,未安装xformers,我的GPU内存为15多G,会出现CUDA out of memory的错误,利用xformer,运行scripts/txt2img.py时,GPU内存占用最高为13多G。
官方文档中是cuda-11.4,由于我的pytorch的cuda是11.3,按照官方教程安装xformers,会出现xFormers wasn’t build with CUDA support cuda错误。所以将cuda的版本更改为11.3。
export CUDA_HOME=/usr/local/cuda-11.3
conda install -c nvidia/label/cuda-11.3.0 cuda-nvcc
conda install -c conda-forge gcc
conda install -c conda-forge gxx_linux-64==9.5.0
下载并安装xformers,在pip install -e .时,会耗费较长时间。
cd …
git clone https://github.com/facebookresearch/xformers.git
cd xformers
git submodule update –init –recursive
pip install -r requirements.txt
pip install -e .
cd …/stablediffusion
bug 记录
- Torch not compiled with CUDA,需要下载带有cuda版本的pytorch
- xFormers wasn’t build with CUDA support cuda版本不匹配,就如上述所述,将cuda版本由11.4更改为11.3,然后重新安装xformers
txt2img
下载stable-diffusion-2-1 模型,下载链接如下所示。stable-diffusion-2-1 是在stable-diffusion-2模型上微调得到的。数据未变,设置punsafe=0.1额外训练了55k步,然后调整punsafe=0.98后再额外训练155k步。
v2-1_768-ema-pruned.ckpt下载: https://huggingface.co/stabilityai/stable-diffusion-2-1/resolve/main/v2-1_768-ema-pruned.ckpt
sd v2版本和sd v1版本的超参数几乎一样,这里不再赘述,具体见【文生图系列】 Stable Diffusion v1复现教程。sd v2相比于v1支持更高分辨,能生成更高清的图片。
python scripts/txt2img.py –prompt “a professional photograph of an astronaut riding a horse” –ckpt v2-1_768-ema-pruned.ckpt –config configs/stable-diffusion/v2-inference-v.yaml –H 768 –W 768 –device cuda
宇航员骑马的生成图片如下所示,相比于v1,生成的图片更全面,也更有质感。马生成的不错,不够露脸的宇航员有些恐怖。
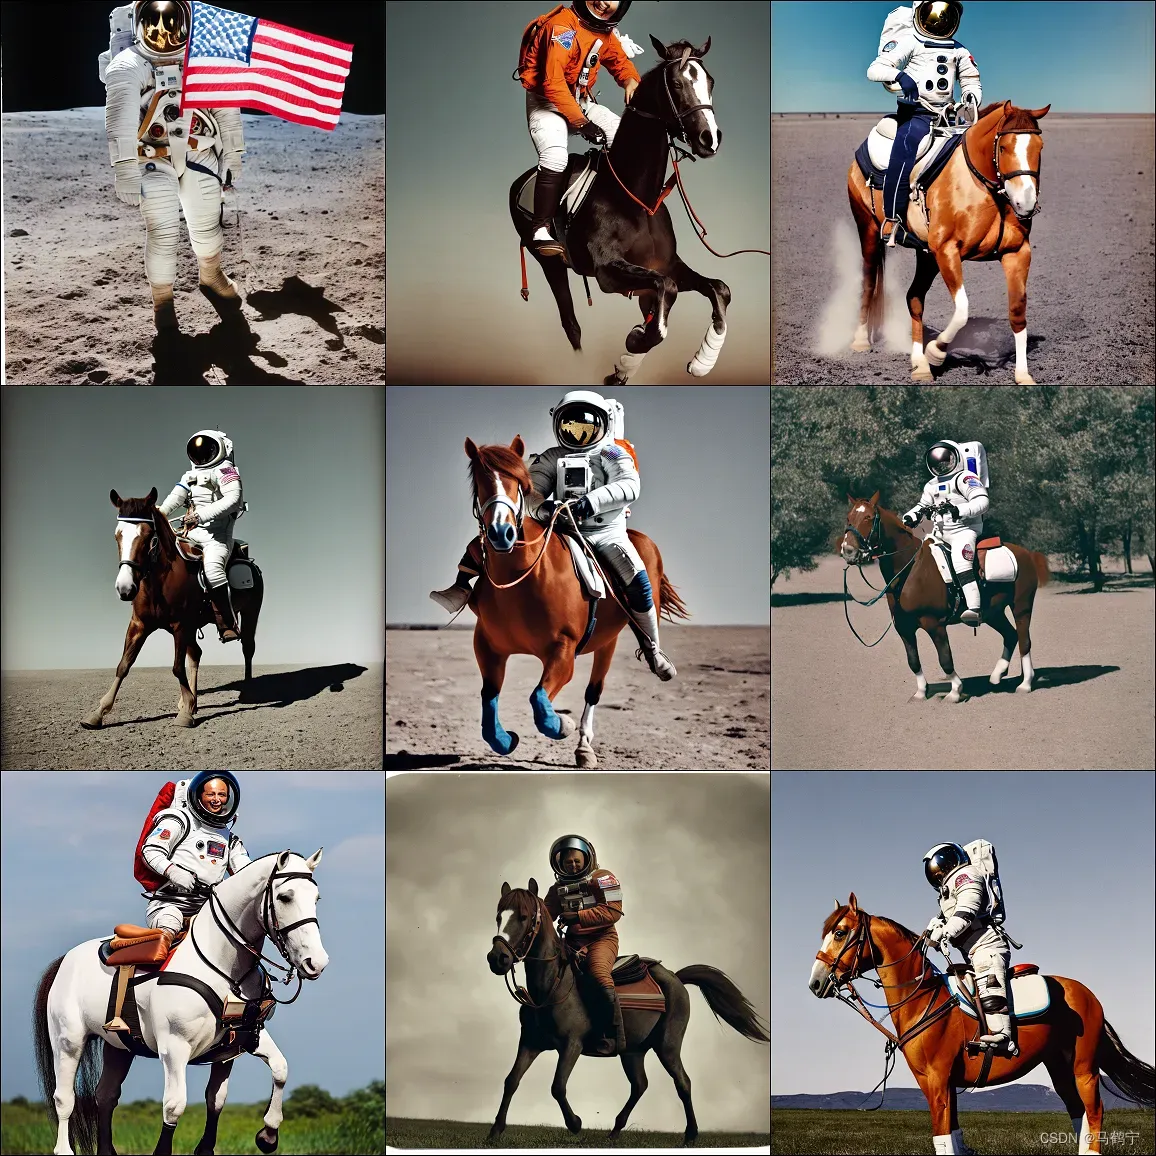 ps: 原图近乎9M,CSDN最高上传5M的图片,将图片进行了压缩到了3M。
租赁的服务器,明天就要到期了。配置完环境之后,趁着最后的时间极速测试一下。下图是生成的一张白发帅哥,超级帅气,很像贝克汉姆。
python scripts/txt2img.py –prompt “a best-quality photo of an extremely handsome young man with white hair who is muscle” –ckpt v2-1_768-ema-pruned.ckpt –config configs/stable-diffusion/v2-inference-v.yaml –H 768 –W 768 –device cuda

python scripts/txt2img.py –prompt “a best-quality photo of a classical Chinese Tang Dynasty beauty who is drinking tea” –ckpt v2-1_768-ema-pruned.ckpt –config configs/stable-diffusion/v2-inference-v.yaml –H 768 –W 768 –device cuda
和sd v1相比,相同的提示词,“唐朝美女喝茶的提示词”,sd v2能把品茗这个动作画出来,但是服饰不怎么像唐朝。

原图近乎9M,CSDN最高上传5M的图片,将图片进行了压缩到了3M。
diffusers
使用diffusers库能够更简单更有效率地运行sd 2。
Cannot initialize model with low cpu memory usage because
acceleratewas not found in the environment. Defaulting tolow_cpu_mem_usage=False. It is strongly recommended to installacceleratefor faster and less memory-intense model loading. You can do so with:pip install accelerate safetensors
import torch
from diffusers import StableDiffusionPipeline, DPMSolverMultistepScheduler

model_id = "stabilityai/stable-diffusion-2-1"

# Use the DPMSolverMultistepScheduler (DPM-Solver++) scheduler here instead
pipe = StableDiffusionPipeline.from_pretrained(model_id, torch_dtype=torch.float16)
pipe.enable_attention_slicing()#如果出现CUDA out of memory.加这行代码
pipe.scheduler = DPMSolverMultistepScheduler.from_config(pipe.scheduler.config)
pipe = pipe.to("cuda")

prompt = "a photo of an astronaut riding a horse on mars"
image = pipe(prompt).images[0]

image.save("astronaut_rides_horse.png")
“a photo of an astronaut riding a horse on mars”在火星上骑马的生成图片如下所示,宇航员、马和火星三个要素都具备,而且riding这个动词也能够很好地表现出来。同样的prompt,sd v2相比于sd V1版本的生成图像更全面。

参考
- Stability-AI/stablediffusion
- stabilityai/stable-diffusion-2-1
文章出处登录后可见!