目录
什么是webSocket?
WebSocket是一种在单个TCP连接上进行全双工通信的协议。WebSocket使得客户端和服务器之间的数据交换变得更加简单,允许服务端主动向客户端推送数据。而Http请求只能从客户端请求服务端才能得到响应。在WebSocket API中,浏览器和服务器只需要完成一次握手,两者之间就直接可以创建持久性的连接,并进行双向数据传输。
webSocket可以用来做什么?
利用双向数据传输的特点可以用来完成很多功能,不需要前端轮询,浪费资源。例如:
聊天功能、数据实时更新和视频弹幕等
webSocket协议
本协议有两部分:握手和数据传输。
握手是基于http协议的。
来自客户端的握手看起来像如下形式:
GET ws://localhost/chat HTTP/1.1
Host: localhost
Upgrade: websocket
Connection: Upgrade
Sec-WebSocket-Key:dGhlIHNhbXBsZSBub25jZQ==
Sec-WebSocket-Protocol: chat,superchat
Sec-WebSocket-Version: 13
来自服务器的握手看起来像如下形式
HTTP/1.1 101 Switching Protocols
Upgrade: websocket
Connection: Upgrade
Sec-WebSocket-Accept:s3pPLMBiTxaQ9kYGzzhZRbK+xOo=
Sec-WebSocket-Protocol: chat
SpringBoot快速整合WebSocket代码案例:
下面我就使用SpringBoot快速整合WebSocket实现服务端与客户端的相互推送消息;
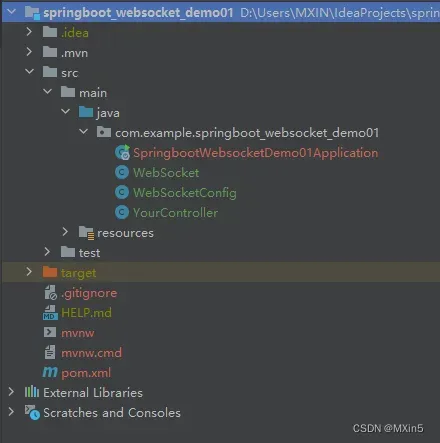
代码层级结构
maven依赖
     <!--WebSocket的依赖-->
        <dependency>
            <groupId>org.springframework.boot</groupId>
            <artifactId>spring-boot-starter-websocket</artifactId>
        </dependency>
WebSocket配置类
package com.example.springboot_websocket_demo01;

import org.springframework.context.annotation.Bean;
import org.springframework.context.annotation.Configuration;
import org.springframework.web.socket.server.standard.ServerEndpointExporter;
@Configuration
public class WebSocketConfig {
    /**
     *   注入ServerEndpointExporter,
     *   这个bean会自动注册使用了@ServerEndpoint注解声明的Websocket endpoint
     */
    @Bean
    public ServerEndpointExporter serverEndpointExporter() {
        return new ServerEndpointExporter();
    }

}
WebSocket操作类
通过该类WebSocket可以进行群推送以及单点推送
package com.example.springboot_websocket_demo01;

import jakarta.websocket.*;
import jakarta.websocket.server.PathParam;
import jakarta.websocket.server.ServerEndpoint;
import lombok.extern.slf4j.Slf4j;
import org.springframework.stereotype.Component;

import java.util.concurrent.ConcurrentHashMap;
import java.util.concurrent.CopyOnWriteArraySet;

@Component
@Slf4j
@ServerEndpoint("/websocket/{userId}")  // 接口路径 ws://localhost:8087/webSocket/userId;
public class WebSocket {

    //与某个客户端的连接会话,需要通过它来给客户端发送数据
    private Session session;
    /**
     * 用户ID
     */
    private String userId;

    //concurrent包的线程安全Set,用来存放每个客户端对应的MyWebSocket对象。
    //虽然@Component默认是单例模式的,但springboot还是会为每个websocket连接初始化一个bean,所以可以用一个静态set保存起来。
    //  注:底下WebSocket是当前类名
    private static CopyOnWriteArraySet<WebSocket> webSockets = new CopyOnWriteArraySet<>();
    // 用来存在线连接用户信息
    private static ConcurrentHashMap<String, Session> sessionPool = new ConcurrentHashMap<String, Session>();

    /**
     * 链接成功调用的方法
     */
    @OnOpen
    public void onOpen(Session session, @PathParam(value = "userId") String userId) {
        try {
            this.session = session;
            this.userId = userId;
            webSockets.add(this);
            sessionPool.put(userId, session);
            log.info("【websocket消息】有新的连接,总数为:" + webSockets.size());
        } catch (Exception e) {
        }
    }

    /**
     * 链接关闭调用的方法
     */
    @OnClose
    public void onClose() {
        try {
            webSockets.remove(this);
            sessionPool.remove(this.userId);
            log.info("【websocket消息】连接断开,总数为:" + webSockets.size());
        } catch (Exception e) {
        }
    }

    /**
     * 收到客户端消息后调用的方法
     *
     * @param message
     */
    @OnMessage
    public void onMessage(String message) {
        log.info("【websocket消息】收到客户端消息:" + message);
    }

    /**
     * 发送错误时的处理
     *
     * @param session
     * @param error
     */
    @OnError
    public void onError(Session session, Throwable error) {
        log.error("用户错误,原因:" + error.getMessage());
        error.printStackTrace();
    }

    // 此为广播消息
    public void sendAllMessage(String message) {
        log.info("【websocket消息】广播消息:" + message);
        for (WebSocket webSocket : webSockets) {
            try {
                if (webSocket.session.isOpen()) {
                    webSocket.session.getAsyncRemote().sendText(message);
                }
            } catch (Exception e) {
                e.printStackTrace();
            }
        }
    }

    // 此为单点消息
    public void sendOneMessage(String userId, String message) {
        Session session = sessionPool.get(userId);
        if (session != null && session.isOpen()) {
            try {
                log.info("【websocket消息】 单点消息:" + message);
                session.getAsyncRemote().sendText(message);
            } catch (Exception e) {
                e.printStackTrace();
            }
        }
    }

    // 此为单点消息(多人)
    public void sendMoreMessage(String[] userIds, String message) {
        for (String userId : userIds) {
            Session session = sessionPool.get(userId);
            if (session != null && session.isOpen()) {
                try {
                    log.info("【websocket消息】 单点消息:" + message);
                    session.getAsyncRemote().sendText(message);
                } catch (Exception e) {
                    e.printStackTrace();
                }
            }
        }

    }

}注意:WebSocketConfig和WebSocket必须放在同一层级下,否则Websocket扫描不到ServerEndpoint注解。
一:测试客户端向服务端推送消息
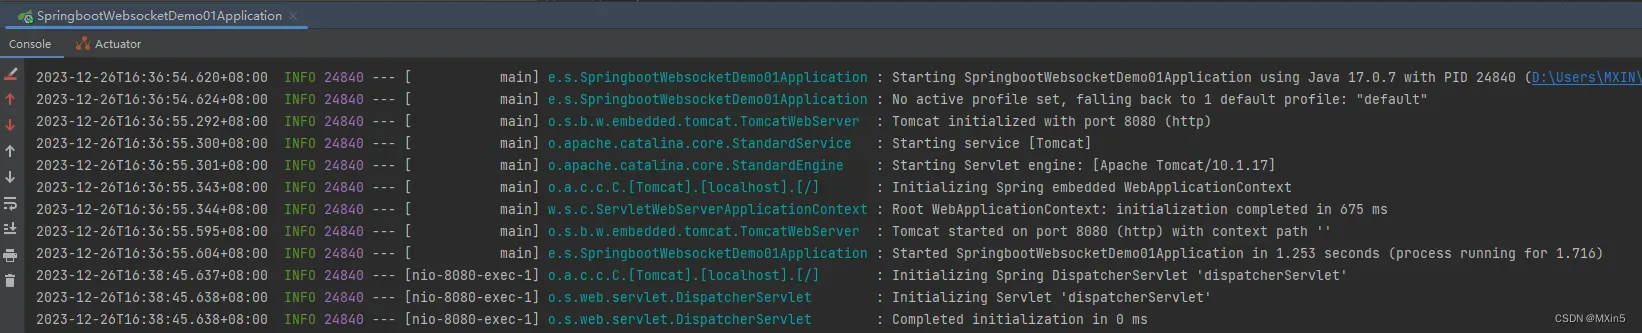
1.启动SpringBoot项目
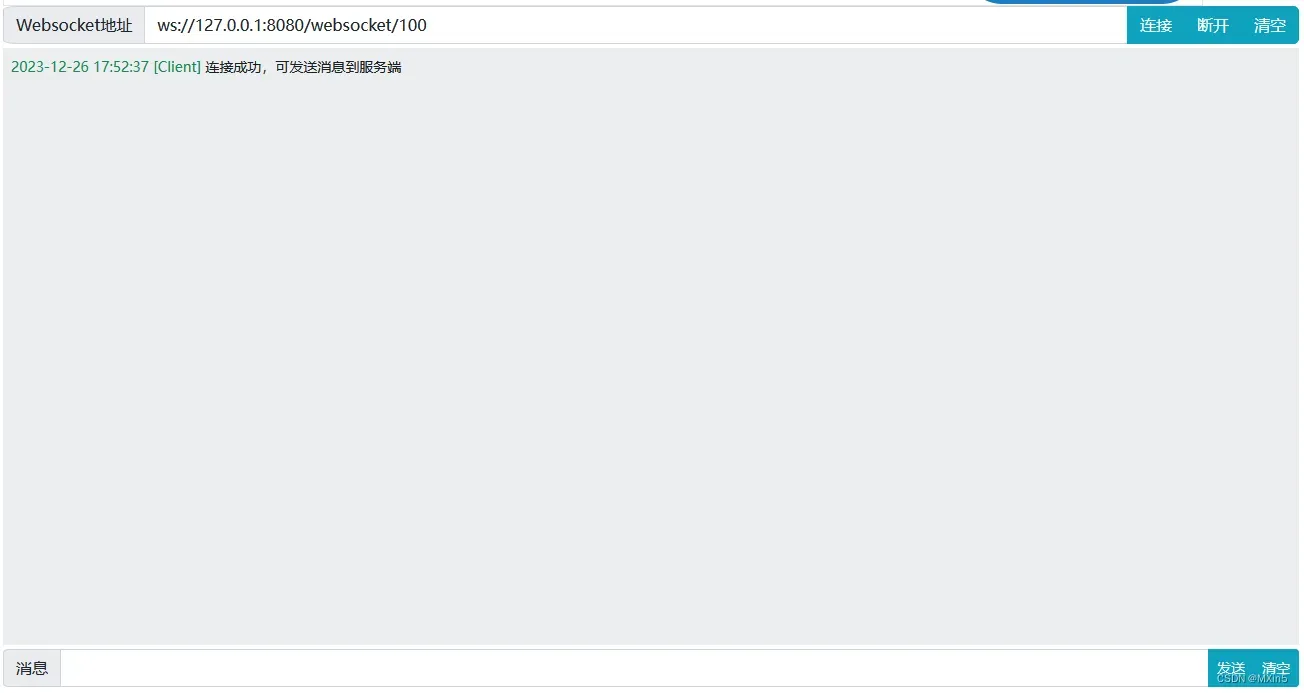
2.打开网站
WebSocket测试 devTest.run
输入
ws://127.0.0.1:8080/websocket/100进行连接,测试是否连接成功
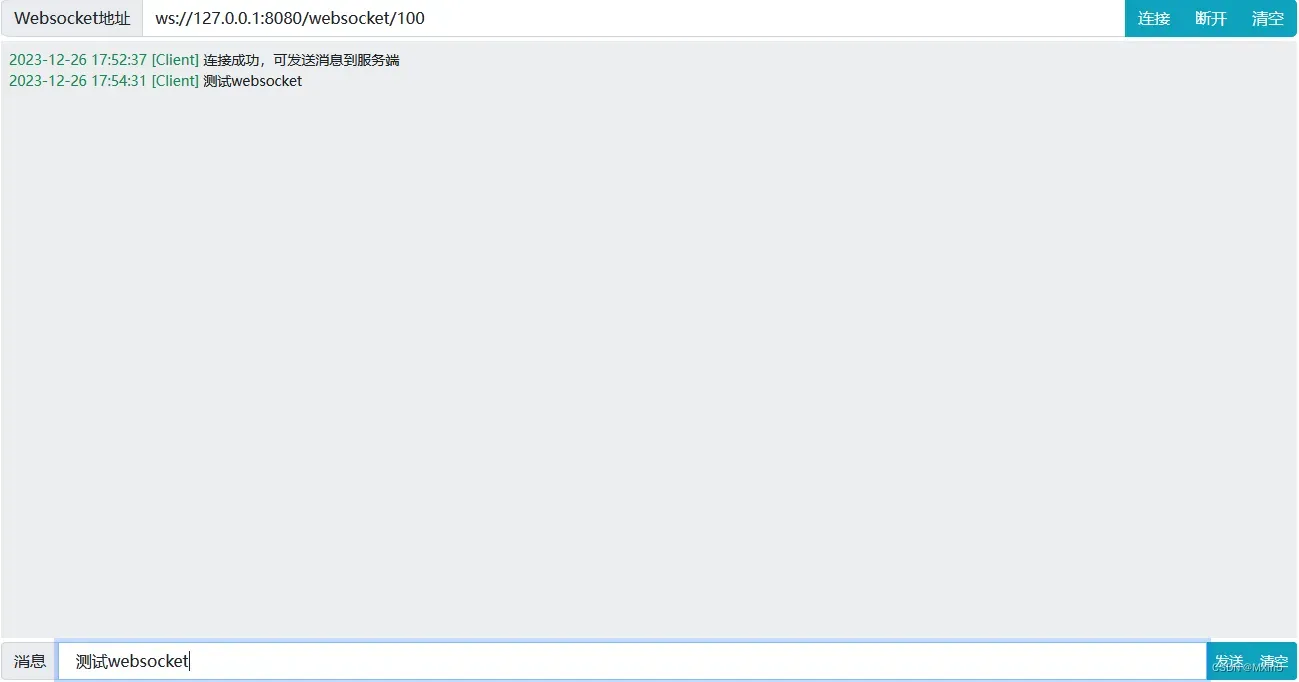
3.进行测试消息推送
4.后端进行查看测试结果
![]()
测试成功,说明客户端可以使用WebSocket对服务端推送消息。
二:测试服务端向客户端推送消息
1.接口代码
package com.example.springboot_websocket_demo01;

import org.springframework.beans.factory.annotation.Autowired;
import org.springframework.web.bind.annotation.PostMapping;
import org.springframework.web.bind.annotation.RequestMapping;
import org.springframework.web.bind.annotation.RestController;

@RestController
@RequestMapping("/api")
public class YourController {

    @Autowired
    private WebSocket webSocket;

    @PostMapping("/sendNotification")
    public void sendNotification() {
        try {
            // 创建业务消息信息
            String message = "postman调用接口访问后端服务器存储数据并使用websocket将消息推送给前端客户端";

            // 全体发送
            webSocket.sendAllMessage(message);

            // 单个用户发送 (userId为用户id)
            String userId = "1";

            String message1 = "【websocket消息】 单点消息:只发送给id为"+userId+"的用户。";
            webSocket.sendOneMessage(userId, message1);

            // 多个用户发送 (userIds为多个用户id,逗号‘,’分隔)
            String[] userIds = {"1", "2"};
            String message2 = "【websocket消息】 单点消息:只发送给id为"+userIds.toString()+"的用户。";
            webSocket.sendMoreMessage(userIds, message2);
        } catch (Exception e) {
            // 输出异常信息
            e.printStackTrace();
        }
    }

}
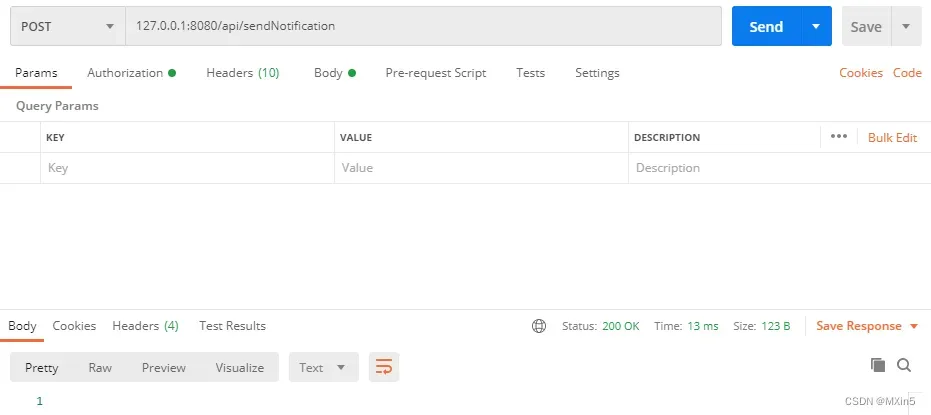
2.使用postman进行调用
用来模仿客户端发送消息到后端服务器然后返回给客户端。(其实也可以直接在WebSocket类中的onMessage中直接进行操作,调用sendAllMessage等其他方法进行测试);
3.查看测试结果
WebSocket测试 devTest.run
正常结果为


还有很多测试方法,自己可以去思考,以上对于SpringBoot整合WebSocket来说可以算是一个简单的入门案例了。
版权声明:本文为博主作者:Mxin5原创文章,版权归属原作者,如果侵权,请联系我们删除!
原文链接:https://blog.csdn.net/m0_64210833/article/details/135227486