1. 搭建Python环境
使用conda创建单独的虚拟环境sd, 打开终端,运行:
conda create -n sd python==3.10.9
然后激活环境:
conda activate sd
安装torch
查看自己的cuda版本,在pytorch官网链接: link
选择对应的torch版本,并直接拷贝安装命令。
// 查案cuda版本
nvcc -V
我根据我的电脑cuda版本(10.2)安装torch指令为:
// 安装torch
conda install pytorch==1.12.1 torchvision==0.13.1 torchaudio==0.12.1 cudatoolkit=10.2 -c pytorch
2. 下载stable-diffusion-webui
可以直接用链接下载使用git命令下载stable-diffusion-webui源码(二选一即可):
// 下载stable-diffusion-webui(二选一,下面一行更稳定)
git clone https://github.com/AUTOMATIC1111/stable-diffusion-webui.git
git clone https://gitee.com/yiouyou/automatic1111-stable-diffusion-webui.git
3. 下载训练模型
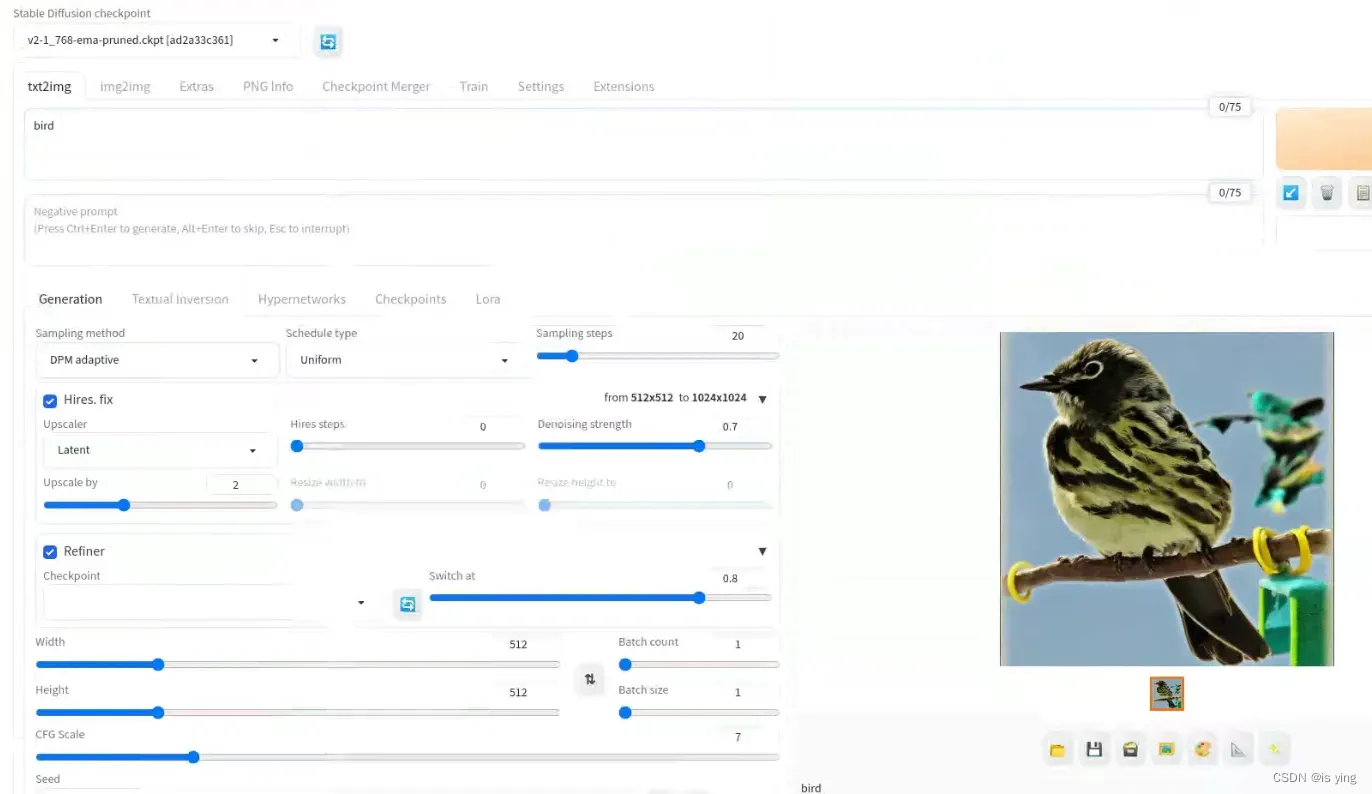
打开链接 link,下载训练模型v2-1_768-ema-pruned.ckpt至stable-diffusion-webui的models/Stable-diffusion目录下,这个目录专门存放用于生成AI绘图的绘图元素的基础模型库。
4. 安装依赖
升级pip并更改默认库包下载地址为清华镜像
// 可以不换,只是这样更稳定
python -m pip install --upgrade pip
pip config set global.index-url https://pypi.tuna.tsinghua.edu.cn/simple
切换到webui目录下,安装依赖
cd stable-diffusion-webui/
pip install -r requirements_versions.txt
pip install -r requirements.txt
安装完成后,启动stable-diffusion-webui
// 这里要安装很多依赖,并且要git clone相关包和模型文件,需要科学上网,否则会失败
python launch.py
启动后会在浏览器打开url,表示环境部署成功
5. 报错:NansException: A tensor with all NaNs was produced in Unet. This could be either because there’s not enough precision to represent the picture, or because your video card does not support half type. Try setting the “Upcast cross attention layer to float32” option in Settings > Stable Diffusion or using the –no-half commandline argument to fix this. Use –disable-nan-check commandline argument to disable this check.
Settings > Stable Diffusion 勾选 upcast cross attention layer to float32
点应用设置,重新加载,就可以啦
版权声明:本文为博主作者:is ying原创文章,版权归属原作者,如果侵权,请联系我们删除!
原文链接:https://blog.csdn.net/qq_41786546/article/details/138232618