原数据大小为:1920*1080
detect.py中的imgsz设置为640,按照正常图像宽高的缩放,原数据缩放后应为:640*360
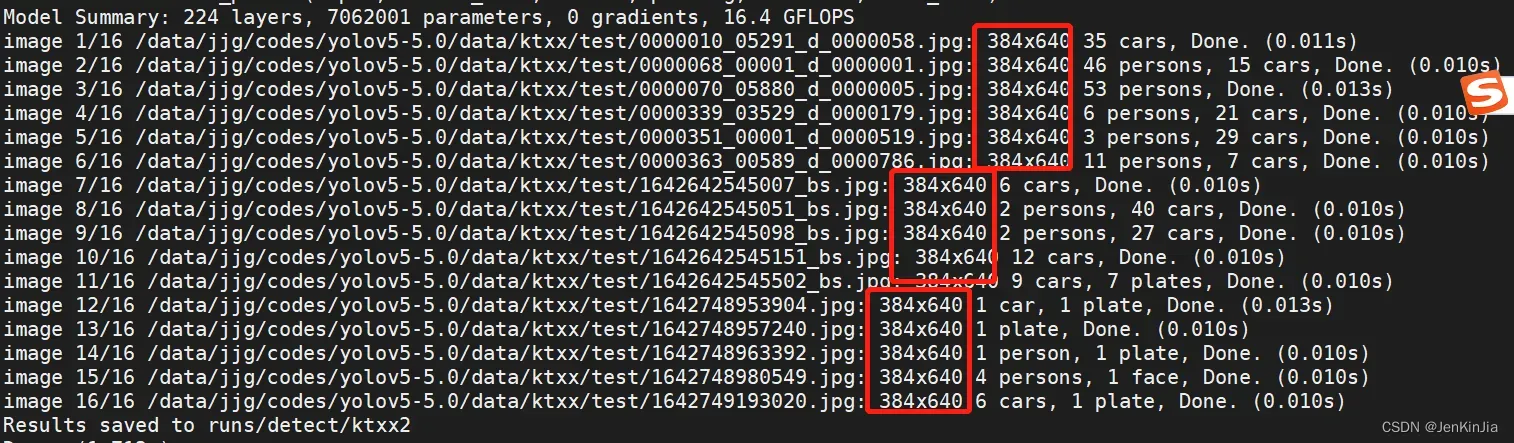
而detect.py的控制台输出却为:640*384,如下所示:
这是为何呢?具体可以从头仔细阅读detect.py的代码,在LoadImages类中有一个letterbox函数,函数具体如下:
def letterbox(im, new_shape=(640, 640), color=(114, 114, 114), auto=True, scaleFill=False, scaleup=True, stride=32):
    # Resize and pad image while meeting stride-multiple constraints
    shape = im.shape[:2]  # current shape [height, width]   --1080 1920
    if isinstance(new_shape, int):
        new_shape = (new_shape, new_shape)  #                --(640, 640)

    # Scale ratio (new / old)
    # 计算缩放因子
    r = min(new_shape[0] / shape[0], new_shape[1] / shape[1]) # --0.33333333
    """
    缩放(resize)到输入大小img_size的时候,如果没有设置上采样的话,则只进行下采样
    因为上采样图片会让图片模糊,对训练不友好影响性能。
    """
    if not scaleup:  # only scale down, do not scale up (for better val mAP)
        r = min(r, 1.0)

    # Compute padding
    ratio = r, r  # width, height ratios                      -- 0.333333, 0.333333
    new_unpad = int(round(shape[1] * r)), int(round(shape[0] * r))  # -- 640, 360
    # 计算padding
    dw, dh = new_shape[1] - new_unpad[0], new_shape[0] - new_unpad[1]  # wh padding --0, 280
    # 获取最小的矩形填充
    if auto:  # minimum rectangle
        dw, dh = np.mod(dw, stride), np.mod(dh, stride)  # wh padding    --0, 12
    # 如果scaleFill=True,则不进行填充,直接resize成img_size,任由图片进行拉伸和压缩
    elif scaleFill:  # stretch
        dw, dh = 0.0, 0.0
        new_unpad = (new_shape[1], new_shape[0])
        ratio = new_shape[1] / shape[1], new_shape[0] / shape[0]  # width, height ratios

    # 计算上下左右填充大小
    dw /= 2  # divide padding into 2 sides  --0
    dh /= 2  #                              --12

    if shape[::-1] != new_unpad:  # resize
        im = cv2.resize(im, new_unpad, interpolation=cv2.INTER_LINEAR)  # im.shape=640, 360
    top, bottom = int(round(dh - 0.1)), int(round(dh + 0.1))  # --12, 12
    left, right = int(round(dw - 0.1)), int(round(dw + 0.1))  # --0, 0
    # 进行填充
    im = cv2.copyMakeBorder(im, top, bottom, left, right, cv2.BORDER_CONSTANT, value=color)  # add border,将上下左右需要增加的边界填到图像上
    return im, ratio, (dw, dh)
代码中的备注给出了所有变量的变化过程。
其实具体就是通过计算“设置的宽高”与“原图宽高”的比例,计算出最终dw,dh的值,就能确定上下左右需要padding的像素个数,最后通过cv2.copyMakeBorder完成图像的resize和padding.
文章出处登录后可见!
已经登录?立即刷新