目录
导包:
image库
LAB模型
例程:
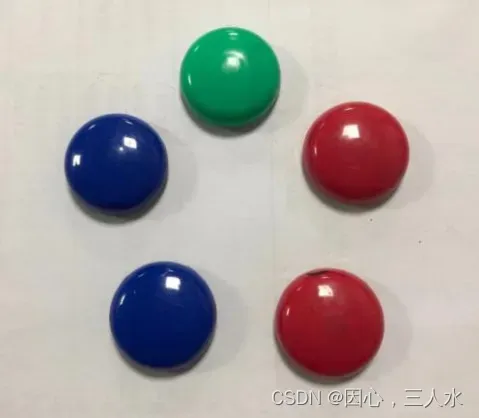
测试图片
导包:
import sensor,lcd,timeimage库
'''
查找图像中指定的色块。返回 image.blog 对象列表;
【thresholds】 必须是元组列表。 [(lo, hi), (lo, hi), ..., (lo, hi)] 定义你想追踪的颜色范围。
               对于灰度图像,每个元组需要包含两个值 - 最小灰度值和最大灰度值。
               仅考虑落在这些阈值之间的像素区域。
               对于 RGB565 图像,每个元组需要有六个值(l_lo,l_hi,a_lo,a_hi,b_lo,b_hi) -
               分别是 LAB L,A 和 B通道的最小值和最大值。
【area_threshold】若色块的边界框区域小于此参数值,则会被过滤掉;
【pixels_threshold】若色块的像素数量小于此参数值,则会被过滤掉;
【merge】若为 True,则合并所有没有被过滤的色块;
【margin】调整合并色块的边缘。
'''
image.find_blobs(thresholds[, invert=False[, roi[, x_stride=2[, y_stride=1[, area_threshold=10[, pixels_threshold=10[, merge=False[,margin=0[, threshold_cb=None[, merge_cb=None]]]]]]]]]])

#返回一个矩形元组(x,y,w,h),如色块边界。可以通过索引[0-3]来获得这些值。
blob.rect()

#返回色块(int)的中心 x 位置。可以通过索引[5]来获得这个值。
blob.cx()

#返回色块(int)的中心 y 位置。可以通过索引[6]来获得这个值。
blob.cy()
LAB模型
# 颜色识别阈值 (L Min, L Max, A Min, A Max, B Min, B Max) LAB模型
# 下面的阈值元组是用来识别 红、绿、蓝三种颜色,当然你也可以调整让识别变得更好。
thresholds = [(30, 100, 15, 127, 15, 127), # 红色阈值
              (30, 100, -64, -8, -32, 32), # 绿色阈值
              (0, 30, 0, 64, -128, -20)] # 蓝色阈值
例程:
'''
main.py

识别颜色
'''

import sensor,lcd,time

#摄像头初始化
sensor.reset()
sensor.set_pixformat(sensor.RGB565)
sensor.set_framesize(sensor.QVGA)
#sensor.set_vflip(1) #后置模式,所见即所得

#lcd初始化
lcd.init()

clock=time.clock()

# 颜色识别阈值 (L Min, L Max, A Min, A Max, B Min, B Max) LAB模型
# 下面的阈值元组是用来识别 红、绿、蓝三种颜色,当然你也可以调整让识别变得更好。
thresholds = [(30, 100, 15, 127, 15, 127), # 红色阈值
              (30, 100, -64, -8, -32, 32), # 绿色阈值
              (0, 30, 0, 64, -128, -20)] # 蓝色阈值

while True:

    clock.tick()

    img=sensor.snapshot()

    blobs = img.find_blobs([thresholds[2]]) # 0,1,2分别表示红,绿,蓝色。
    print("blobs:")
    print(blobs)
    if blobs:
        for b in blobs:
            tmp=img.draw_rectangle(b[0:4]) #画矩形
            tmp=img.draw_cross(b[5], b[6]) #画十字
        print("b:")
        print(b) #示例{"x":290, "y":3, "w":5, "h":5, "pixels":21, "cx":292, "cy":5, "rotation":0.676064, "code":1, "count":1}

    lcd.display(img)     #LCD显示图片
    #print(clock.fps())   #打印FPS
测试图片
文章出处登录后可见!
已经登录?立即刷新