1. 深度图Image和点云
关键代码:
(1) 深度图转点云
pcd = o3d.t.geometry.PointCloud.create_from_depth_image(depth=depth,
                                                        intrinsics=intrinsic,
                                                        depth_scale=5000.0,
                                                        depth_max=10.0)
需要知道相机内外参数。
(2) 点云转深度图
depth_reproj = pcd.project_to_depth_image(width=640,
                                          height=480,
                                          intrinsics=intrinsic,
                                          depth_scale=5000.0,
                                          depth_max=10.0)
需要知道相机内外参数。
point_cloud_to_depth.py
import open3d as o3d
import numpy as np
import matplotlib.pyplot as plt
if __name__ == '__main__':
# 1. read
tum_data = o3d.data.SampleTUMRGBDImage()
depth = o3d.t.io.read_image(tum_data.depth_path) # Image
# 2. depth Image生成PointCloud
"""
create PointCloud from a depth image and a camera model.
depth (open3d.t.geometry.Image): The input depth image should be a uint16_t image.
intrinsics (open3d.core.Tensor): Intrinsic parameters of the camera. 相机内参
extrinsics (open3d.core.Tensor, optional): Extrinsic parameters of the camera. 相机外参
depth_scale (float, optional, default=1000.0): The depth is scaled by 1 / depth_scale.
depth_max (float, optional, default=3.0): Truncated at depth_max distance.
...params.
"""
intrinsic = o3d.core.Tensor([[535.4, 0, 320.1], [0, 539.2, 247.6],
[0, 0, 1]])
pcd = o3d.t.geometry.PointCloud.create_from_depth_image(depth=depth,
intrinsics=intrinsic,
depth_scale=5000.0,
depth_max=10.0)
o3d.visualization.draw([pcd])
# 3. PointCloud生成depth Image
depth_reproj = pcd.project_to_depth_image(width=640,
height=480,
intrinsics=intrinsic,
depth_scale=5000.0,
depth_max=10.0)
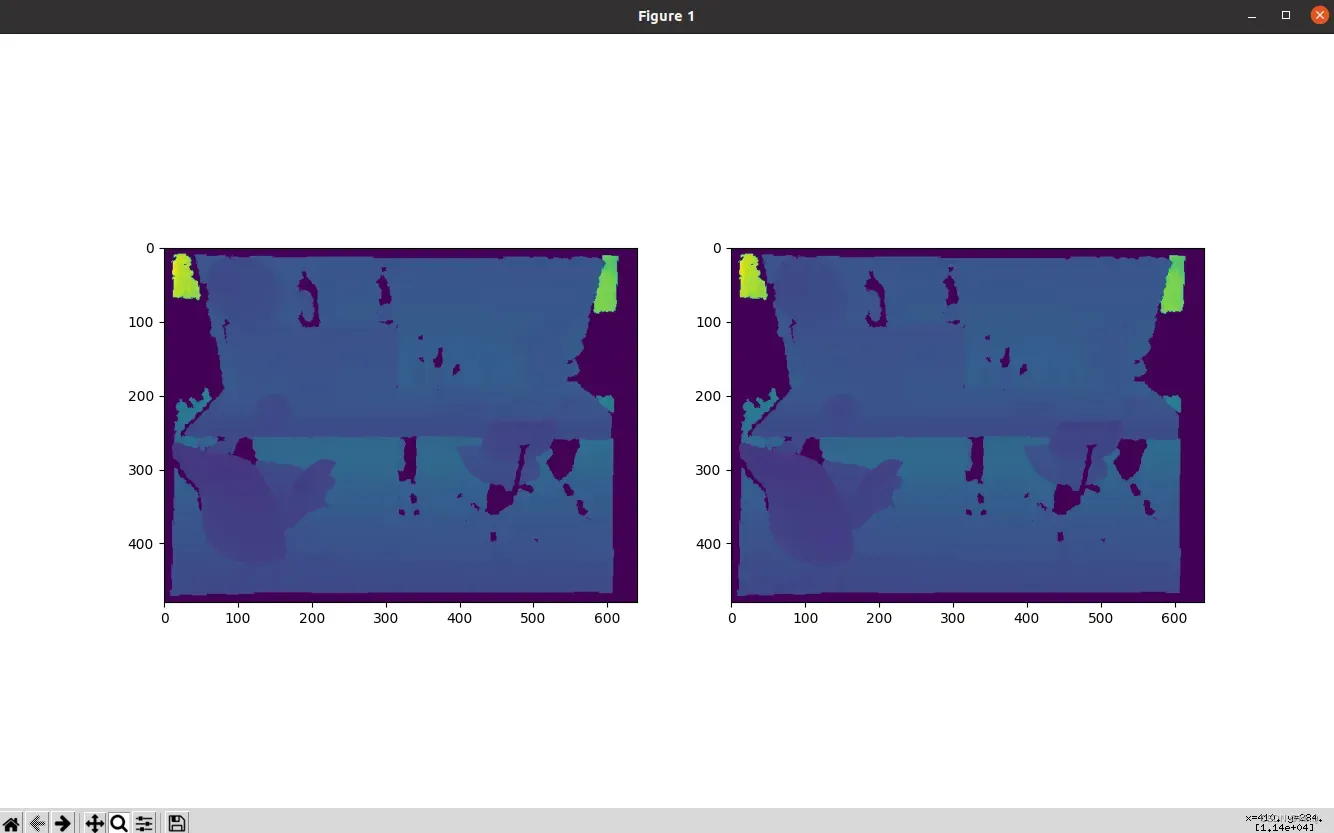
fig, axs = plt.subplots(1, 2)
axs[0].imshow(np.asarray(depth.to_legacy())) # 原始depth
axs[1].imshow(np.asarray(depth_reproj.to_legacy())) # depth->ointCloud->depth
plt.show()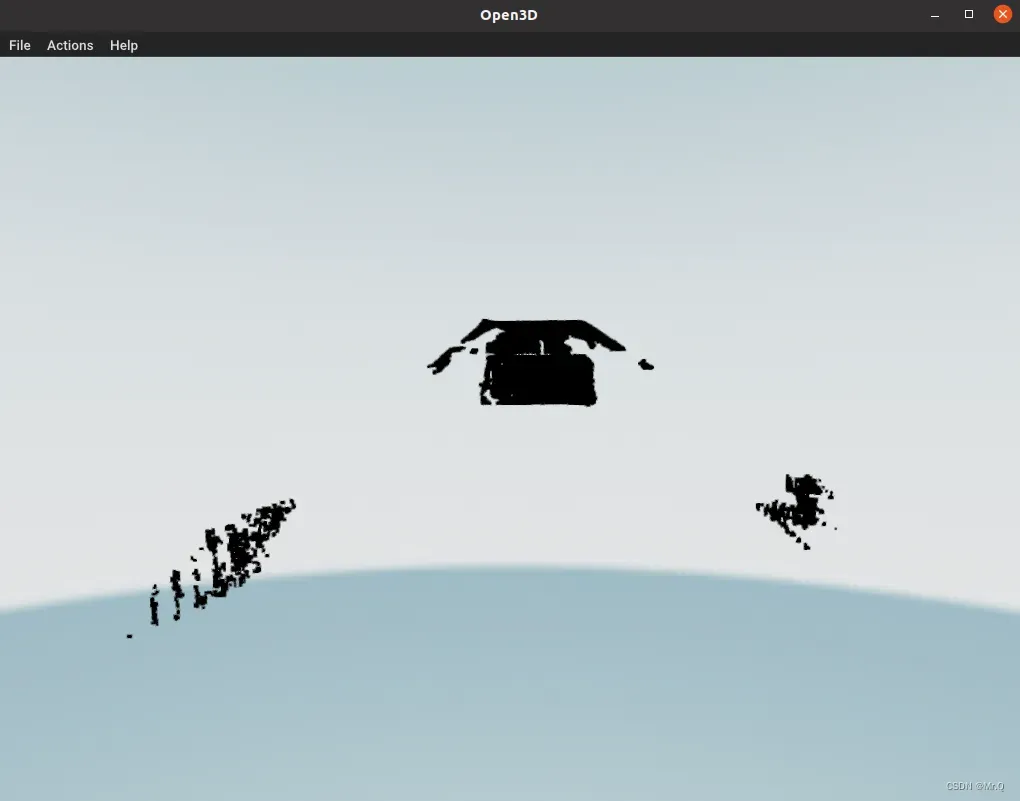
2. RGBD和点云
深度图-》RGBD-》点云
需要知道相机内外参数。
point_cloud_to_rgbd.py
import open3d as o3d
import numpy as np
import matplotlib.pyplot as plt
if __name__ == '__main__':
# 1. read depth and color image
device = o3d.core.Device('CPU:0')
tum_data = o3d.data.SampleTUMRGBDImage()
depth = o3d.t.io.read_image(tum_data.depth_path).to(device)
color = o3d.t.io.read_image(tum_data.color_path).to(device)
# 2. depth and color 生成rgbd
rgbd = o3d.t.geometry.RGBDImage(color, depth)
# 3. rgbd生成pcd
intrinsic = o3d.core.Tensor([[535.4, 0, 320.1], [0, 539.2, 247.6], [0, 0, 1]])
pcd = o3d.t.geometry.PointCloud.create_from_rgbd_image(rgbd,
intrinsic,
depth_scale=5000.0,
depth_max=10.0)
o3d.visualization.draw([pcd])
# 4. pcd生成rgbd
rgbd_reproj = pcd.project_to_rgbd_image(640,
480,
intrinsic,
depth_scale=5000.0,
depth_max=10.0)
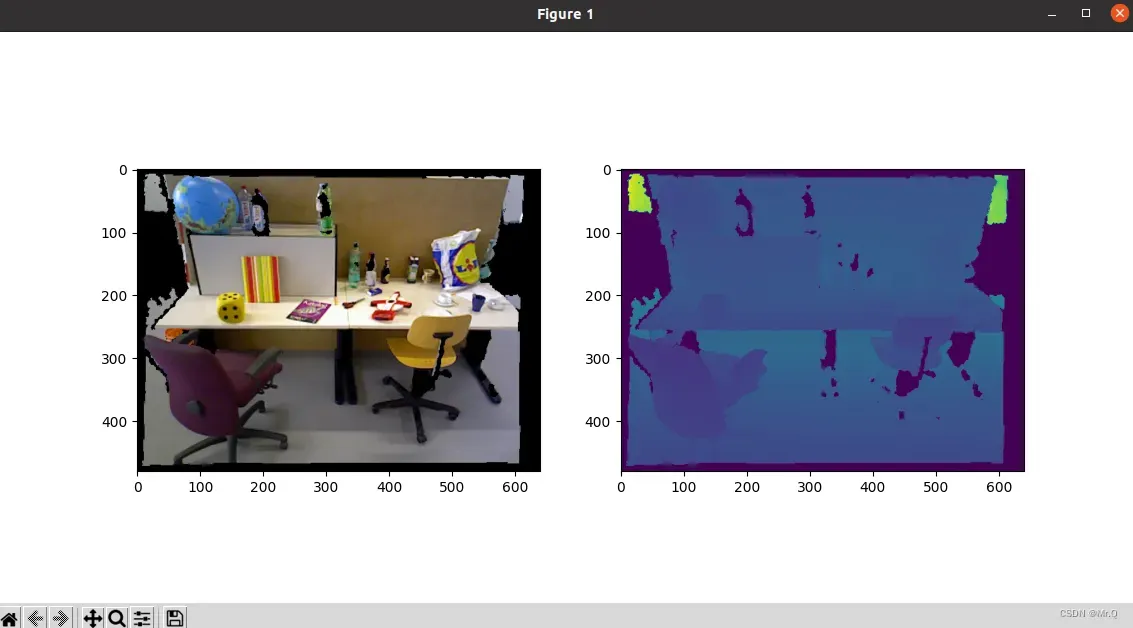
# 5. view
fig, axs = plt.subplots(1, 2)
axs[0].imshow(np.asarray(rgbd_reproj.color.to_legacy())) # 原始rgbd
axs[1].imshow(np.asarray(rgbd_reproj.depth.to_legacy())) # rgbd->pcd->rgbd
plt.show()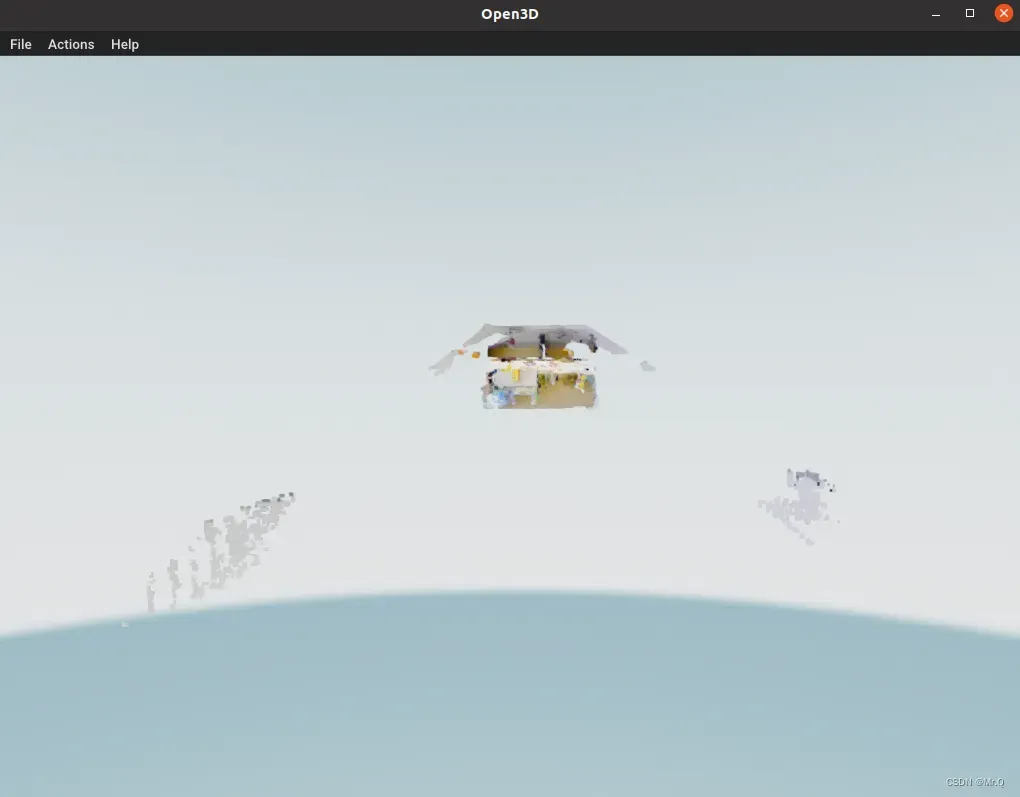
文章出处登录后可见!
已经登录?立即刷新