昨晚在stack overflow刷问题时看到有这个问题,今天早上刚好来尝试学习一下
stack overflow的链接如下:
c# – How to render a WPF UserControl to a bitmap without creating a window – Stack Overflow
测试步骤如下:
1 新建.net framework 3.5的wpf窗体程序
2 默认的窗体的xaml代码如下:
<Window x:Class="WpfDemo.MainWindow"
        xmlns="http://schemas.microsoft.com/winfx/2006/xaml/presentation"
        xmlns:x="http://schemas.microsoft.com/winfx/2006/xaml"
        xmlns:d="http://schemas.microsoft.com/expression/blend/2008"
        xmlns:mc="http://schemas.openxmlformats.org/markup-compatibility/2006"
        xmlns:local="clr-namespace:WpfDemo"
        xmlns:s="clr-namespace:System;assembly=mscorlib"
        mc:Ignorable="d"
        Title="MainWindow" Height="450" Width="800">
    <Grid>
        <StackPanel HorizontalAlignment="Left">
            <TextBox>123455</TextBox>
            <Button x:Name="btnEnter" Click="BtnEnter_Click"
                    Content="确定">
            </Button>
        </StackPanel>

    </Grid>
</Window>
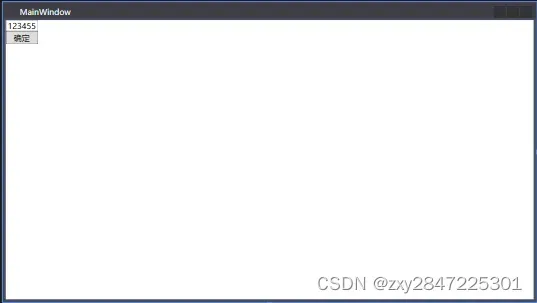
窗体效果如下:
对应的后台代码如下:
using System;
using System.Collections.Generic;
using System.IO;
using System.Linq;
using System.Text;
using System.Windows;
using System.Windows.Controls;
using System.Windows.Data;
using System.Windows.Documents;
using System.Windows.Input;
using System.Windows.Interop;
using System.Windows.Media;
using System.Windows.Media.Imaging;
using System.Windows.Navigation;
using System.Windows.Shapes;

namespace WpfDemo
{
    /// <summary>
    /// MainWindow.xaml 的交互逻辑
    /// </summary>
    public partial class MainWindow : Window
    {
        public MainWindow()
        {
            InitializeComponent();
        }

        private void BtnEnter_Click(object sender, RoutedEventArgs e)
        {
            RenderControl(this);
            MessageBox.Show("保存完成");
        }

        void RenderControl(Control renderControl)
        {
            RenderTargetBitmap bmp = new RenderTargetBitmap((int)renderControl.Width, (int)renderControl.Height, 0, 0, PixelFormats.Pbgra32);

            bmp.Render(renderControl);

            var encoder = new PngBitmapEncoder();

            encoder.Frames.Add(BitmapFrame.Create(bmp));

            using (Stream stm = File.Create("test.png"))
                encoder.Save(stm);
        }


    }
}
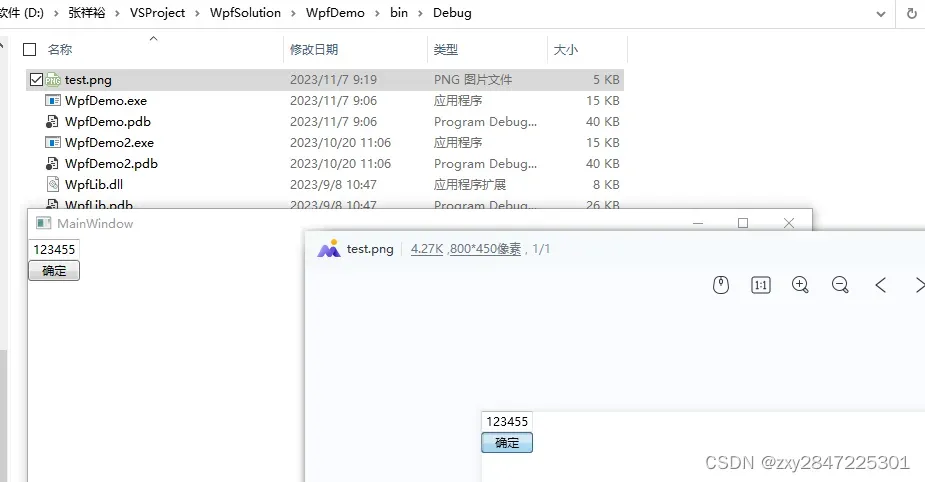
3 运行程序,点击确定按钮,会在bin/Debug目录下生成MainWindow窗体对应的png图片,png图片名称为test.png,如下图:
文章出处登录后可见!
已经登录?立即刷新