ModuleNotFoundError: No module named ‘tensorrt’![]() https://forums.developer.nvidia.com/t/modulenotfounderror-no-module-named-tensorrt/161565
https://forums.developer.nvidia.com/t/modulenotfounderror-no-module-named-tensorrt/161565
TensorRT报错的一百种姿势 | 【TensorRT 报错统计】-云社区-华为云 (huaweicloud.com)![]() https://bbs.huaweicloud.com/blogs/334486 于是使用
https://bbs.huaweicloud.com/blogs/334486 于是使用
pip install --user --upgrade nvidia-tensorrt中间还升级了setuptools
(yolov8) PS D:\todesk\yolov8model> pip install setuptools==60.0.5
Looking in indexes: https://pypi.org/simple, https://pypi.ngc.nvidia.com
Collecting setuptools==60.0.5
Downloading setuptools-60.0.5-py3-none-any.whl (953 kB)
—————————————- 953.1/953.1 kB 2.9 MB/s eta 0:00:00
Installing collected packages: setuptools
Attempting uninstall: setuptools
Found existing installation: setuptools 58.0.4
Uninstalling setuptools-58.0.4:
Successfully uninstalled setuptools-58.0.4
Successfully installed setuptools-60.0.5
但没有用,仍然会报错,具体如下所示。
(yolov8) PS D:\todesk\yolov8model> pip install –user –upgrade nvidia-tensorrt
Looking in indexes: https://pypi.org/simple, https://pypi.ngc.nvidia.com
Collecting nvidia-tensorrt
Downloading nvidia-tensorrt-0.0.1.dev5.tar.gz (7.9 kB)
Preparing metadata (setup.py) … error
error: subprocess-exited-with-error
× python setup.py egg_info did not run successfully.
│ exit code: 1
╰─> [17 lines of output]
Traceback (most recent call last):
File “<string>”, line 2, in <module>
File “<pip-setuptools-caller>”, line 34, in <module>
File “C:\Users\PC\AppData\Local\Temp\pip-install-dlqqyz74\nvidia-tensorrt_1280f25f910844178b7e7d8b8c5baaa2\setup.py”, line 150, in <module>
raise RuntimeError(open(“ERROR.txt”, “r”).read())
RuntimeError:
###########################################################################################
The package you are trying to install is only a placeholder project on PyPI.org repository.
This package is hosted on NVIDIA Python Package Index.
This package can be installed as:
“`
$ pip install nvidia-pyindex
$ pip install nvidia-tensorrt
“`
###########################################################################################
[end of output]
note: This error originates from a subprocess, and is likely not a problem with pip.
error: metadata-generation-failed
× Encountered error while generating package metadata.
╰─> See above for output.
note: This is an issue with the package mentioned above, not pip.
hint: See above for details.
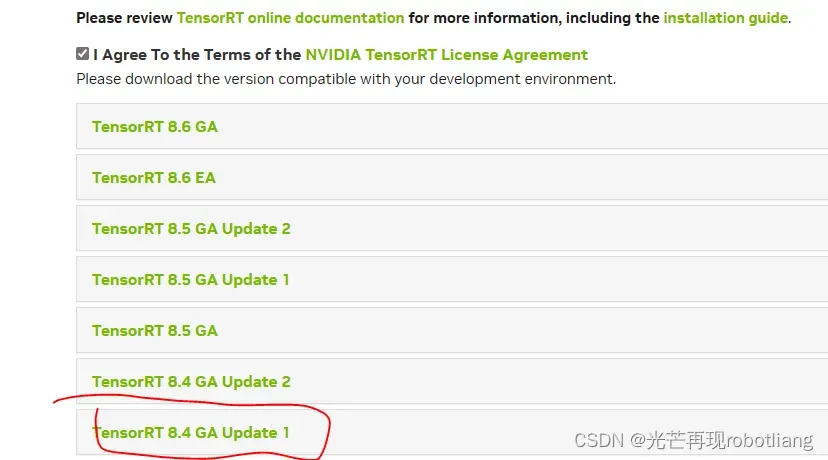
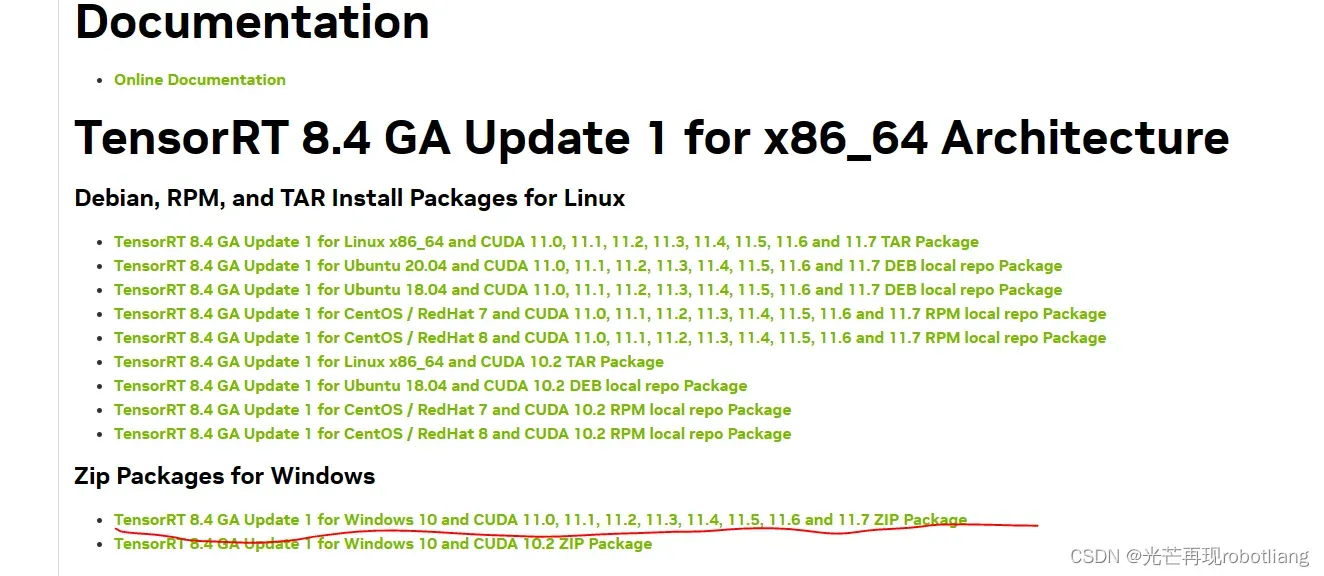
我们首先下载tensorrt8.xx版本,适用于Windows的cuda11.x的版本NVIDIA TensorRT 8.x Download | NVIDIA 开发者![]() https://developer.nvidia.cn/nvidia-tensorrt-8x-download
https://developer.nvidia.cn/nvidia-tensorrt-8x-download
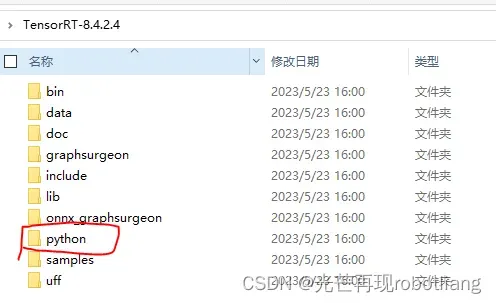
安装这个版本,解压该zip文件夹,将其中的lib文件夹添加到环境变量path当中
去到这个TensoRT-8.4.2.4的python文件夹下
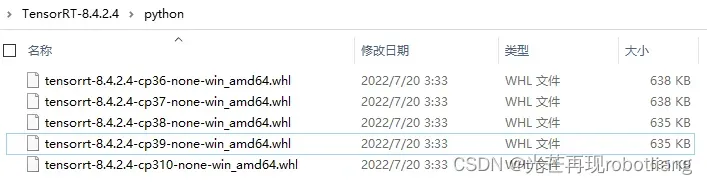
然后我们cd进入该目录
cd D:\1\TensorRT_YOLO\TensorRT-8.4.2.4\python pip install tensorrt-8.4.2.4-cp39-none-win_amd64.whl如下图所示,这样就能成功实现本地安装了,但是依旧不能实际运行

我安装这个的起因是因为我需要把onnx模型转为简单的onnx模型,然后再把简化的onnx模型转化为trt模型, 这个当中要运行
python -m yolov8n.onnx yolov8_sim.onnx这句命令,但是直接运行报错这个“ModuleNotFoundError: No module named ‘tensorrt’”
最终解决方案:需要下载更旧版本的TensorRT才可以,依旧为本地安装,安装步骤同上
下载的版本为TensorRT-8.2.1.8,对应的python版本为3.9
(yolov8) PS D:\todesk\yolov8model> cd D:\1\TensorRT_YOLO\TensorRT-8.2.1.8\python
(yolov8) PS D:\1\TensorRT_YOLO\TensorRT-8.2.1.8\python> pip install tensorrt-8.2.1.8-cp39-none-win_amd64.whl
最后附上一份onnx转trt格式的python代码
import tensorrt as trt
import common

'''
通过加载onnx文件,构建engine
'''
onnx_file_path = "model.onnx"

G_LOGGER = trt.Logger(trt.Logger.WARNING)

# 1、动态输入第一点必须要写的
explicit_batch = 1 << (int)(trt.NetworkDefinitionCreationFlag.EXPLICIT_BATCH)

batch_size = 1  # trt推理时最大支持的batchsize

with trt.Builder(G_LOGGER) as builder, builder.create_network(explicit_batch) as network, \
        trt.OnnxParser(network, G_LOGGER) as parser:

    builder.max_batch_size = batch_size

    config = builder.create_builder_config()
    config.max_workspace_size = common.GiB(1)  # common文件可以自己去tensorrt官方例程下面找
    config.set_flag(trt.BuilderFlag.TF32)
    print('Loading ONNX file from path {}...'.format(onnx_file_path))

    with open(onnx_file_path, 'rb') as model:
        print('Beginning ONNX file parsing')
        parser.parse(model.read())
    print('Completed parsing of ONNX file')
    print('Building an engine from file {}; this may take a while...'.format(onnx_file_path))

    # 动态输入问题解决方案
    profile = builder.create_optimization_profile()
    profile.set_shape("input_1", (1, 512, 512, 3), (1, 512, 512, 3), (1, 512, 512, 3))
    config.add_optimization_profile(profile)

    engine = builder.build_engine(network, config)
    print("Completed creating Engine")

    # 保存engine文件
    engine_file_path = 'model_fp32.trt'
    with open(engine_file_path, "wb") as f:
        f.write(engine.serialize())
文章出处登录后可见!