BEVFusion环境搭建
论文题目:BEVFusion: A Simple and Robust LiDAR-Camera Fusion Framework
论文地址:https://arxiv.org/pdf/2205.13790.pdf
前言:这是今年新发的一篇论文,我在第一次阅读时,代码还未开源,前几天发现开源了,而且这个框架做的很清晰,可以基于这个工作熟悉一下融合方案,也能稍稍改进一下。
笔者环境:
sys.platform: linux
Python: 3.8.3 | packaged by conda-forge | (default, Jun 1 2020, 17:43:00) [GCC 7.5.0]
CUDA available: True
GPU 0,1: NVIDIA GeForce RTX 3090
CUDA_HOME: /usr
NVCC: Build cuda_11.5.r11.5/compiler.30672275_0
GCC: gcc (Ubuntu 7.5.0-6ubuntu2) 7.5.0
PyTorch: 1.8.0+cu111
PyTorch compiling details: PyTorch built with:
- GCC 7.3
- C++ Version: 201402
- Intel® Math Kernel Library Version 2020.0.0 Product Build 20191122 for Intel® 64 architecture applications
- Intel® MKL-DNN v1.7.0 (Git Hash 7aed236906b1f7a05c0917e5257a1af05e9ff683)
- OpenMP 201511 (a.k.a. OpenMP 4.5)
- NNPACK is enabled
- CPU capability usage: AVX2
- CUDA Runtime 11.1
- NVCC architecture flags: -gencode;arch=compute_37,code=sm_37;-gencode;arch=compute_50,code=sm_50;-gencode;arch=compute_60,code=sm_60;-gencode;arch=compute_70,code=sm_70;-gencode;arch=compute_75,code=sm_75;-gencode;arch=compute_80,code=sm_80;-gencode;arch=compute_86,code=sm_86
- CuDNN 8.0.5
- Magma 2.5.2
- Build settings: BLAS_INFO=mkl, BUILD_TYPE=Release, CUDA_VERSION=11.1, CUDNN_VERSION=8.0.5, CXX_COMPILER=/opt/rh/devtoolset-7/root/usr/bin/c++, CXX_FLAGS= -Wno-deprecated -fvisibility-inlines-hidden -DUSE_PTHREADPOOL -fopenmp -DNDEBUG -DUSE_KINETO -DUSE_FBGEMM -DUSE_QNNPACK -DUSE_PYTORCH_QNNPACK -DUSE_XNNPACK -O2 -fPIC -Wno-narrowing -Wall -Wextra -Werror=return-type -Wno-missing-field-initializers -Wno-type-limits -Wno-array-bounds -Wno-unknown-pragmas -Wno-sign-compare -Wno-unused-parameter -Wno-unused-variable -Wno-unused-function -Wno-unused-result -Wno-unused-local-typedefs -Wno-strict-overflow -Wno-strict-aliasing -Wno-error=deprecated-declarations -Wno-stringop-overflow -Wno-psabi -Wno-error=pedantic -Wno-error=redundant-decls -Wno-error=old-style-cast -fdiagnostics-color=always -faligned-new -Wno-unused-but-set-variable -Wno-maybe-uninitialized -fno-math-errno -fno-trapping-math -Werror=format -Wno-stringop-overflow, LAPACK_INFO=mkl, PERF_WITH_AVX=1, PERF_WITH_AVX2=1, PERF_WITH_AVX512=1, TORCH_VERSION=1.8.0, USE_CUDA=ON, USE_CUDNN=ON, USE_EXCEPTION_PTR=1, USE_GFLAGS=OFF, USE_GLOG=OFF, USE_MKL=ON, USE_MKLDNN=ON, USE_MPI=OFF, USE_NCCL=ON, USE_NNPACK=ON, USE_OPENMP=ON,
TorchVision: 0.9.0+cu111
OpenCV: 4.6.0
MMCV: 1.4.0
MMCV Compiler: GCC 7.3
MMCV CUDA Compiler: 11.1
MMDetection: 2.11.0
MMDetection3D: 0.11.0+9d3e162
说人话:torch1.8.0+cuda111,显卡是3090,其余环境根据根据官方文档配的
一、安装
1、克隆BEVFusion代码
git clone https://github.com/ADLab-AutoDrive/BEVFusion.git
2、新建虚拟环境
conda create -n bevfusion python=3.8.3
conda activate bevfusion #激活
3、根据cuda版本安装torch
尽量选择1.7或者1.8,cuda版本要对应
2022年11月22日更新:尽量选1.7吧,1.8的bug导致训练有些问题
2022年12月2日更新:最近太忙,前几天发现1.7的torch不适合在这个项目上用,具体原因和3090显卡有关,缺少相关库(3090最低支持cuda11.1,torch1.7最高支持cuda11.0)
pip install torch=1.8.0+cu111 torchvision=0.9.0+cu111 torchaudio==0.8.0 -f https://download.pytorch.org/whl/torch_stable.html
4、安装mmcv-full
这里要根据自己的torch和cuda来,另外,BEVFusion官方文档推荐1.4.0版本
从以下网址找到自己合适的版本
https://download.openmmlab.com/mmcv/dist/{cu_version}/{torch_version}/index.html
其中cu_version代表cuda版本,torch_version代表torch版本,
例如,我的是torch1.8.0+cuda111,所以我的地址是:
https://download.openmmlab.com/mmcv/dist/cu111/torch1.8.0/index.html
因为创建的环境是python3.8,所以选择cp38,别忘了mmcv-full版本是1.4.0,下载whl文件,并传到服务器上,然后pip whl文件(不再赘述pip安装whl了,百度一下)

5、安装MMDetection
下面是BEVFusion官方推荐的环境
python=3.8.3
mmdet=2.11.0 (please install mmdet in mmdetection-2.11.0)
mmcv=1.4.0
mmdet3d=0.11.0
numpy=1.19.2
torch=1.7.0
torchvision=0.8.0
注意please install mmdet in mmdetection-2.11.0,作者已经在仓库中放了这个文件夹,我们直接进入这个文件夹

然后执行:
pip install -r requirements/build.txt
pip install -v -e .  # or "python setup.py develop"(推荐执行后者)
6、安装MMDetection3D
退回到BEVFusion根目录下,克隆MMDetection3D,进入执行下面指令
git clone https://github.com/open-mmlab/mmdetection3d.git
cd mmdetection3d
pip install -v -e .  # or "python setup.py develop"(推荐执行后者)
7、作者没有提到的一步
退回到BEVFusion根目录下,你会注意到有个setup.py文件
执行python setup.py develop
至此配置完毕
以下是我的环境
Package Version Editable project location
absl-py 1.3.0
addict 2.4.0
anyio 3.6.2
argon2-cffi 21.3.0
argon2-cffi-bindings 21.2.0
asttokens 2.1.0
attrs 22.1.0
backcall 0.2.0
beautifulsoup4 4.11.1
black 22.10.0
bleach 5.0.1
cachetools 5.2.0
certifi 2022.9.24
cffi 1.15.1
charset-normalizer 2.1.1
click 8.1.3
contourpy 1.0.6
cycler 0.11.0
Cython 0.29.32
debugpy 1.6.3
decorator 5.1.1
defusedxml 0.7.1
depthwise-conv2d-implicit-gemm 0.0.0
descartes 1.1.0
entrypoints 0.4
exceptiongroup 1.0.4
executing 1.2.0
fastjsonschema 2.16.2
filelock 3.8.0
fire 0.4.0
flake8 5.0.4
fonttools 4.38.0
google-auth 2.14.1
google-auth-oauthlib 0.4.6
grpcio 1.50.0
h5py 3.7.0
huggingface-hub 0.11.0
idna 3.4
imageio 2.22.4
importlib-metadata 5.0.0
importlib-resources 5.10.0
iniconfig 1.1.1
ipykernel 6.17.1
ipython 8.6.0
ipython-genutils 0.2.0
ipywidgets 8.0.2
jedi 0.18.1
Jinja2 3.1.2
joblib 1.2.0
jsonschema 4.17.0
jupyter 1.0.0
jupyter_client 7.4.6
jupyter-console 6.4.4
jupyter_core 5.0.0
jupyter-server 1.23.2
jupyterlab-pygments 0.2.2
jupyterlab-widgets 3.0.3
kiwisolver 1.4.4
llvmlite 0.31.0
loguru 0.6.0
lyft-dataset-sdk 0.0.8
Markdown 3.4.1
MarkupSafe 2.1.1
matplotlib 3.6.2
matplotlib-inline 0.1.6
mccabe 0.7.0
mistune 2.0.4
mmcls 0.24.1
mmcv-full 1.4.0
mmdet 2.11.0 /home/wistful/work/my_bevfusion/mmdetection-2.11.0
mmdet3d 0.11.0 /home/wistful/work/my_bevfusion
mmpycocotools 12.0.3
msgpack 1.0.4
msgpack-numpy 0.4.8
multimethod 1.9
mypy-extensions 0.4.3
nbclassic 0.4.8
nbclient 0.7.0
nbconvert 7.2.5
nbformat 5.7.0
nest-asyncio 1.5.6
networkx 2.2
ninja 1.11.1
notebook 6.5.2
notebook_shim 0.2.2
numba 0.48.0
numpy 1.23.4
nuscenes-devkit 1.1.9
oauthlib 3.2.2
opencv-python 4.6.0.66
packaging 21.3
pandas 1.4.4
pandocfilters 1.5.0
parso 0.8.3
pathspec 0.10.2
pexpect 4.8.0
pickleshare 0.7.5
Pillow 9.3.0
pip 22.3.1
pkgutil_resolve_name 1.3.10
platformdirs 2.5.4
plotly 5.11.0
pluggy 1.0.0
plyfile 0.7.4
prettytable 3.5.0
prometheus-client 0.15.0
prompt-toolkit 3.0.32
protobuf 3.20.3
psutil 5.9.4
ptyprocess 0.7.0
pure-eval 0.2.2
pyasn1 0.4.8
pyasn1-modules 0.2.8
pycocotools 2.0.6
pycodestyle 2.9.1
pycparser 2.21
pyflakes 2.5.0
Pygments 2.13.0
pyparsing 3.0.9
pyquaternion 0.9.9
pyrsistent 0.19.2
pytest 7.2.0
python-dateutil 2.8.2
pytz 2022.6
PyWavelets 1.4.1
PyYAML 6.0
pyzmq 24.0.1
qtconsole 5.4.0
QtPy 2.3.0
requests 2.28.1
requests-oauthlib 1.3.1
rsa 4.9
scikit-image 0.19.3
scikit-learn 1.1.3
scipy 1.9.3
Send2Trash 1.8.0
setuptools 65.5.1
Shapely 1.8.5.post1
six 1.16.0
sniffio 1.3.0
soupsieve 2.3.2.post1
stack-data 0.6.1
tabulate 0.9.0
tenacity 8.1.0
tensorboard 2.11.0
tensorboard-data-server 0.6.1
tensorboard-plugin-wit 1.8.1
tensorpack 0.11
termcolor 2.1.0
terminado 0.17.0
terminaltables 3.1.10
threadpoolctl 3.1.0
tifffile 2022.10.10
timm 0.6.11
tinycss2 1.2.1
toml 0.10.2
tomli 2.0.1
torch 1.8.0+cu111
torchaudio 0.8.0
torchpack 0.3.1
torchvision 0.9.0+cu111
tornado 6.2
tqdm 4.64.1
traitlets 5.5.0
trimesh 2.35.39
typing_extensions 4.4.0
urllib3 1.26.12
wcwidth 0.2.5
webencodings 0.5.1
websocket-client 1.4.2
Werkzeug 2.2.2
wheel 0.38.4
widgetsnbextension 4.0.3
yapf 0.32.0
zipp 3.10.0sys.platform: linux
Python: 3.8.3 | packaged by conda-forge | (default, Jun 1 2020, 17:43:00) [GCC 7.5.0]
CUDA available: True
GPU 0,1: NVIDIA GeForce RTX 3090
CUDA_HOME: /usr/local/cuda
NVCC: Build cuda_11.1.TC455_06.29069683_0
GCC: gcc (Ubuntu 7.5.0-6ubuntu2) 7.5.0
PyTorch: 1.8.0+cu111
PyTorch compiling details: PyTorch built with:
- GCC 7.3
- C++ Version: 201402
- Intel® Math Kernel Library Version 2020.0.0 Product Build 20191122 for Intel® 64 architecture applications
- Intel® MKL-DNN v1.7.0 (Git Hash 7aed236906b1f7a05c0917e5257a1af05e9ff683)
- OpenMP 201511 (a.k.a. OpenMP 4.5)
- NNPACK is enabled
- CPU capability usage: AVX2
- CUDA Runtime 11.1
- NVCC architecture flags: -gencode;arch=compute_37,code=sm_37;-gencode;arch=compute_50,code=sm_50;-gencode;arch=compute_60,code=sm_60;-gencode;arch=compute_70,code=sm_70;-gencode;arch=compute_75,code=sm_75;-gencode;arch=compute_80,code=sm_80;-gencode;arch=compute_86,code=sm_86
- CuDNN 8.0.5
- Magma 2.5.2
- Build settings: BLAS_INFO=mkl, BUILD_TYPE=Release, CUDA_VERSION=11.1, CUDNN_VERSION=8.0.5, CXX_COMPILER=/opt/rh/devtoolset-7/root/usr/bin/c++, CXX_FLAGS= -Wno-deprecated -fvisibility-inlines-hidden -DUSE_PTHREADPOOL -fopenmp -DNDEBUG -DUSE_KINETO -DUSE_FBGEMM -DUSE_QNNPACK -DUSE_PYTORCH_QNNPACK -DUSE_XNNPACK -O2 -fPIC -Wno-narrowing -Wall -Wextra -Werror=return-type -Wno-missing-field-initializers -Wno-type-limits -Wno-array-bounds -Wno-unknown-pragmas -Wno-sign-compare -Wno-unused-parameter -Wno-unused-variable -Wno-unused-function -Wno-unused-result -Wno-unused-local-typedefs -Wno-strict-overflow -Wno-strict-aliasing -Wno-error=deprecated-declarations -Wno-stringop-overflow -Wno-psabi -Wno-error=pedantic -Wno-error=redundant-decls -Wno-error=old-style-cast -fdiagnostics-color=always -faligned-new -Wno-unused-but-set-variable -Wno-maybe-uninitialized -fno-math-errno -fno-trapping-math -Werror=format -Wno-stringop-overflow, LAPACK_INFO=mkl, PERF_WITH_AVX=1, PERF_WITH_AVX2=1, PERF_WITH_AVX512=1, TORCH_VERSION=1.8.0, USE_CUDA=ON, USE_CUDNN=ON, USE_EXCEPTION_PTR=1, USE_GFLAGS=OFF, USE_GLOG=OFF, USE_MKL=ON, USE_MKLDNN=ON, USE_MPI=OFF, USE_NCCL=ON, USE_NNPACK=ON, USE_OPENMP=ON,
TorchVision: 0.9.0+cu111
OpenCV: 4.6.0
MMCV: 1.4.0
MMCV Compiler: GCC 7.3
MMCV CUDA Compiler: 11.1
MMDetection: 2.20.0
MMDetection3D: 0.11.0+9d3e162
二、组织数据集
注意,一般来说使用mmdetection3d框架的工作,要把数据集组织到mmdetection3d/data下,而不是在项目的根目录创建一个data目录。所以要把数据集组织到BEVFusion/mmdetection3d/data下
It is recommended to symlink the dataset root to
$MMDETECTION3D/data. If your folder structure is different from the following, you may need to change the corresponding paths in config files.
数据集组织我就不再赘述了,按照官方说明的组织形式组织好
mmdetection3d
├── mmdet3d
├── tools
├── configs
├── data
│ ├── nuscenes
│ │ ├── maps
│ │ ├── samples
│ │ ├── sweeps
│ │ ├── v1.0-test
| | ├── v1.0-trainval
│ ├── kitti
│ │ ├── ImageSets
│ │ ├── testing
│ │ │ ├── calib
│ │ │ ├── image_2
│ │ │ ├── velodyne
│ │ ├── training
│ │ │ ├── calib
│ │ │ ├── image_2
│ │ │ ├── label_2
│ │ │ ├── velodyne
│ ├── waymo
│ │ ├── waymo_format
│ │ │ ├── training
│ │ │ ├── validation
│ │ │ ├── testing
│ │ │ ├── gt.bin
│ │ ├── kitti_format
│ │ │ ├── ImageSets
│ ├── lyft
│ │ ├── v1.01-train
│ │ │ ├── v1.01-train (train_data)
│ │ │ ├── lidar (train_lidar)
│ │ │ ├── images (train_images)
│ │ │ ├── maps (train_maps)
│ │ ├── v1.01-test
│ │ │ ├── v1.01-test (test_data)
│ │ │ ├── lidar (test_lidar)
│ │ │ ├── images (test_images)
│ │ │ ├── maps (test_maps)
│ │ ├── train.txt
│ │ ├── val.txt
│ │ ├── test.txt
│ │ ├── sample_submission.csv
│ ├── scannet
│ │ ├── meta_data
│ │ ├── scans
│ │ ├── batch_load_scannet_data.py
│ │ ├── load_scannet_data.py
│ │ ├── scannet_utils.py
│ │ ├── README.md
│ ├── sunrgbd
│ │ ├── OFFICIAL_SUNRGBD
│ │ ├── matlab
│ │ ├── sunrgbd_data.py
│ │ ├── sunrgbd_utils.py
│ │ ├── README.md
(以上数据集不用全需要的,自己需要哪个组织哪个)
然后利用BEVFusion/tools/create_data.py脚本组织文件就行了,放一下组织nuScenes数据集成功的截图吧

三、训练与测试
1、分布式训练
# first train camera stream
./tools/dist_train.sh configs/bevfusion/cam_stream/bevf_pp_4x8_2x_nusc_cam.py 8
# then train LiDAR stream
./tools/dist_train.sh configs/bevfusion/lidar_stream/hv_pointpillars_secfpn_sbn-all_4x8_2x_nus-3d.py 8
# then train BEVFusion
./tools/dist_train.sh configs/bevfusion/bevf_pp_2x8_1x_nusc.py 8
./tools/dist_train.sh configs/bevfusion/cam_stream/bevf_pp_4x8_2x_nusc_cam.py 8中,8代表GPU个数
使用sh文件进行训练和测试时,可能会遇到无权限的问题,使用chmod 777 tools/dist_train.sh进行权限更改即可

其中,配置文件我就不再叙述,可以使用官方的简单测试,如果需要使用自己的配置文件,请参考mmdetection3d官方文档
值得注意的是,我在使用分布式和非分布式方法做测试的时候,非分布式运行正常,分布式仍然提示找不到数据集,我搜寻资料得知是因为工作路径的原因导致的,我用print(os.getcwd())打印了一下,发现使用非分布式训练时,工作路径/home/wistful/work/my_bevfusion/mmdetection3d/tools下,即在BEVFusion/mmdetection3d/tools下,而使用分布式训练时,工作路径在/home/wistful/work/my_bevfusion下,即在BEVFusion根目录下。所以我使用os.chdir('/home/wistful/work/my_bevfusion/mmdetection3d/tools')将工作路径改变了一下,问题解决

2、非分布式训练
直接在pycharm中根据各参数设置一下,训练即可,不再叙述。
3、测试
./tools/dist_test.sh configs/bevfusion/bevf_pp_2x8_1x_nusc.py ./work_dirs/bevfusion_pp.pth 8 --eval bbox
 # 前者是配置文件,后者是GPU个数

# 如需可视化
./tools/dist_test.sh configs/bevfusion/bevf_pp_2x8_1x_nusc.py ./work_dirs/bevfusion_pp.pth 8 --eval bbox --show-dir YourVisualResultsDir --show --eval bbox #根据test.py的参数看一下
可视化结果会保存在你指定的目录下,如下所示
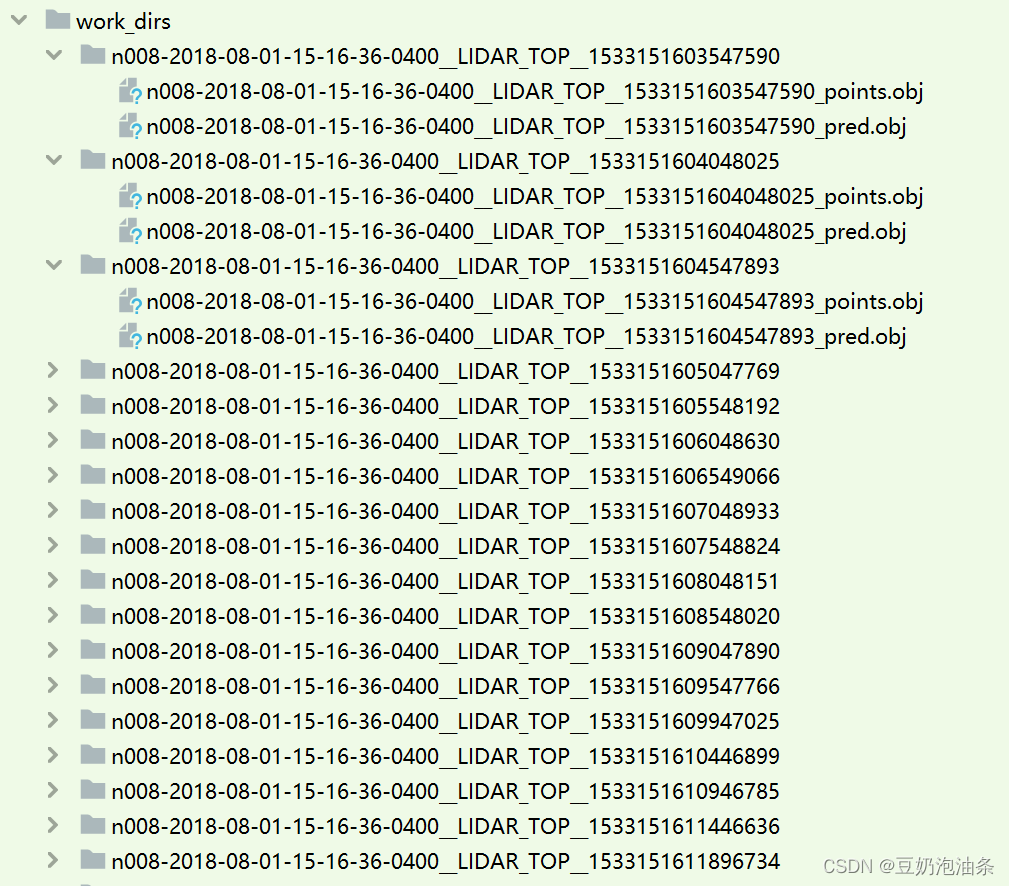
导入CloudCampare查看
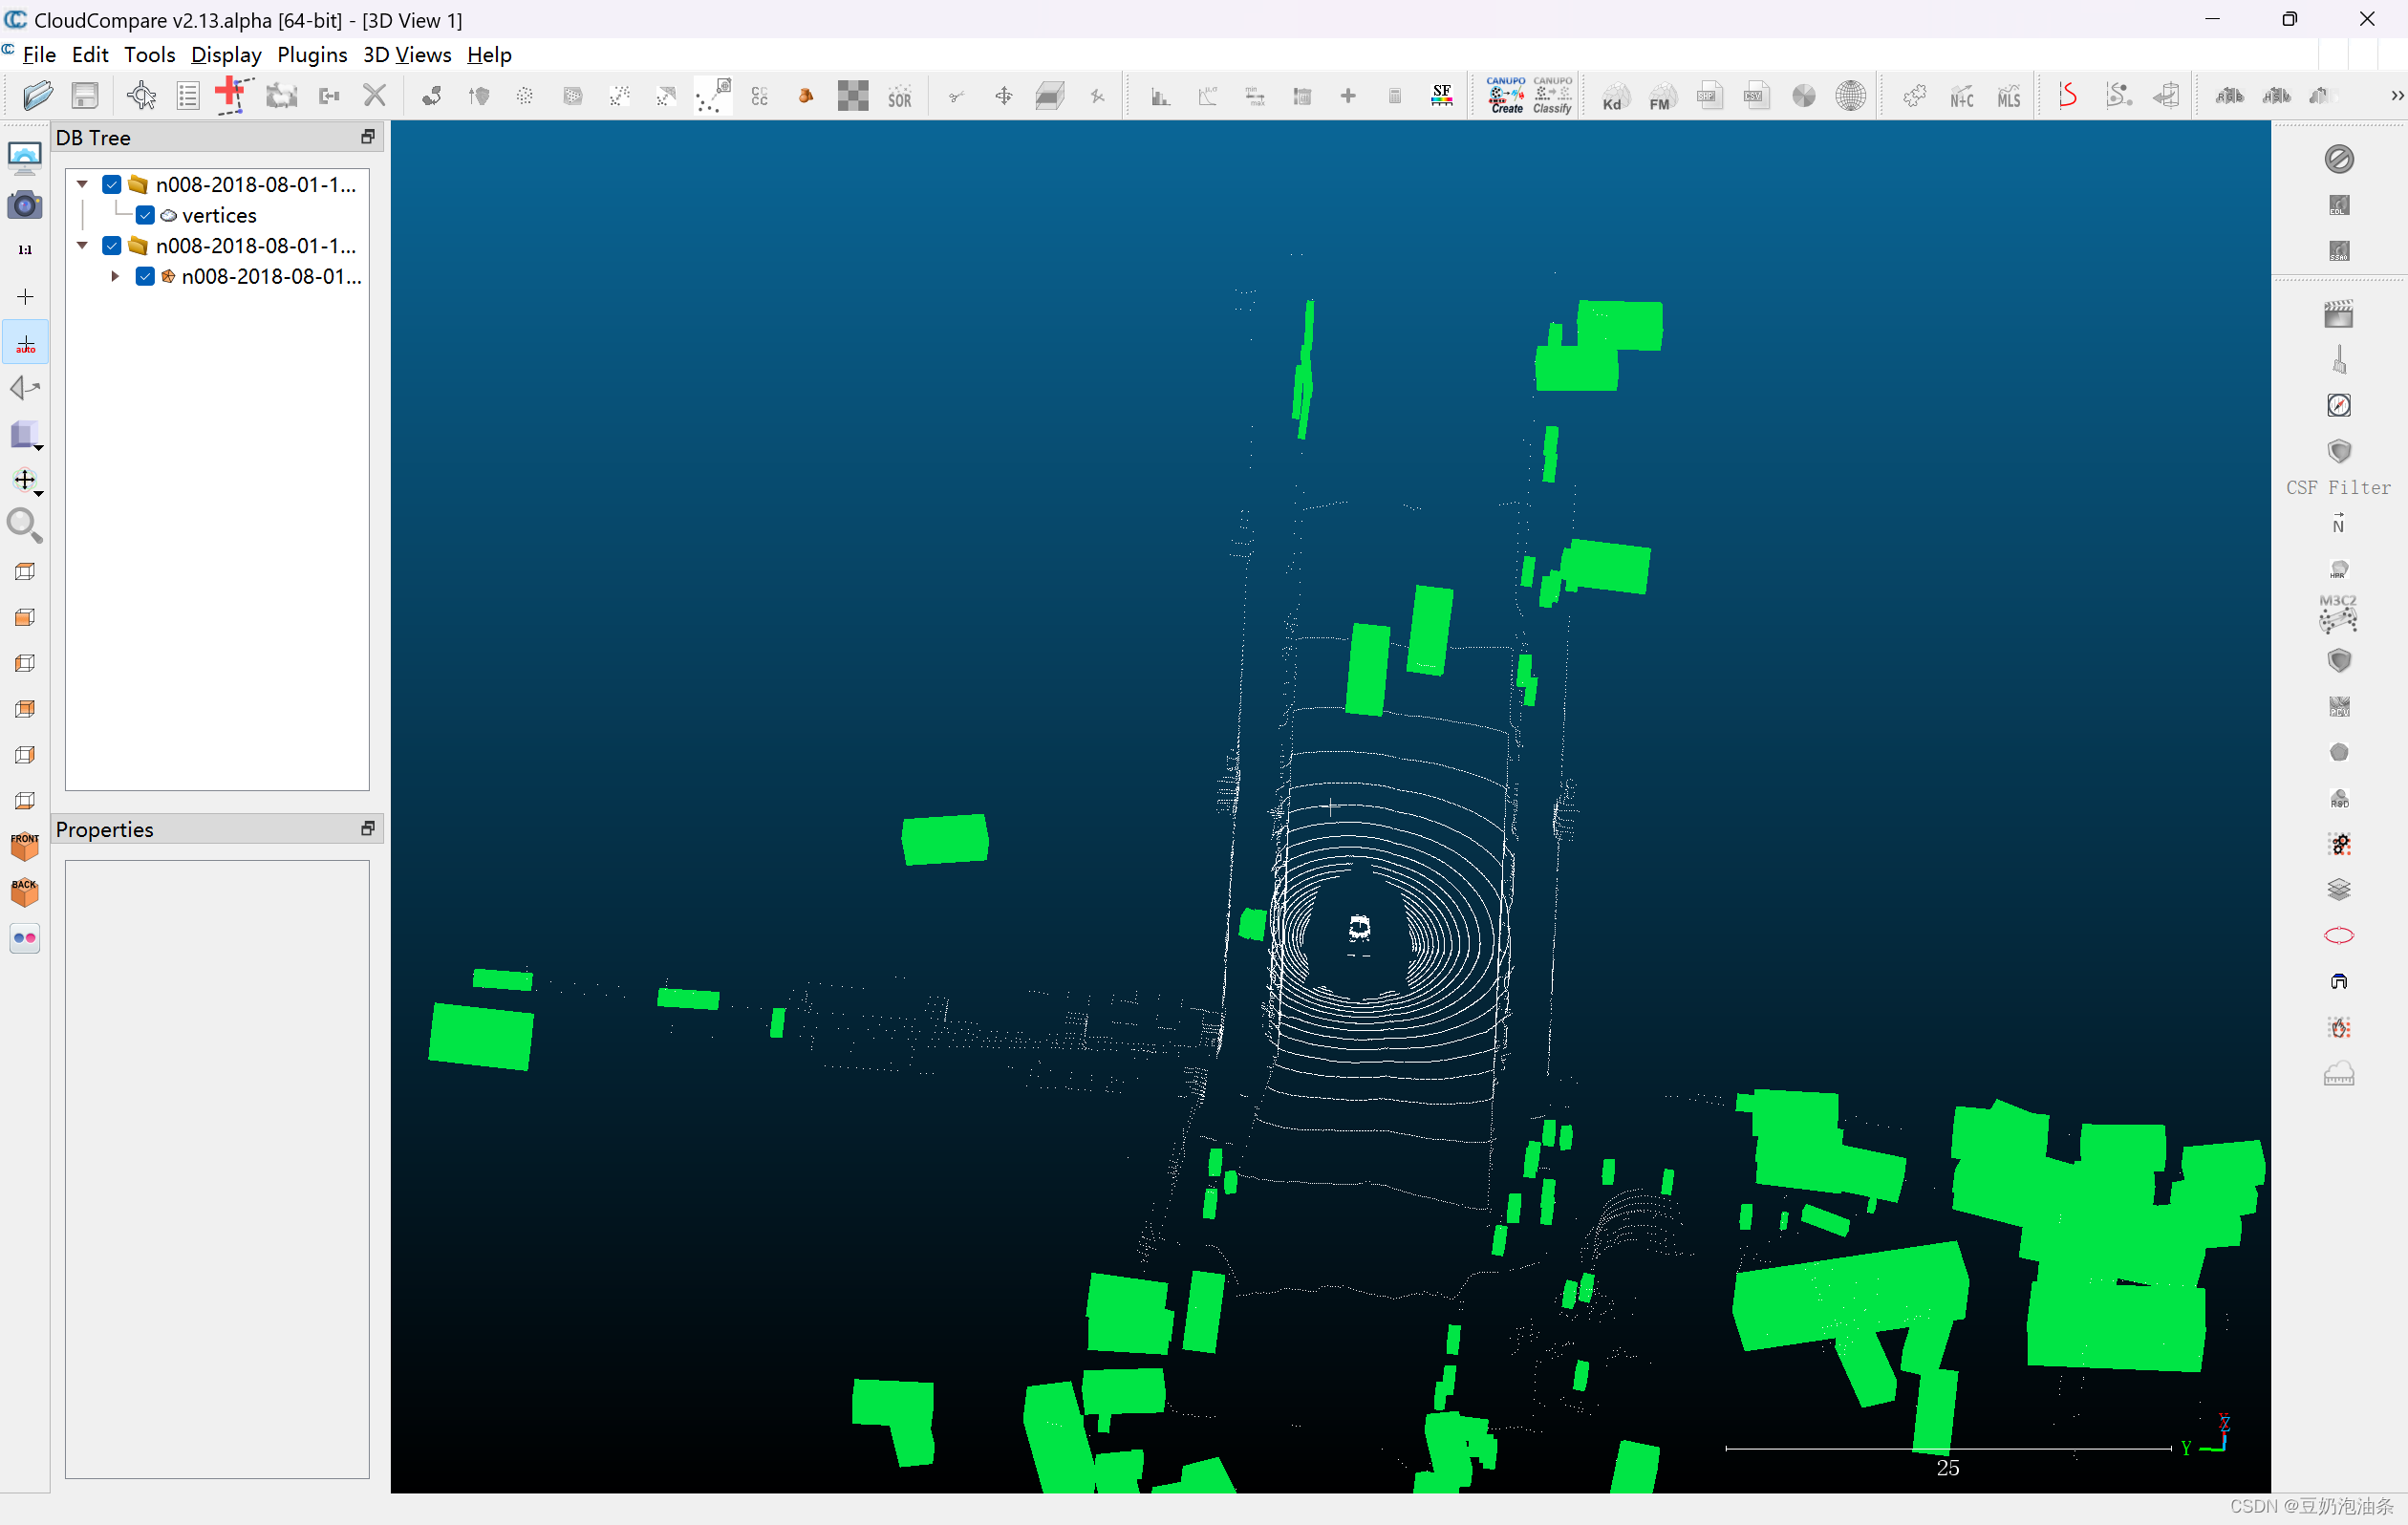
文章出处登录后可见!