其实取标题一直以来都是一件麻烦的事,但是如果你要看下去,我想你得有一点语义分割的见解。
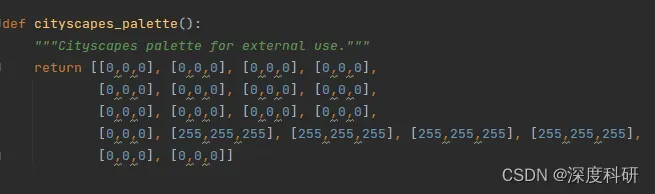
用平常的语言描述该问题就是:语义分割出我们感兴趣的目标物,然后输出该目标物的轮廓点。做语义分割其实有很多种方法,你可以用不同的模型去train你的dataset,但是刚接触语义分割的朋友们可能会说,我该怎么分割出我想要的目标物,而不对其它部分的像素做修改?其实这件事并不复杂,一个很直觉的想法是:修改像素对应的RGB值。那怎么修改对应像素的RGB值呢?举例来说,假设你在mmsegmentation框架下用的是SegFormer模型,你应该在class_names.py文件中修改cityscapes中palette(如上图)
问题的前半段很好解决,那如何解决输出目标物轮廓点这件事情呢?一种比较直觉的想法是:将分割好的图片转为二值图,然后在转为灰度图,之后利用cv2.findContours()函数寻找轮廓点,为了验证轮廓点的准确性,再用cv2.drawContours()函数做可视化处理。这样的处理对一些简单的图片是一种策略,但是对于已经语义分割好的图片,再这样处理会不会有一些“脱裤子放屁——多此一举”呢?答案是肯定的。你想想看,你是怎么将一幅图片语义分割出来的呢?是根据每个像素的类别逐一“上色”的对吧。那这么说来,其实要做输出轮廓点这件事,只要让模型输出一张分割后的二maskt图片,然后转为灰度图,再重复上面说的cv2.findContours()、cv2.drawContours()的操作就可以了吧?
那这里有一个前提,什么前提呢?前提是你已经知道如何修改像素值这件事情。所以在SegFormer里面,你可以在base.py文件中进行修改,一些注释我已经写在代码里面:
    def show_result(self,
                    img,
                    result,  # 这里的result就是每个像素的类别,它的大小应该与你的图片大小有关
                    palette=None,
                    win_name='',
                    show=False,
                    wait_time=0,
                    out_file=None):
        """Draw `result` over `img`.

        Args:
            img (str or Tensor): The image to be displayed.
            result (Tensor): The semantic segmentation results to draw over
                `img`.
            palette (list[list[int]]] | np.ndarray | None): The palette of
                segmentation map. If None is given, random palette will be
                generated. Default: None
            win_name (str): The window name.
            wait_time (int): Value of waitKey param.
                Default: 0.
            show (bool): Whether to show the image.
                Default: False.
            out_file (str or None): The filename to write the image.
                Default: None.

        Returns:
            img (Tensor): Only if not `show` or `out_file`
        """
        img = mmcv.imread(img)
        img = img.copy()
        seg = result[0]
        if palette is None:
            if self.PALETTE is None:
                palette = np.random.randint(
                    0, 255, size=(len(self.CLASSES), 3))
            else:
                palette = self.PALETTE
        palette = np.array(palette)
        assert palette.shape[0] == len(self.CLASSES)
        assert palette.shape[1] == 3
        assert len(palette.shape) == 2
        color_seg = np.zeros((seg.shape[0], seg.shape[1], 3), dtype=np.uint8)
        for label, color in enumerate(palette):
            color_seg[seg == label, :] = color  # 注意数组的特别用法
        # convert to BGR
        color_seg = color_seg[..., ::-1]

        # from IPython import embed; embed(header='debug vis')
        # img = img * 0.5 + color_seg * 0.5  # 这两步是修改的地方
        # img = img.astype(np.uint8)


        # if out_file specified, do not show image in window
        if out_file is not None:
            show = False

        if show:
            mmcv.imshow(img, win_name, wait_time)
        if out_file is not None:
            mmcv.imwrite(img, out_file)

        if not (show or out_file):
            warnings.warn('show==False and out_file is not specified, only '
                          'result image will be returned')
            return color_seg  #这一步也是修改的地方,原来是return img,这样就是分割出输出,为不是mask后的图输出
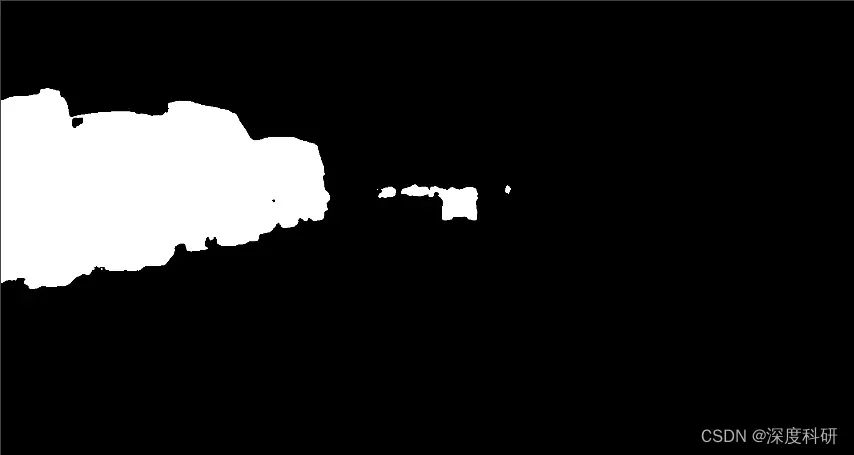
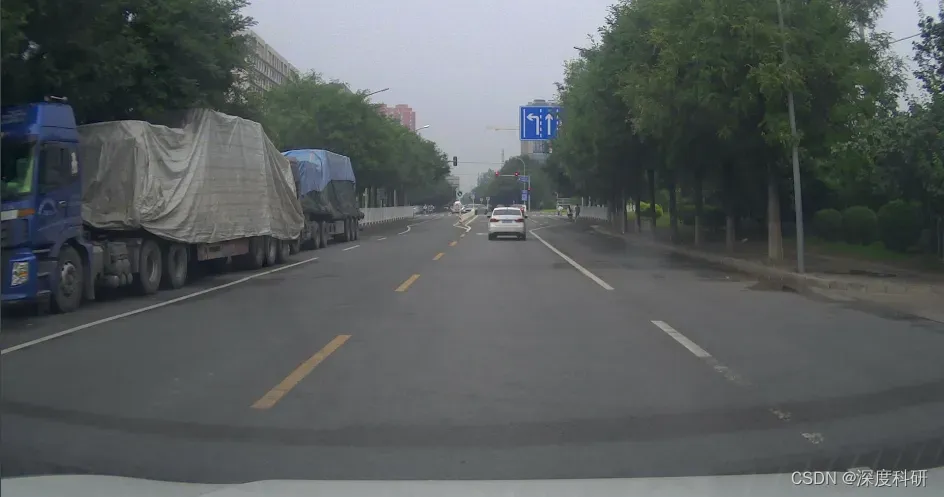
有了输出的mask图像(与原始图片的一一对应),就可以很方便的在原图进行可视化操作:
result = inference_segmentor(model_seg, p) # 前向推理,得到每个像素的类别
img_seg = show_result_pyplot(model_seg, p, result, get_palette(opt.palette)) # 得到分割后的mask
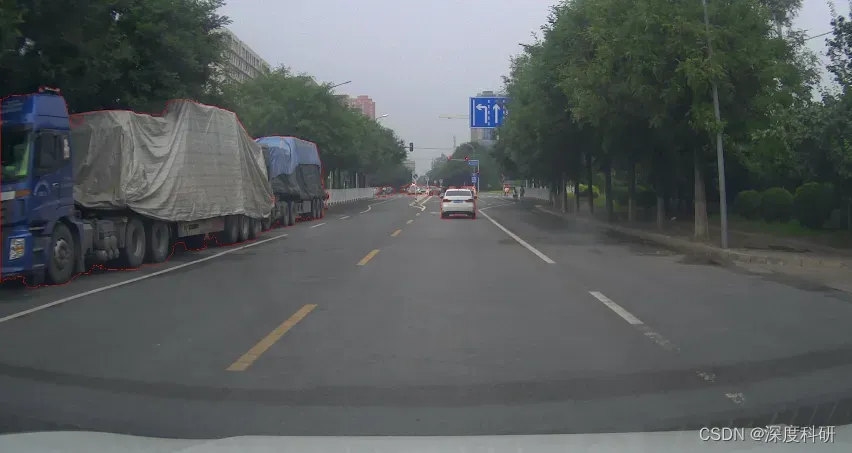
img = cv2.imread(p) # 这一步是为了轮廓在原图中显示,我这里的p实际上是我的图片路径
gray_img = cv2.cvtColor(img_seg, cv2.COLOR_BGR2GRAY) # 转为灰度图
contours, _ = cv2.findContours(gray_img, cv2.RETR_TREE, cv2.CHAIN_APPROX_NONE) # 寻找轮廓点
res = cv2.drawContours(img, contours, -1, (0, 0, 255), 1) # 绘制轮廓点
可视化后的效果(mask——原图——轮廓):
当然,轮廓检测的方法还有很多,希望你不会因此局限。
文章出处登录后可见!