Jetson Nano 安装DeepStream教程 查看上一篇
将yolov5 best.pt转成best.engine
GIthub地址
注意:yolov5的版本一定要和tensorrtx的版本对应,比如两个下载的工程都是v5.0版本,这里版本不一致可能会导致生成.engine文件的时候报错。
best.py->best.wts
将Tensorrtx/yolov5目录下的gen_wts.py复制到对应版本的yolov5工程文件下,然后运行如下命令:
python gen_wts.py -w best.pt -o best.wts
best.wts->best.engine
跳转到tensorrtx/yolov5目录下,执行如下命令
//目录跳转
cd {tensorrtx}/yolov5/
// update CLASS_NUM in yololayer.h if your model is trained on custom dataset
//创建文件夹build
mkdir build
cd build
//将.wts文件复制到build文件夹
cp {ultralytics}/yolov5/yolov5s.wts {tensorrtx}/yolov5/build
cmake ..
make
//将.wts 转化成.engine
sudo ./yolov5 -s [.wts] [.engine] [n/s/m/l/x/n6/s6/m6/l6/x6 or c/c6 gd gw]  // serialize model to plan file
sudo ./yolov5 -d [.engine] [image folder]  // deserialize and run inference, the images in [image folder] will be processed.
// For example yolov5s
sudo ./yolov5 -s yolov5s.wts yolov5s.engine s
sudo ./yolov5 -d yolov5s.engine ../samples
// For example Custom model with depth_multiple=0.17, width_multiple=0.25 in yolov5.yaml
sudo ./yolov5 -s yolov5_custom.wts yolov5.engine c 0.17 0.25
sudo ./yolov5 -d yolov5.engine ../samples
得到.engine文件之后,就可以运行yolov5_trt.py 来进行推理了。但是我在进行实时摄像头检测和运行视频检测的时候,内存溢出了,所以加入Deepstream来解决这个问题。
DeepStream加速yolov5
下载Yolov5-in-Deepstream-5.0
git clone https://github.com/DanaHan/Yolov5-in-Deepstream-5.0.git
nvdsinfer_custom_impl_Yolo文件夹缺少yolo.o和yoloPlugins.o,复制进去即可,百度网盘下载,提取码:2on5
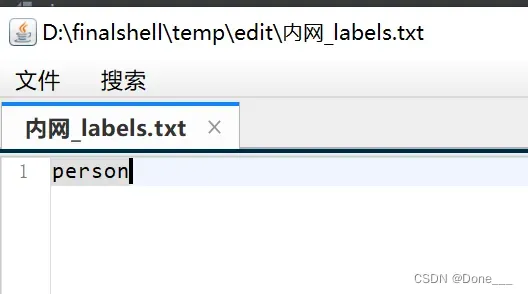
添加coco.names到Deepstream 5.0
这边我就直接新建labels.txt,然后将自己的标签加入到这个文件即可
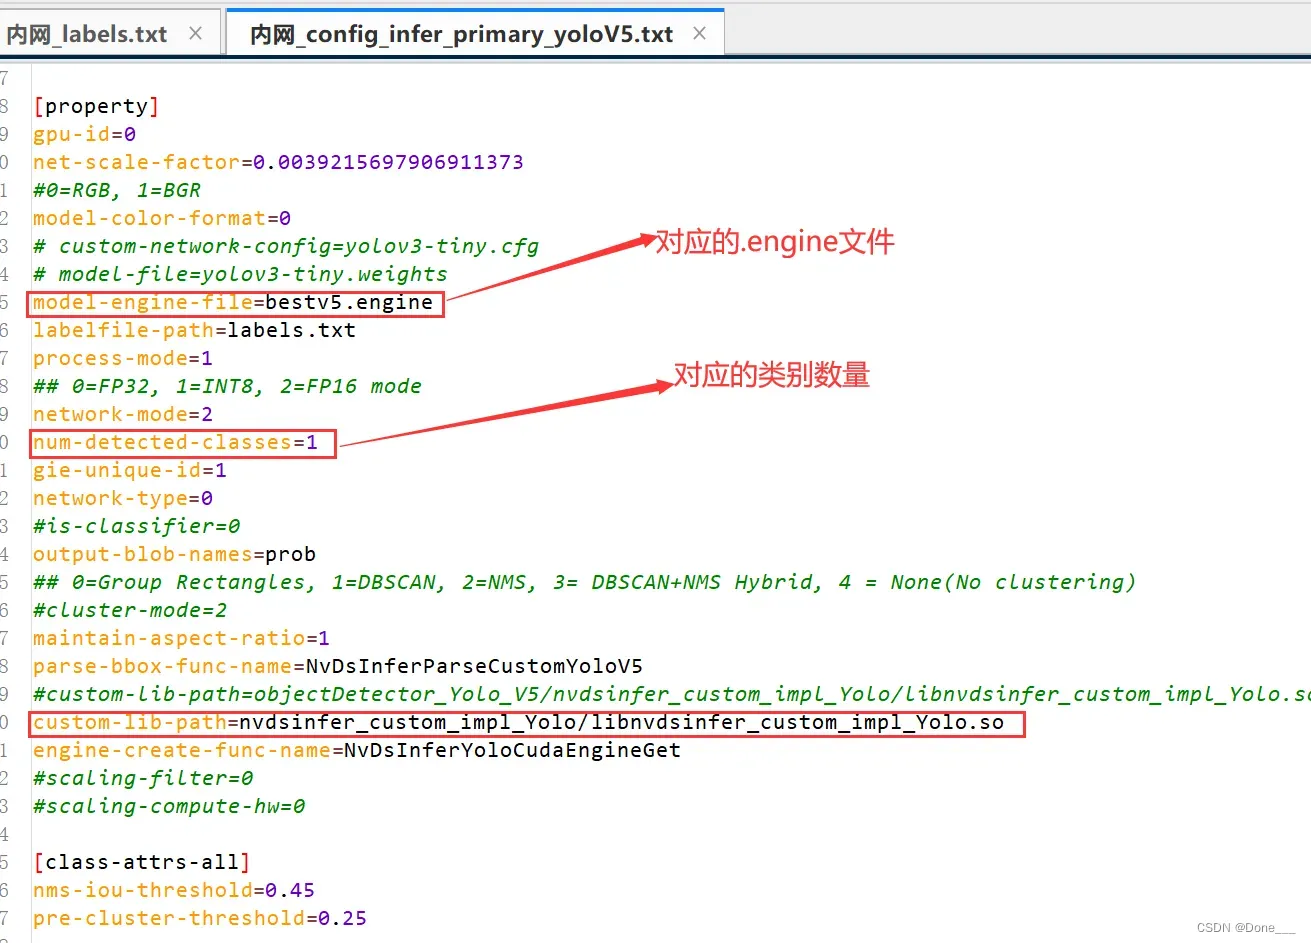
修改config_infer_primary_yoloV5.txt
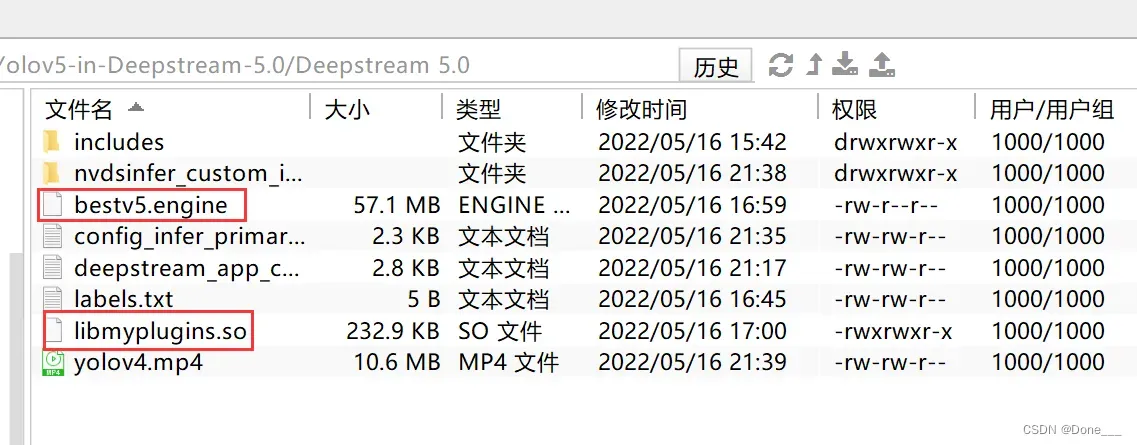
复制.engine和libmyplugins.so到Deepstream5.0文件夹下
我这边是直接上传上去的
生成libnvdsinfer_custom_impl_Yolo.so文件
跳转到nvdsinfer_custom_impl_Yolo路径下,然后make
cd nvdsinfer_custom_impl_Yolo
make
我在这make会报错,然后我使用另外一个github上的文件来进行make,就能成功。GitHub链接,将Source中的文件全部复制过来替换就行,重新make即可。
修改deepstream_app_config_yoloV5.txt文件
这里直接给出我的txt文件,我是将视频地址换成了我自己想要进行检测的一个地址,然后输出方式改成的是MP4文件。如果需要改成摄像头实时,修改里面的一些参数即可。
[application]
enable-perf-measurement=1
perf-measurement-interval-sec=5
#gie-kitti-output-dir=streamscl

[tiled-display]
enable=0
rows=1
columns=1
width=1280
height=720
gpu-id=0
#(0): nvbuf-mem-default - Default memory allocated, specific to particular platform
#(1): nvbuf-mem-cuda-pinned - Allocate Pinned/Host cuda memory, applicable for Tesla
#(2): nvbuf-mem-cuda-device - Allocate Device cuda memory, applicable for Tesla
#(3): nvbuf-mem-cuda-unified - Allocate Unified cuda memory, applicable for Tesla
#(4): nvbuf-mem-surface-array - Allocate Surface Array memory, applicable for Jetson
nvbuf-memory-type=0

#运行视频
[source0]
enable=1
#Type - 1=CameraV4L2 2=URI 3=MultiURI
type=2
#读取文件
uri=file:/home/yyc/tensorrttest/Yolov5-in-Deepstream-5.0/input/1.mp4
#uri=file:/home/nvidia/Documents/5-Materials/Videos/0825.avi
num-sources=1
gpu-id=0
# (0): memtype_device   - Memory type Device
# (1): memtype_pinned   - Memory type Host Pinned
# (2): memtype_unified  - Memory type Unified
cudadec-memtype=0
#打开摄像头
#[source1]
#enable=1
##Type - 1=CameraV4L2 2=URI 3=MultiURI 4=RTSP 5=CSI
#type=5
#camera-csi-sensor-id=0   #表示你要打开哪个摄像头
#camera-width=1280
#camera-height=720
#camera-fps-n=30
#camera-fps-d=1

[sink0]
enable=1
#Type - 1=FakeSink 2=EglSink 3=File
type=3
sync=0
source-id=0
gpu-id=0
nvbuf-memory-type=0
#1=mp4 2=mkv
container=1
#1=h264 2=h265
codec=1
#输出文件
output-file=/home/yyc/tensorrttest/Yolov5-in-Deepstream-5.0/Deepstream 5.0/res.mp4

[osd]
enable=1
gpu-id=0
border-width=1
text-size=12
text-color=1;1;1;1;
text-bg-color=0.3;0.3;0.3;1
font=Serif
show-clock=0
clock-x-offset=800
clock-y-offset=820
clock-text-size=12
clock-color=1;0;0;0
nvbuf-memory-type=0

[streammux]
gpu-id=0
##Boolean property to inform muxer that sources are live
live-source=0
batch-size=4
##time out in usec, to wait after the first buffer is available
##to push the batch even if the complete batch is not formed
batched-push-timeout=40000
## Set muxer output width and height
width=1280
height=720
##Enable to maintain aspect ratio wrt source, and allow black borders, works
##along with width, height properties
enable-padding=0
nvbuf-memory-type=0

# config-file property is mandatory for any gie section.
# Other properties are optional and if set will override the properties set in
# the infer config file.
[primary-gie]
enable=1
gpu-id=0
model-engine-file=bestv5.engine
labelfile-path=labels.txt
#batch-size=4
#Required by the app for OSD, not a plugin property
bbox-border-color0=1;0;0;1
bbox-border-color1=0;1;1;1
bbox-border-color2=0;0;1;1
bbox-border-color3=0;1;0;1
interval=0
gie-unique-id=1
nvbuf-memory-type=0
config-file=config_infer_primary_yoloV5.txt

[tracker]
enable=0
tracker-width=512
tracker-height=320
ll-lib-file=/opt/nvidia/deepstream/deepstream-5.1/lib/libnvds_mot_klt.so

[tests]
file-loop=0
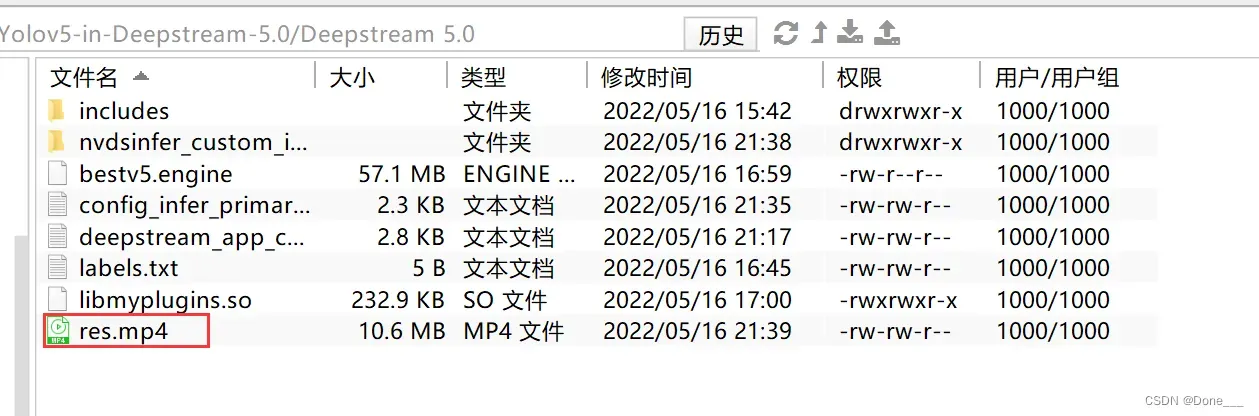
运行程序
LD_PRELOAD=./libmyplugins.so deepstream-app -c deepstream_app_config_yoloV5.txt
在DeepStream5.0文件夹下会生成一个res.mp4
结果如下:
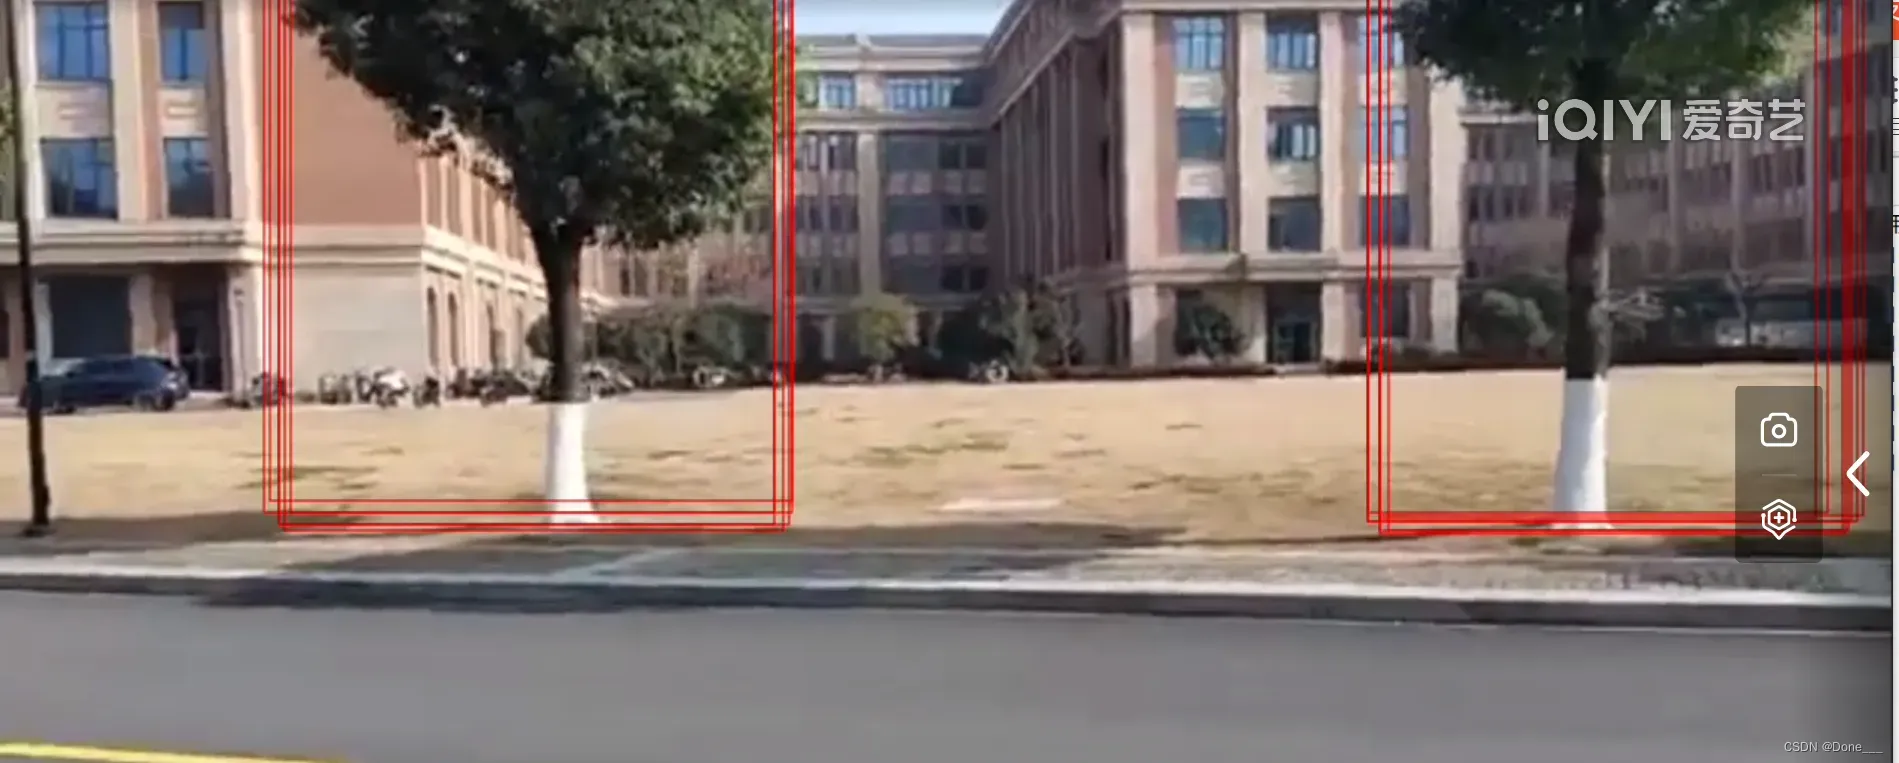
在最后运行出来的结果会有许多预测框,对于这个问题是因为我用的.engine 文件是在Yolov-5.0工程里面转化好的,然后他要求是在Yolov5-in-Deepstream-5.0这个工程下去转化模型,但是我在他这个里面转化模型的时候会报错,原因:我用的yolov5版本是5.0的,而DeepStream这个目前只支持到3.0版本,具体最后能不能正常显示还需要后续的尝试。
文章出处登录后可见!