步骤 1:安装 wget、git、Python3 和 Python3虚拟环境(如果已安装可忽略这步骤)
sudo apt install wget git python3 python3-venv
步骤 2:克隆 SD 项目到本地
git clone https://github.com/AUTOMATIC1111/stable-diffusion-webui
步骤 3:进入 stable-diffusion-webui 根目录
cd stable-diffusion-webui
步骤 4:执行命令运行 Stable Diffusionn
./webui.sh
错误汇总
错误 1、This script must not be launched as root, aborting…
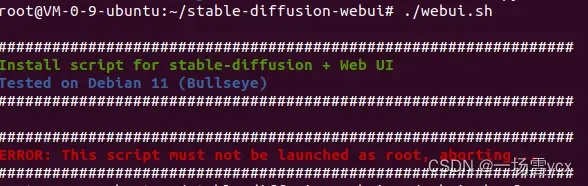
解决:强制执行命令
./webui-sh -f
错误 2、Cannot activate python venv, aborting…
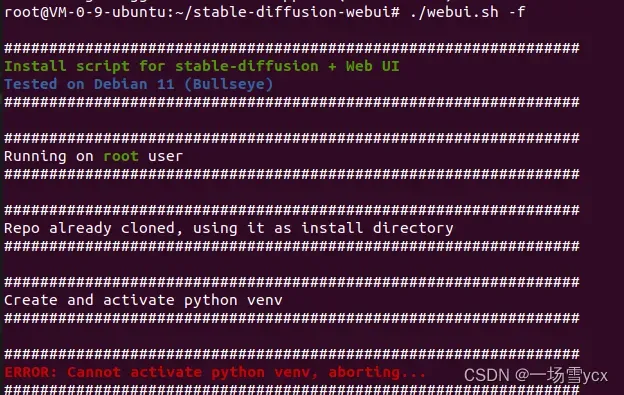
解决:依次执行以下命令
python3 -c 'import venv'
python3 -m venv venv/
./webui.sh -f
错误 3、Cannot locate TCMalloc (improves CPU memory usage)
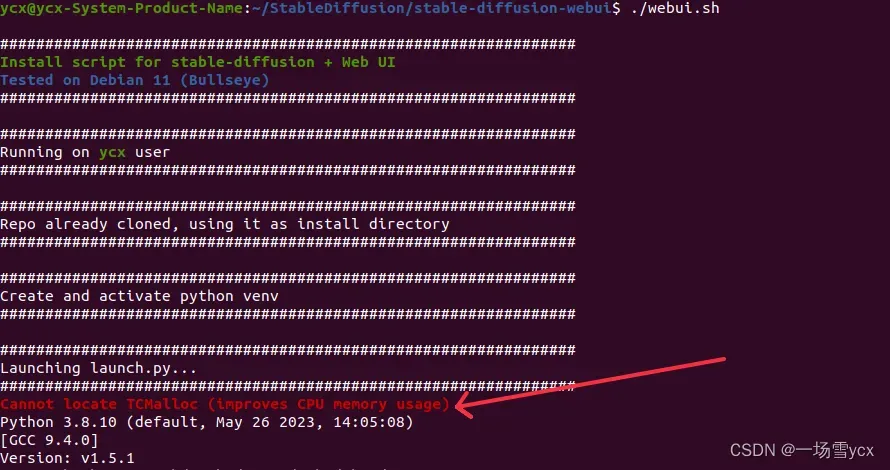
解决:安装 libgoogle-perftools4 和 libtcmalloc-minimal4 库。这两个库是 Google 开源的性能分析工具库,可以帮助开发者优化程序性能。
sudo apt-get install libgoogle-perftools4 libtcmalloc-minimal4 -y
错误 4、RuntimeError: Torch is not able to use GPU; add –skip-torch-cuda-test to COMMANDLINE_ARGS variable to disable this check
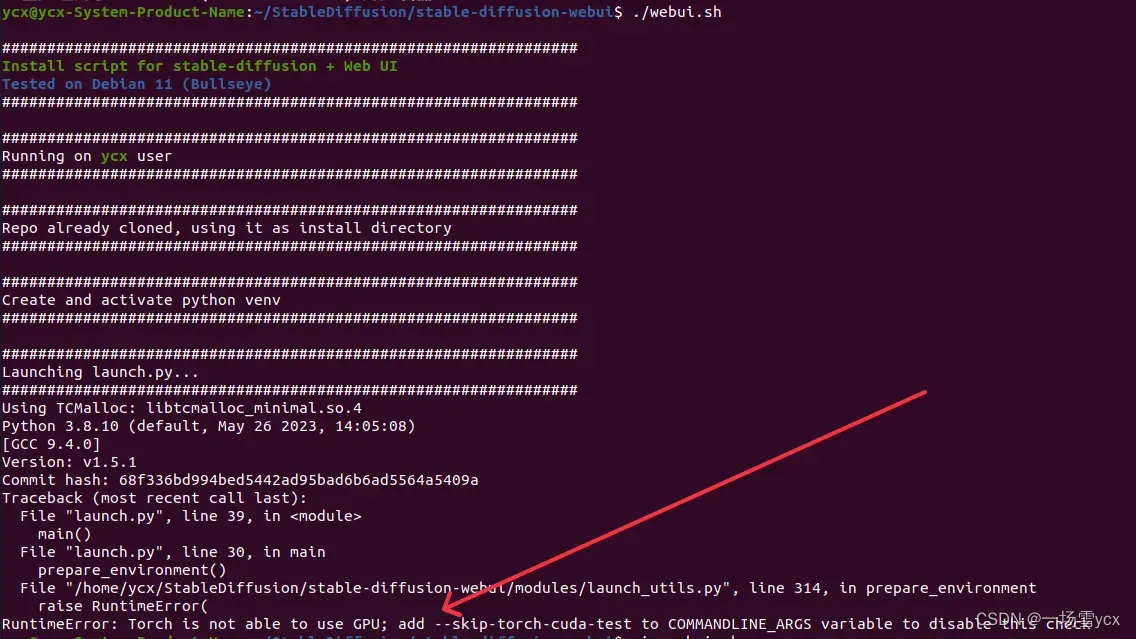
解决:添加命令行参数,跳过 Torch CUDA 测试
./webui.sh --skip-torch-cuda-test
错误 5、RuntimeError: “LayerNormKernelImpl” not implemented for ‘Half’

解决:添加命令行参数如下:
--skip-torch-cuda-test:跳过 Torch CUDA 测试(如果出现错误 1,则加上此参数,否则可以忽略此参数)--precision full:使用完整的精度进行计算--no-half:不使用半精度计算
./webui.sh --skip-torch-cuda-test --precision full --no-half
文章出处登录后可见!
已经登录?立即刷新