统计机器翻译(SMT)工具Moses在Ubuntu上的安装及使用(安装篇)
- 前言
- Ubuntu配置
- 1、关闭系统自动休眠(可选)
- 2、更换软件源
- Moses安装
- 1、安装相关依赖包:
- 2、检查gcc和g++的版本
- 3、新建Moses的工作目录和安装包下载目录
- 4、安装boost 1.72.0
- 5、安装irstlm 5.80.08:
- 6、安装cmph 2.0:
- 7、安装xmlrpc-c 1.33.17:
- 8、安装giza++
- 9、下载Moses源码
- 10、编译Moses
前言
研究生毕业了,方向是机器翻译,抽空整理一下相关的资料,希望能帮助其他人。本篇博客将介绍统计机器翻译工具Moses在Ubuntu上的安装过程以及Ubuntu的相关配置。Moses 是一个统计机器翻译系统,可以为任意两种语言执行翻译任务,使用篇在这 统计机器翻译(SMT)工具Moses在Ubuntu上的安装及使用(使用篇)。
Ubuntu配置
我当时做实验时是用的学校的服务器,系统版本是Ubuntu 16,现在毕业生登陆账号已经被删除了,所以在VMware虚拟机中重新安装了Ubuntu 16.04 LTS,以重现实验过程,安装包下载链接: Ubuntu 16.04.1 LTS (Xenial Xerus)。之前还在Ubuntu 14(虚拟机)和Deepin 20.1(实体机)上进行安装并训练,没有发现什么问题,其他的Linux版本也应该可以依此教程安装。
1、关闭系统自动休眠(可选)
查看当前自动休眠模式是否开启:
sudo systemctl status sleep.target
输出为:
● sleep.target - Sleep
# Sleep的状态是loaded,意味着自动休眠模式开启
   Loaded: loaded (/lib/systemd/system/sleep.target; static; vendor preset: enabled)
   Active: inactive (dead)
     Docs: man:systemd.special(7)
关闭自动休眠模式:
sudo systemctl mask sleep.target suspend.target hibernate.target hybrid-sleep.target
再次查看当前自动休眠模式:
● sleep.target
# Sleep的状态变成了masked,意味着自动休眠模式关闭
   Loaded: masked (/dev/null; bad)
   Active: inactive (dead)
2、更换软件源
从Ubuntu默认的软件源上安装软件的速度不稳定,有时候访问相当慢,换不换源看个人需要,如果你已经更换过源请略过。(注意,国内软件源的同步速度不是实时的,如果你想获取实时更新,请切换到Ubuntu的默认软件源。)
1、先备份一下目前的软件源,保存在当前目录下
sudo cp /etc/apt/sources.list sources.list.old

2、确认Ubuntu的版本(软件源和Ubuntu的版本要相互对应),在终端中输入
sudo lsb_release -a
输出为:
No LSB modules are available.
Distributor ID:	Ubuntu
Description:	Ubuntu 16.04 LTS
Release:	16.04  # Ubuntu版本号
Codename:	xenial
以下提供几个软件源的地址:
清华大学软件源
中国科学技术大学软件源
阿里云软件源
3、修改源配置文件
本文将Ubuntu软件源更换成阿里源。
命令行输入:
sudo vi /etc/apt/sources.list
显示出当前的软件源配置:
#deb cdrom:[Ubuntu 16.04 LTS _Xenial Xerus_ - Release amd64 (20160420.1)]/ xenial main restricted

# See http://help.ubuntu.com/community/UpgradeNotes for how to upgrade to
# newer versions of the distribution.
deb http://us.archive.ubuntu.com/ubuntu/ xenial main restricted
# deb-src http://us.archive.ubuntu.com/ubuntu/ xenial main restricted

## Major bug fix updates produced after the final release of the
## distribution.
deb http://us.archive.ubuntu.com/ubuntu/ xenial-updates main restricted
# deb-src http://us.archive.ubuntu.com/ubuntu/ xenial-updates main restricted

## N.B. software from this repository is ENTIRELY UNSUPPORTED by the Ubuntu
## team, and may not be under a free licence. Please satisfy yourself as to
## your rights to use the software. Also, please note that software in
## universe WILL NOT receive any review or updates from the Ubuntu security
## team.
deb http://us.archive.ubuntu.com/ubuntu/ xenial universe
# deb-src http://us.archive.ubuntu.com/ubuntu/ xenial universe
deb http://us.archive.ubuntu.com/ubuntu/ xenial-updates universe
# deb-src http://us.archive.ubuntu.com/ubuntu/ xenial-updates universe

## N.B. software from this repository is ENTIRELY UNSUPPORTED by the Ubuntu
## team, and may not be under a free licence. Please satisfy yourself as to
## your rights to use the software. Also, please note that software in
## multiverse WILL NOT receive any review or updates from the Ubuntu
## security team.
deb http://us.archive.ubuntu.com/ubuntu/ xenial multiverse
# deb-src http://us.archive.ubuntu.com/ubuntu/ xenial multiverse
deb http://us.archive.ubuntu.com/ubuntu/ xenial-updates multiverse
# deb-src http://us.archive.ubuntu.com/ubuntu/ xenial-updates multiverse

## N.B. software from this repository may not have been tested as
## extensively as that contained in the main release, although it includes
## newer versions of some applications which may provide useful features.
## Also, please note that software in backports WILL NOT receive any review
## or updates from the Ubuntu security team.
deb http://us.archive.ubuntu.com/ubuntu/ xenial-backports main restricted universe multiverse
# deb-src http://us.archive.ubuntu.com/ubuntu/ xenial-backports main restricted universe multiverse

## Uncomment the following two lines to add software from Canonical's
## 'partner' repository.
## This software is not part of Ubuntu, but is offered by Canonical and the
## respective vendors as a service to Ubuntu users.
# deb http://archive.canonical.com/ubuntu xenial partner
# deb-src http://archive.canonical.com/ubuntu xenial partner

deb http://security.ubuntu.com/ubuntu xenial-security main restricted
# deb-src http://security.ubuntu.com/ubuntu xenial-security main restricted
deb http://security.ubuntu.com/ubuntu xenial-security universe
# deb-src http://security.ubuntu.com/ubuntu xenial-security universe
deb http://security.ubuntu.com/ubuntu xenial-security multiverse
# deb-src http://security.ubuntu.com/ubuntu xenial-security multiverse
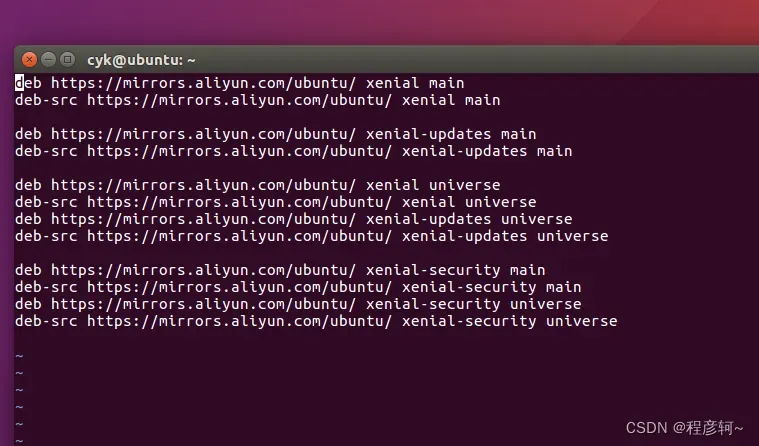
将键盘调整到英文输入模式,长按d,删除全部默认软件源。
打开阿里云软件源选择对应的版本,复制。
deb https://mirrors.aliyun.com/ubuntu/ xenial main
deb-src https://mirrors.aliyun.com/ubuntu/ xenial main

deb https://mirrors.aliyun.com/ubuntu/ xenial-updates main
deb-src https://mirrors.aliyun.com/ubuntu/ xenial-updates main

deb https://mirrors.aliyun.com/ubuntu/ xenial universe
deb-src https://mirrors.aliyun.com/ubuntu/ xenial universe
deb https://mirrors.aliyun.com/ubuntu/ xenial-updates universe
deb-src https://mirrors.aliyun.com/ubuntu/ xenial-updates universe

deb https://mirrors.aliyun.com/ubuntu/ xenial-security main
deb-src https://mirrors.aliyun.com/ubuntu/ xenial-security main
deb https://mirrors.aliyun.com/ubuntu/ xenial-security universe
deb-src https://mirrors.aliyun.com/ubuntu/ xenial-security universe
随后切换到终端窗口,输入i切换到输入模式,右键点击即可将剪贴板文字复制到终端中,按Esc退出编辑,输入:wq保存文本,如果输错了不知道怎么改可以键入:q!强制不保存并退出,重新再复制即可。
更新一下软件包:
sudo apt-get update
更新结束后,提示如下错误:
E: Problem executing scripts APT::Update::Post-Invoke-Success 'if /usr/bin/test -w /var/cache/app-info -a -e /usr/bin/appstreamcli; then appstreamcli refresh > /dev/null; fi'
E: Sub-process returned an error code
依次执行
cd /tmp && mkdir asfix
cd asfix
wget https://launchpad.net/ubuntu/+archive/primary/+files/appstream_0.9.4-1ubuntu1_amd64.deb --no-check-certificate
wget https://launchpad.net/ubuntu/+archive/primary/+files/libappstream3_0.9.4-1ubuntu1_amd64.deb --no-check-certificate
sudo dpkg -i *.deb
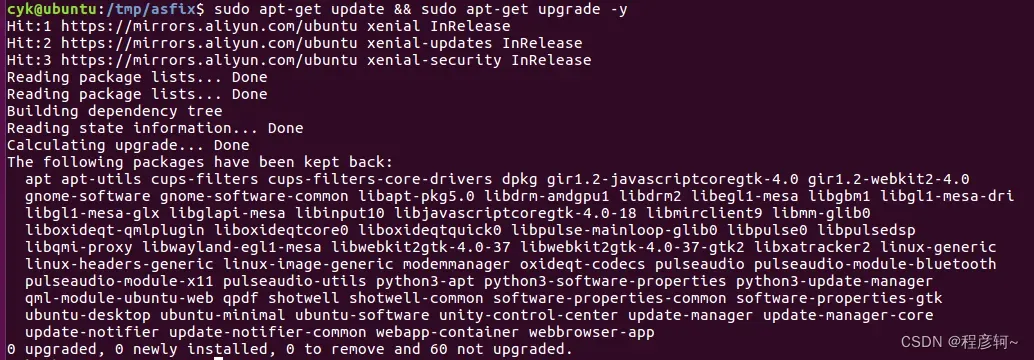
再执行一次更新没有问题了:
Hit:1 https://mirrors.aliyun.com/ubuntu xenial InRelease
Hit:2 https://mirrors.aliyun.com/ubuntu xenial-updates InRelease
Hit:3 https://mirrors.aliyun.com/ubuntu xenial-security InRelease
Reading package lists... Done
升级一下软件包
sudo apt-get upgrade
不放心就再执行一下:
sudo apt-get update && sudo apt-get upgrade -y
Moses安装
安装教程主要参考:
Moses官网
Moses官方手册,安装方法在第二章
How to install Moses (Statistical Machine Translation) on Ubuntu?
1、安装相关依赖包:
sudo apt-get install build-essential git-core pkg-config automake libtool wget zlib1g-dev libicu-dev python-dev libbz2-dev libsoap-lite-perl subversion libboost-all-dev liblzma-dev graphviz imagemagick make cmake libgoogle-perftools-dev autoconf doxygen
如果遇到包依赖问题可以尝试使用aptitude包管理器重新安装:
sudo apt-get install aptitude
sudo aptitude install build-essential git-core pkg-config automake libtool wget zlib1g-dev libicu-dev python-dev libbz2-dev libsoap-lite-perl subversion libboost-all-dev liblzma-dev graphviz imagemagick make cmake libgoogle-perftools-dev  autoconf doxygen
2、检查gcc和g++的版本
在下面安装IRSTLM的时候高版本的gcc可能会报错,我测试过gcc 4.8或者gcc 4.9都可以顺利安装。
首先打开sources.list:
sudo vi /etc/apt/sources.list
在末尾处添加如下内容:
#gcc-4.9 g++-4.9 g++-4.9-multilib
deb http://dk.archive.ubuntu.com/ubuntu xenial main
deb http://dk.archive.ubuntu.com/ubuntu xenial universe
更新一下:
sudo apt-get update
安装gcc 4.9、g++ 4.9
sudo apt-get install gcc-4.9 g++-4.9 g++-4.9-multilib
将gcc 4.9、g++ 4.9设置为默认编译器:
sudo update-alternatives --install /usr/bin/gcc gcc /usr/bin/gcc-4.9 50
sudo update-alternatives --install /usr/bin/g++ g++ /usr/bin/g++-4.9 50
如果你安装了多个gcc g++版本,你也可以下面的命令指定默认的编译器:
sudo update-alternatives --config gcc
sudo update-alternatives --config g++
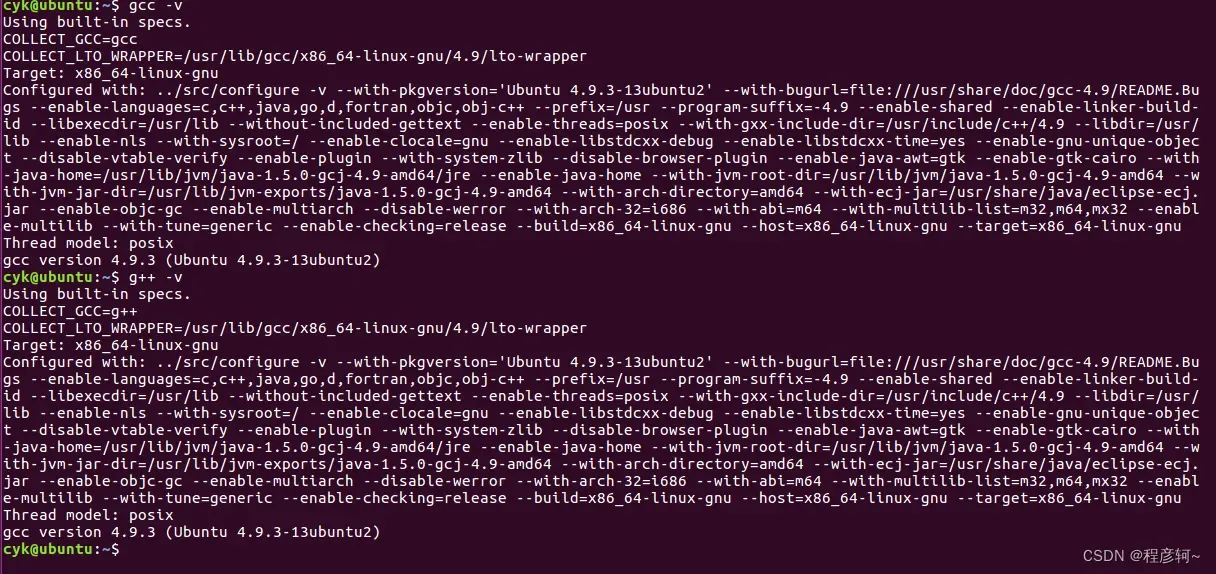
确认一下当前的编译器版本:
gcc -v
g++ -v
3、新建Moses的工作目录和安装包下载目录
下面将使用自定义组件的方式编译Moses,不过Moses也提供了一种更简单的编译方式,可以直接拉到文章末尾查看。
自定义安装方式借助于bjam来编译Moses,可以自由添加你想要的功能,其他参数可以参见Moses官方手册:
./bjam --with-irstlm=/path/to/irstlm  # 集成 irstlm 语言模型
       --with-randlm=/path/to/randlm  # 集成 randlm 语言模型
       --with-nplm=/path/to/nplm  #  集成 nplm 语言模型
       --with-srilm=/path/to/srilm  #  集成 srilm 语言模型
       --with-boost=/path/to/boost #  指定 boost 的安装目录
       --with-xmlrpc-c=/path/to/xmlrpc-c  #  指定 xmlrpc-c 的安装目录
       --with-cmph=/path/to/cmph  #  指定 cmph 的安装目录
       --without-tcmalloc  #  指定 tcmalloc 的安装目录
       --with-regtest=/path/to/moses-regression-tests  #  指定 regtest 的安装目录
安装包下载目录用于存放编译moses时要用的安装包:boost 1.72.0、giza++、irstlm 5.80.08、cmph 2.0、xmlrpc-c 1.33.17,他们将被安装在Moses的工作目录中 :
sudo mkdir /home/moses # Moses 工作目录
sudo mkdir /home/downloads # 安装包下载目录

切换到下载目录并下载安装包
cd /home/downloads
sudo wget https://boostorg.jfrog.io/artifactory/main/release/1.72.0/source/boost_1_72_0.tar.gz
sudo wget https://jaist.dl.sourceforge.net/project/irstlm/irstlm/irstlm-5.80/irstlm-5.80.08.tgz
sudo wget http://downloads.sourceforge.net/project/cmph/cmph/cmph-2.0.tar.gz
sudo wget http://downloads.sourceforge.net/project/xmlrpc-c/Xmlrpc-c%20Super%20Stable/1.33.17/xmlrpc-c-1.33.17.tgz

4、安装boost 1.72.0
cd /home/downloads
sudo tar zxvf boost_1_72_0.tar.gz
cd boost_1_72_0/
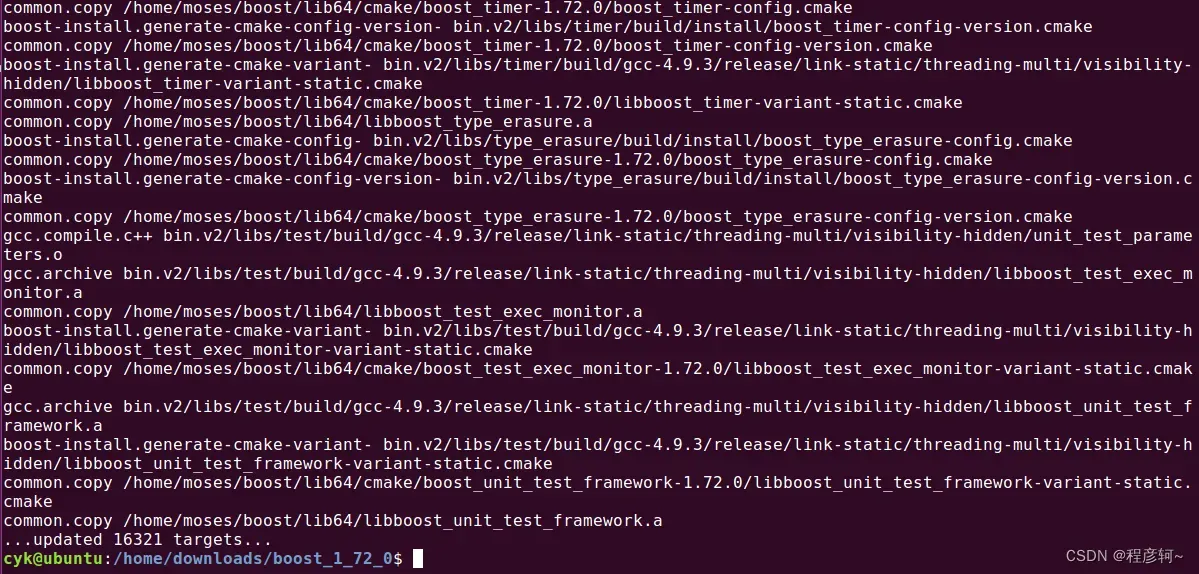
sudo ./bootstrap.sh --prefix=/home/moses/boost
sudo ./b2 --prefix=/home/moses/boost --libdir=/home/moses/boost/lib64 --layout=system link=static install || echo FAILURE
无错误信息显示boost就安装好了。
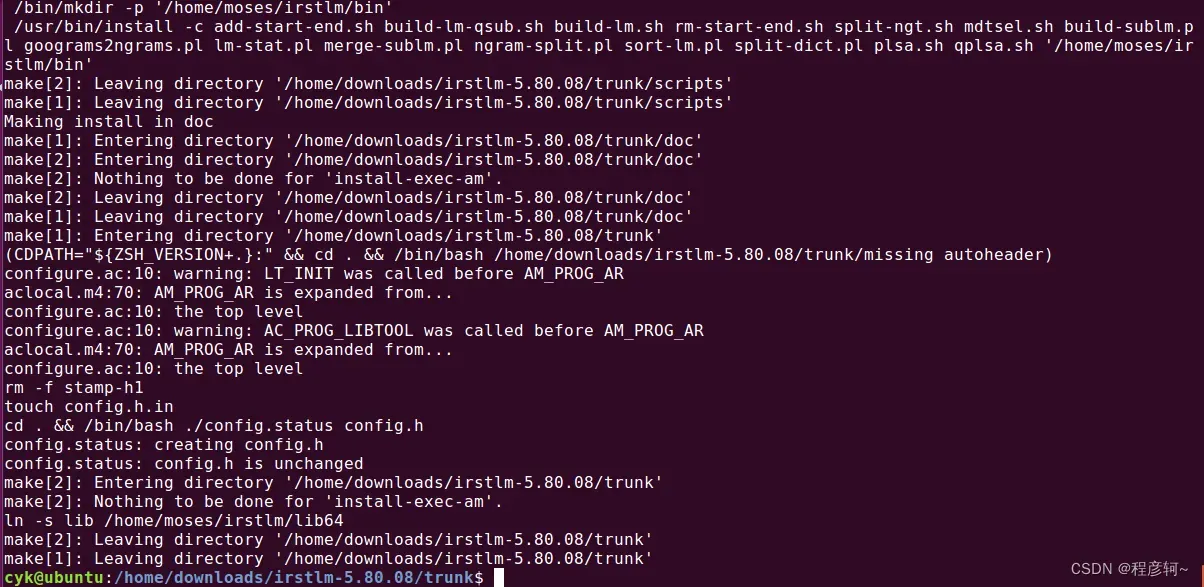
5、安装irstlm 5.80.08:
cd /home/downloads
sudo tar zxvf irstlm-5.80.08.tgz
cd irstlm-5.80.08/trunk
sudo ./regenerate-makefiles.sh
sudo ./configure --prefix=/home/moses/irstlm
sudo make install
make install
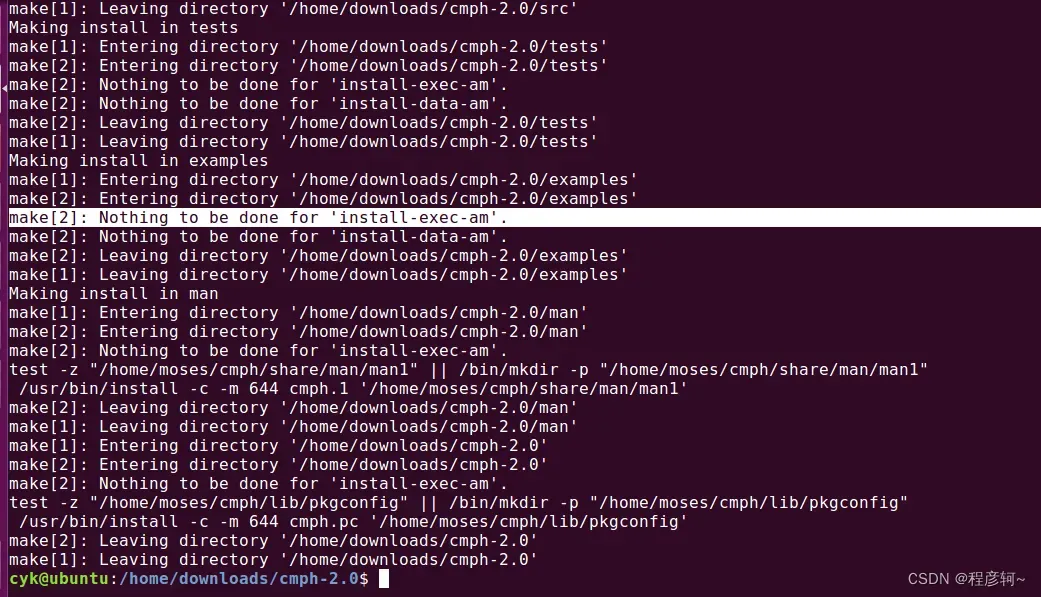
6、安装cmph 2.0:
cd /home/downloads
sudo tar zxvf cmph-2.0.tar.gz
cd cmph-2.0/
sudo ./configure --prefix=/home/moses/cmph
sudo make
sudo make install
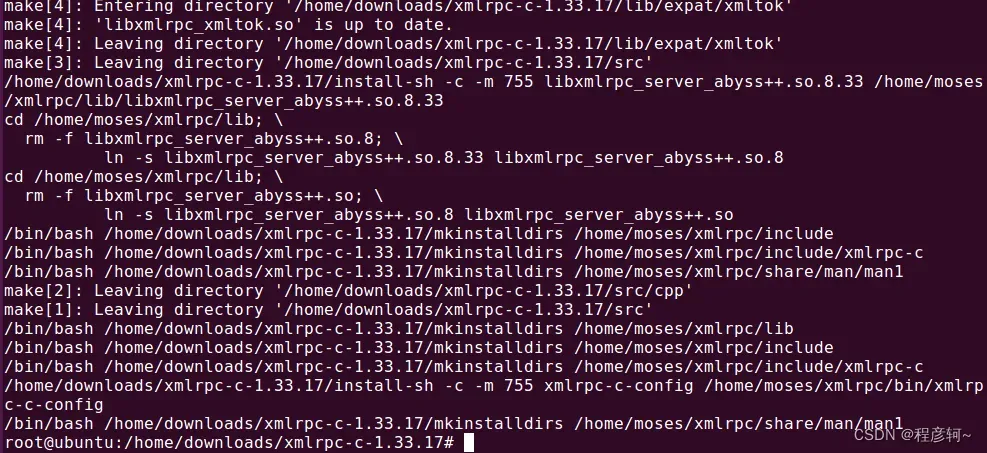
7、安装xmlrpc-c 1.33.17:
这一步不知道怎么回事,执行cd xmlrpc-c-1.33.17时显示没权限,所以用sudo su切到root账户安装了,利用root账户执行以下命令时不需要加sudo。正常情况下使用下面的命令就可以:
cd /home/downloads
sudo tar zxvf xmlrpc-c-1.33.17.tgz
cd xmlrpc-c-1.33.17
sudo ./configure --prefix=/home/moses/xmlrpc
sudo make
sudo make install
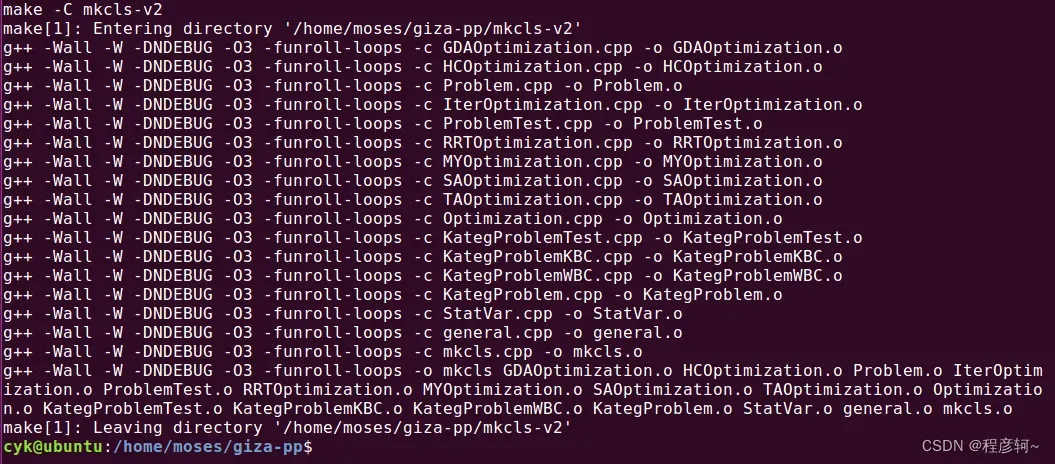
8、安装giza++
在Moses工作目录中安装giza++,这里拉取源码时用了GitHub的缓存加速网站,能提些速度,要不要使用看个人网络情况吧。比较推荐的词对齐工具还有mgiza++,Berkeley Aligner,mgiza++是giza++多线程版本。
cd /home/moses
sudo git clone https://gitclone.com/github.com/moses-smt/giza-pp.git
# sudo git clone https://github.com/moses-smt/giza-pp.git
cd giza-pp
sudo make
9、下载Moses源码
cd /home/moses
sudo git clone https://gitclone.com/github.com/moses-smt/mosesdecoder.git
# sudo git clone https://github.com/moses-smt/mosesdecoder.git

此时,在/home/moses目录可以看到如下文件夹,boost、cmph、irstlm、xmlrpc、giza-pp是我们刚刚安装的包,mosesdecoder是下载的Moses源码:
![]()
然后,在mosesdecoder中创建文件夹tools,从giza-pp文件夹复制下面三个可执行文件到tools中:
cd /home/moses/
sudo mkdir /home/moses/mosesdecoder/tools
sudo cp ./giza-pp/GIZA++-v2/GIZA++ ./giza-pp/GIZA++-v2/snt2cooc.out ./giza-pp/mkcls-v2/mkcls ./mosesdecoder/tools

10、编译Moses
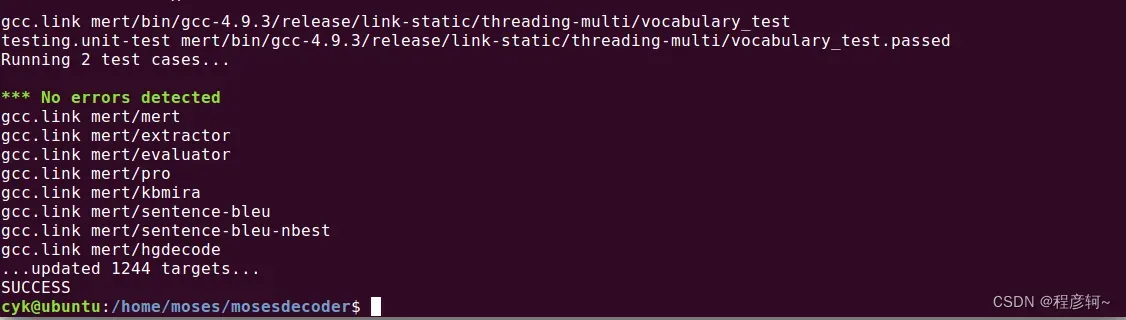
进入mosesdecoder,注意编译时最好使用绝对路径,并且路径中不能包含空格,使用相对路径可能会报错,过程比较慢,最后显示success,表示编译成功。
cd /home/moses/mosesdecoder
sudo ./bjam --with-boost=/home/moses/boost --with-cmph=/home/moses/cmph --with-irstlm=/home/moses/irstlm  --with-xmlrpc-c=/home/moses/xmlrpc --with-giza=/home/moses/giza-pp
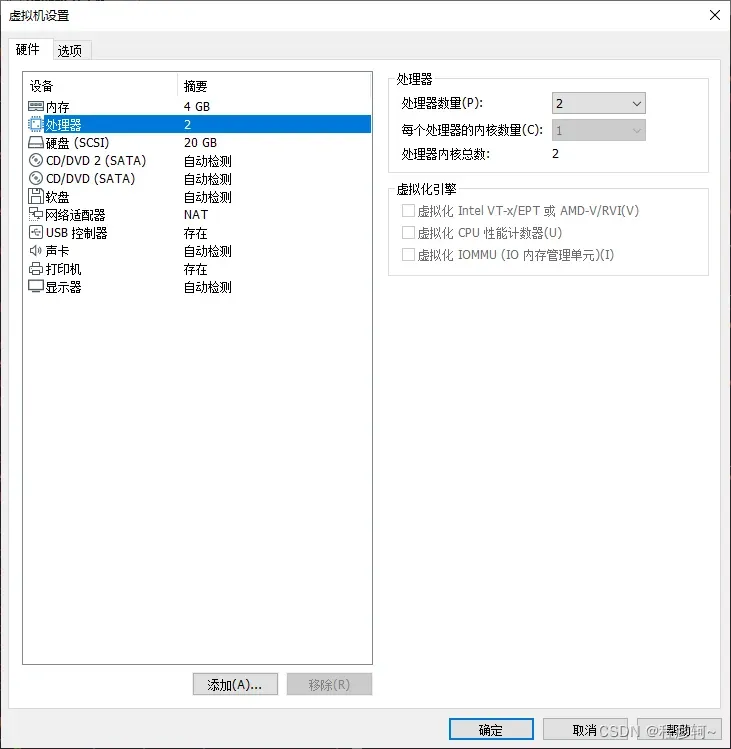
我的笔记本CPU为i5-6300HQ,4核4线程,内存16G,虚拟机设置如下,Moses编译耗时45分钟。
一些安装教程里还额外执行了下面这个命令,在本文中不需要,这句命令需要搭配 ./compile.sh使用,提供了编译Moses的简便方式,但是不够定制化,而且某些因为网络原因导致下载时间非常长,可能需要手动改一下里面的下载地址。
cd /home/moses/mosesdecoder
sudo make -f contrib/Makefiles/install-dependencies.gmake
install-dependencies.gmake中指定了第三方安装包的的版本,boost 1.68.0、irstlm-5.80.08、cmph 2.0、xmlrpc-c 1.33.17
# -*- mode: makefile; tab-width: 4; -*-
# Makefile for installing 3rd-party software required to build Moses.
# author: Ulrich Germann
#
# run as
#    make -f /path/to/this/file
#
# By default, everything will be installed in ./opt.
# If you want an alternative destination specify PREFIX=... with the make call
#
#    make -f /path/to/this/file PREFIX=/where/to/install/things
#
# The name of the current directory must not contain spaces! The build scripts for
# at least some of the external software can't handle them.

space :=
space +=
# $(CWD) may contain space, safepath escapes them
# Update: doesn't work, because the build scripts for some of the external packages
# can't handle spaces in path names.
safepath=$(subst $(space),\$(space),$1)

# current working directory: bit of a hack to get the nfs-accessible
# path instead of the local real path
CWD := $(shell cd . && pwd)

# by default, we install in ./opt and build in ./build
PREFIX ?= $(CWD)/opt
BUILD_DIR = $(CWD)/opt/build/${URL}

# you can also specify specific prefixes for different packages:
XMLRPC_PREFIX ?= ${PREFIX}
CMPH_PREFIX   ?= ${PREFIX}
IRSTLM_PREFIX ?= ${PREFIX}/irstlm-5.80.08
BOOST_PREFIX  ?= ${PREFIX}

# currently, the full enchilada means xmlrpc-c, cmph, irstlm, boost
all: xmlrpc cmph boost

# we use bash and fail when pipelines fail
SHELL = /bin/bash -e -o pipefail


# evaluate prefixes now to avoid recursive evaluation problems later ...
XMLRPC_PREFIX := ${XMLRPC_PREFIX}
CMPH_PREFIX   := ${CMPH_PREFIX}
IRSTLM_PREFIX := ${IRSTLM_PREFIX}
BOOST_PREFIX  := ${BOOST_PREFIX}

# Code repositories:
github      = https://github.com/
sourceforge = http://downloads.sourceforge.net/project

# functions for building software from sourceforge
nproc := $(shell getconf _NPROCESSORS_ONLN)
sfget  = mkdir -p '${TMP}' && cd '${TMP}' && wget -qO- ${URL} | tar xz
configure-make-install  = cd '$1' && ./configure --prefix='${PREFIX}'
configure-make-install += && make -j${nproc} && make install

# XMLRPC-C for moses server
xmlrpc: URL=$(sourceforge)/xmlrpc-c/Xmlrpc-c%20Super%20Stable/1.33.17/xmlrpc-c-1.33.17.tgz
xmlrpc: TMP=$(CWD)/build/xmlrpc
xmlrpc: override PREFIX=${XMLRPC_PREFIX}
xmlrpc: | $(call safepath,${XMLRPC_PREFIX}/bin/xmlrpc-c-config)
$(call safepath,${XMLRPC_PREFIX}/bin/xmlrpc-c-config):
	$(sfget)
	$(call configure-make-install,${TMP}/xmlrpc-c-1.33.17)
	rm -rf ${TMP}

# CMPH for CompactPT
cmph: URL=$(sourceforge)/cmph/cmph/cmph-2.0.tar.gz
cmph: TMP=$(CWD)/build/cmph
cmph: override PREFIX=${CMPH_PREFIX}
cmph: | $(call safepath,${CMPH_PREFIX}/bin/cmph)
$(call safepath,${CMPH_PREFIX}/bin/cmph):
	$(sfget)
	$(call configure-make-install,${TMP}/cmph-2.0)
	rm -rf ${TMP}

# irstlm for irstlm
irstlm: URL=$(sourceforge)/irstlm/irstlm/irstlm-5.80/irstlm-5.80.08.tgz
irstlm: TMP=$(CWD)/build/irstlm
irstlm: VERSION=$(basename $(notdir $(irstlm_url)))
irstlm: override PREFIX=${IRSTLM_PREFIX}
irstlm: | $(call safepath,$(IRSTLM_PREFIX)/bin/build-lm.sh)
$(call safepath,$(IRSTLM_PREFIX)/bin/build-lm.sh):
	$(sfget)
	cd $$(find '${TMP}' -name trunk) && ./regenerate-makefiles.sh \
	&& ./configure --prefix='${PREFIX}' && make -j${nproc} && make install -j${nproc}
	rm -rf ${TMP}

# boost
boost: VERSION=1.68.0
boost: UNDERSCORED=$(subst .,_,$(VERSION))
boost: URL=http://sourceforge.net/projects/boost/files/boost/${VERSION}/boost_${UNDERSCORED}.tar.gz/download
boost: TMP=$(CWD)/build/boost
boost: override PREFIX=${BOOST_PREFIX}
boost: | $(call safepath,${BOOST_PREFIX}/include/boost)
$(call safepath,${BOOST_PREFIX}/include/boost):
	$(sfget)
	cd '${TMP}/boost_${UNDERSCORED}' && ./bootstrap.sh && ./b2 --prefix=${PREFIX} -j${nproc} --layout=system link=static install
	rm -rf ${TMP}
文章出处登录后可见!