Cuda 和 GPU版torch安装最全攻略,以及在GPU 上运行 torch代码
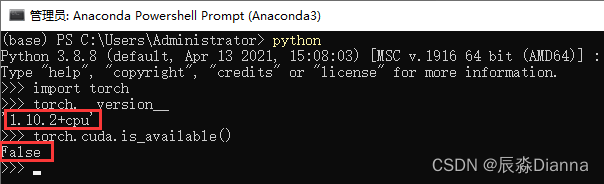
查看可用 torch 版本
在 conda prompt 中 检查是否有可用的GPU版本 torch.cuda,发现False
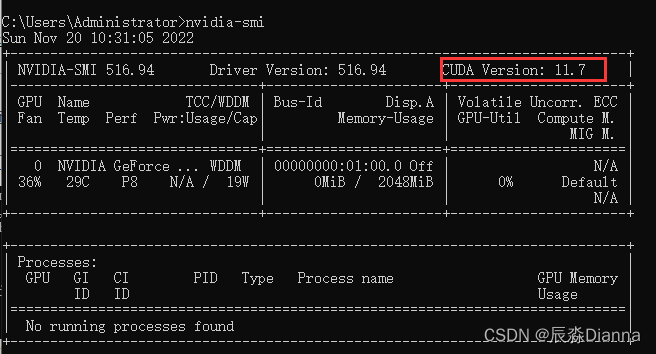
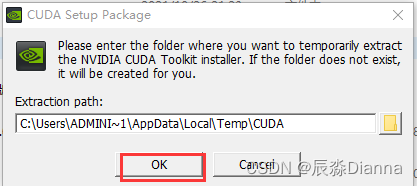
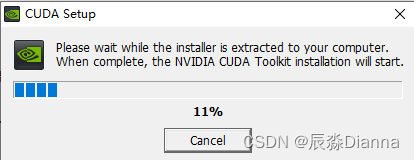
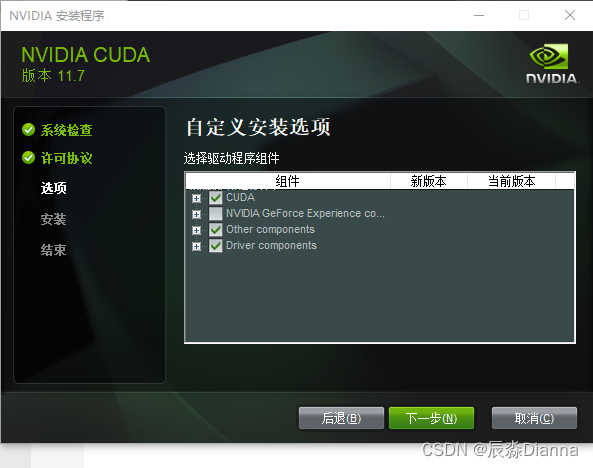
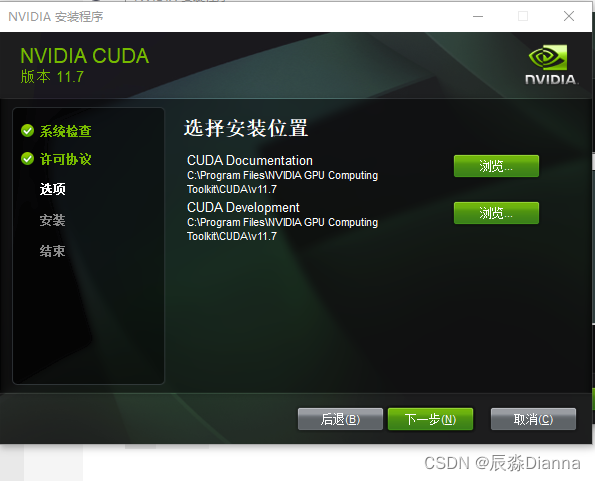
下载CUDA
命令行输入nvidia-smi,查看 cuda 信息:
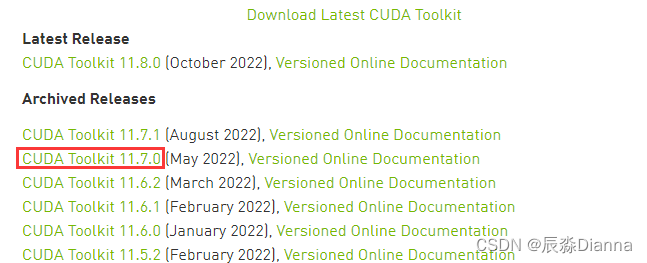
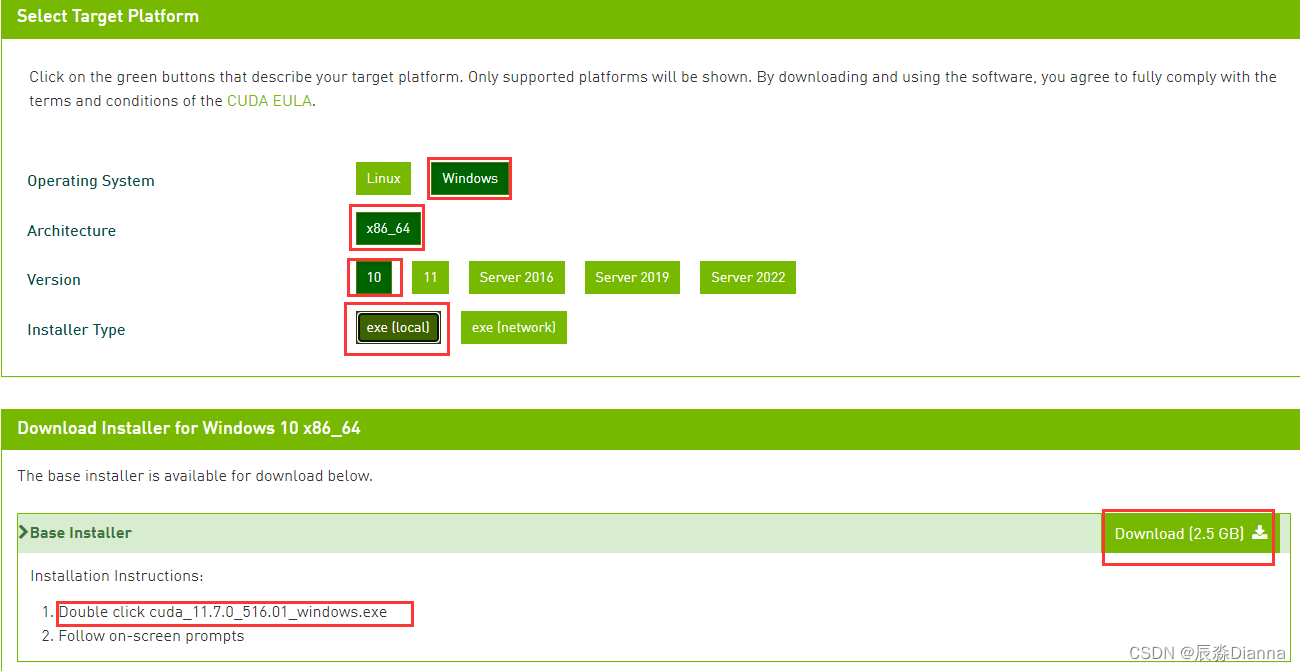
从官网下载对应版本的安装程序 CUDA Toolkit Archive | NVIDIA Developer

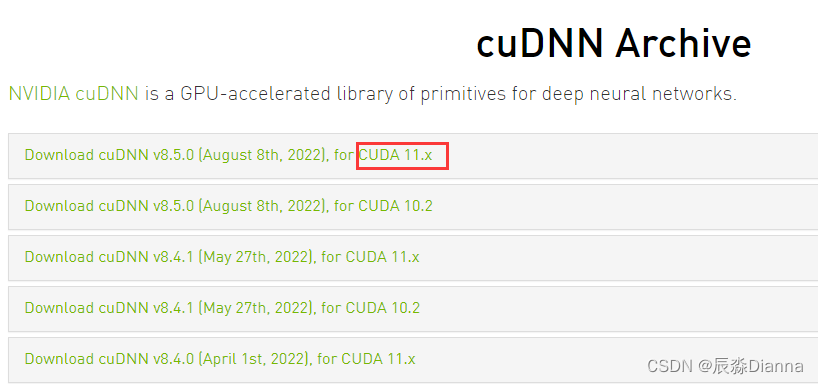
安装cudnn
版本匹配,下载最新
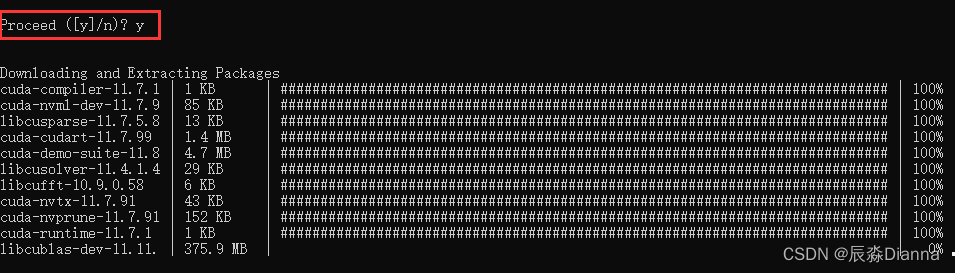
下载cudatoolkit
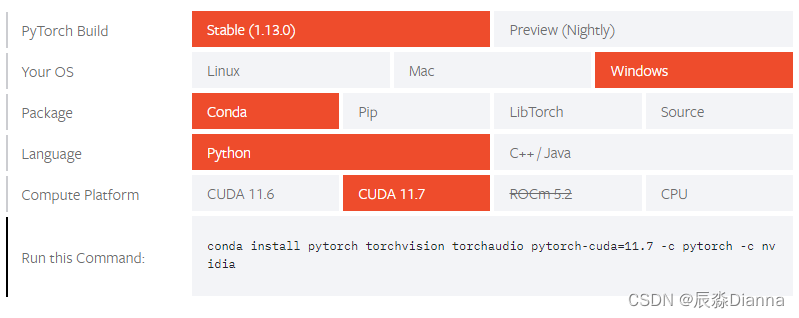
conda install pytorch torchvision torchaudio pytorch-cuda=11.7 -c pytorch -c nvidia

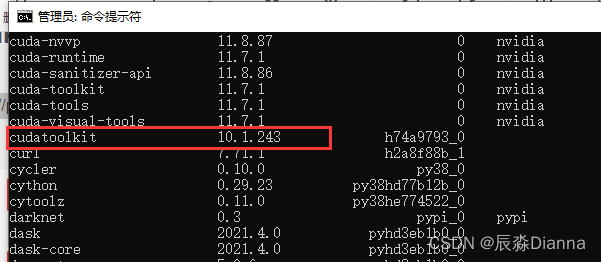
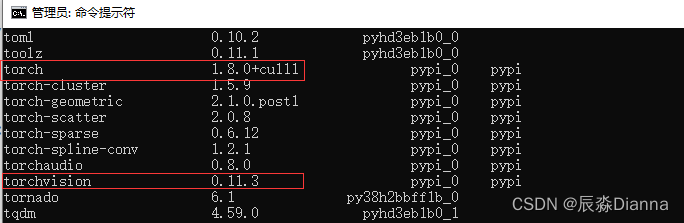
检查:下载完了在cmd里面查看conda的库,conda list,
下载 GPU版本的pyTorch
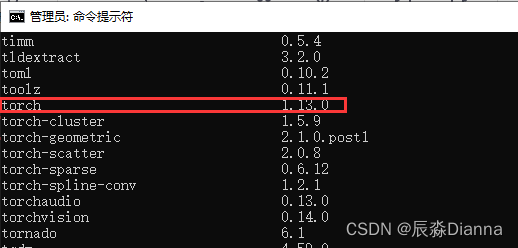
先查看当前有哪些Torch 版本
pip list:
下载torch 和torchvision的 whl 文件
GPU版本pytorch和pytorchvision下载地址
torch:

torchvision:

在下载地址所在的文件夹中cmd,进行安装,但是报错
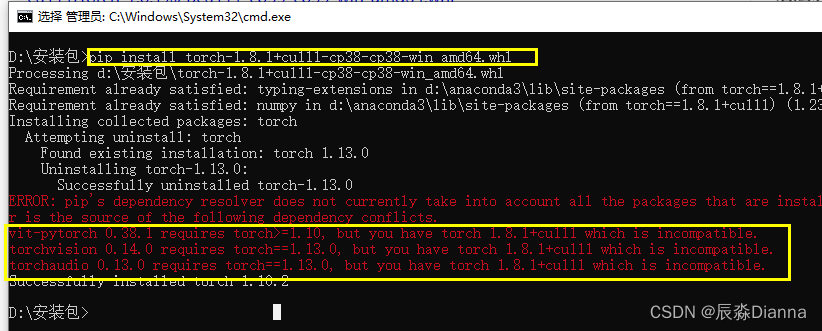
说明需要更高版本:torch1.10以上,再下载:

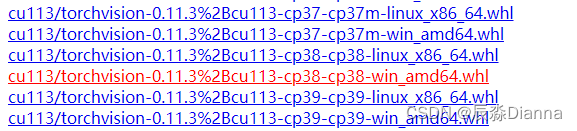
对应torchvision 版本:

pip install 安装并检查
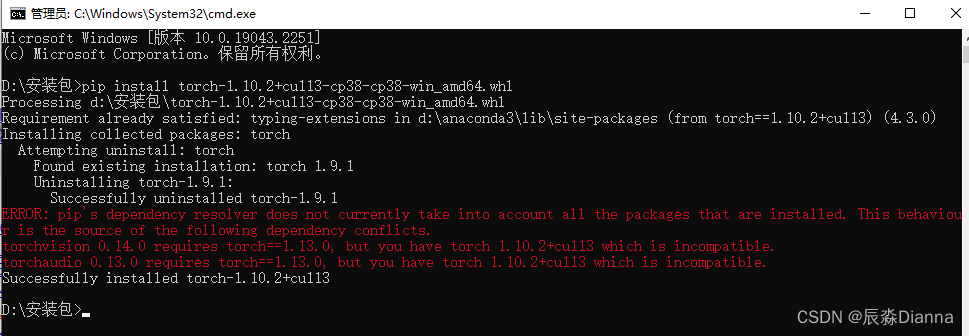
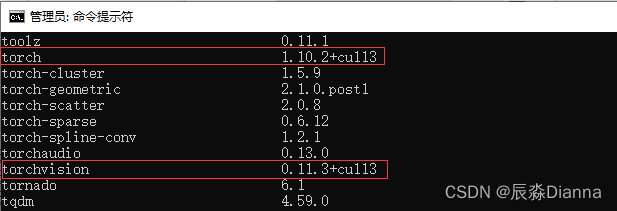
cmd中 pip list 检查:
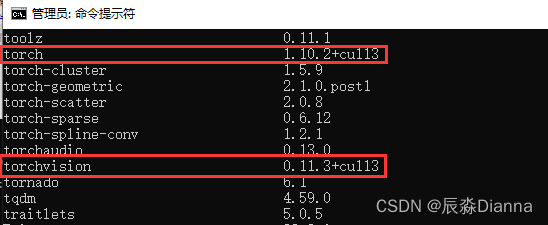
import torch 并检查是否可用的 cuda版本
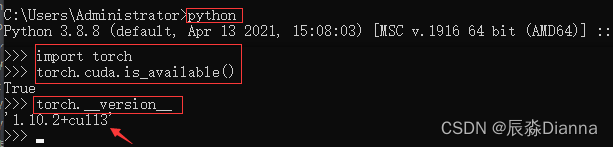
python
import torch
torch.cuda.is_available()
torch.__version__
CMD中:
Anaconda Prompt 中:
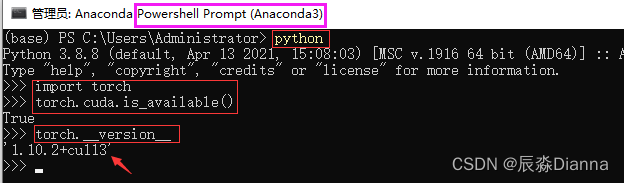
二者是一致的。
此时:用pip install 方法安装了gpu版本的torch和torchvision,所以pip list 显示二者,但conda list 可能与之不一致,因为用的不是 conda install 命令。
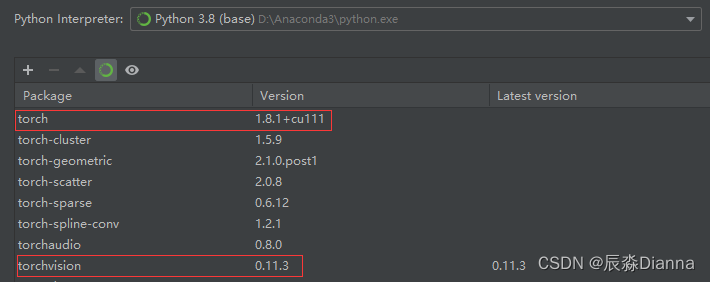
但在pycharm虚拟环境中,base环境下显示的和 conda list 的版本是一样的
pip list:
conda List 和 pycharm 环境中显示的一样
但是,在pycharm中运行以下命令时,输出的是True 和 Torch: 1.10.2+cu113 而不是 1.8.1+cu111
import torch
print(torch.cuda.is_available())
print(f"Torch: {torch.__version__}")
在GPU运行 torch 代码
安装好GPU版本的 torch 后,只要 torch.cuda.is_available() 是Ture ,就可以在GPU运行代码了”:
- 设置
device='cuda' - 将 model 放到 gpu 上
model.to(device) - 将label和data 放到 gpu 上
label.to(device),data.to(device)
# 设置 device='cuda'
device = 'cuda'

# 将 model 放到 gpu 上
model = ViT(
    dim=128,
    image_size=224,
    patch_size=32,
    num_classes=2,
    transformer=efficient_transformer,
    channels=3,
).to(device)

# 将label和data 放到 gpu 上
for epoch in range(epochs):
    for data, label in tqdm(train_loader):
        data = data.to(device)
        label = label.to(device)
GPU torch 常用指令
import torch
指定 device 为 CPU 或 GPU
# 指定 CPU
cpu1 =torch.device("cpu:0")
print("CPU Device:【{}:{}】".format(cpu1.type,cpu1.index))

# 指定 GPU
gpu =torch.device("cuda:0")
print("GPU Device:【{}:{}】".format(gpu.type,gpu.index))
查看GPU是否可用及设备名称
print("Total GPU Count:{}".format(torch.cuda.device_count()))   #查看所有可用GPU个数
print("Total CPU Count:{}".format(torch.cuda.os.cpu_count()))   #获取系统CPU数量
print(torch.cuda.get_device_name(torch.device("cuda:0")))       #获取GPU设备名称   NVIDIA GeForce GT 1030
print("GPU Is Available:{}".format(torch.cuda.is_available()))  #GPU设备是否可用  True
在GPU上建立Tensor
# 建立 Tensor
device = torch.device('cuda:0')

# 使用 tensor 在 cpu 建立再转移到 gpu
gpu_tensor1= torch.Tensor([[1,4,7],[3,6,9],[2,5,8]]).to(device)  # 使用to()方法将cup_tensor转到GPU上

# 直接在 gpu 上建立
gpu_tensor2 = torch.tensor([[1,4,7],[3,6,9],[2,5,8]],device=device)
gpu_tensor3 = torch.rand((3,4),device=device)                           # 方法一 直接申明 device
gpu_tensor4  = torch.randn(3,4).float().to(device)                      # 方法二 使用 to device 转移

print(gpu_tensor1)
print(gpu_tensor2)
print(gpu_tensor3)
print(gpu_tensor4)
查看内存大小和显存信息
torch.cuda.empty_cache()                      # 释放没有使用的缓存数据
print(torch.cuda.memory_cached())             # 获取缓存数据大小
print(torch.cuda.max_memory_cached())         # 最大缓存大小
print(torch.cuda.max_memory_allocated())       # 最大分配内存大小
print(torch.cuda.memory_summary())            # 查看显存信息
如果GPU设备可用,将默认热备改为GPU
#创建默认的CPU设备
device = torch.device("cpu")
#如果GPU设备可用,将默认设备改为GPU
if(torch.cuda.is_available()):
    device = torch.device("cuda")
总结
- 所以有时候即使pycharm里的torch看起来是有cuda版本的,但实际代码运行起来报错:
AssertionError Torch not compiled with CUDA enabled还是要去 Cmd 或者 Anaconda Prompt 中看一下是否有可用的 GPU 版本 torch 如果是 False , 就要重新 Pip install 安装 - 而且,运行Vit-pytorch 的时候,要求 torch >=1.10.0,所以要选1.10以上的torch
- 而且,安装torchvision 的时候,要和刚刚安装torch 的版本对应,不然会给你uninstall 掉刚刚安装的torch(一不小心又变回cpu版本)
- 安装好GPU版本的 torch 后, torch.cuda.is_available() 是Ture ,就可以在GPU运行代码了
参考
解决AssertionError Torch not compiled with CUDA enabled问题
pytorch gpu版本的最全安装教程,含环境配置、CUDA(百度云下载)安装程序失败解决方案
Pytorch(GPU版)安装
GPU版本pyTorch安装教程(实测,特别详细)
文章出处登录后可见!