这是一个用 Yolov5 + ArcFace 做人脸识别的Demo,待修改完善。
利用Yolov5做人脸检测,框出识别到的人脸,用 ArcFace 做人脸识别
代码:https://github.com/ColinFred/yolov5_arcface_face_recognition
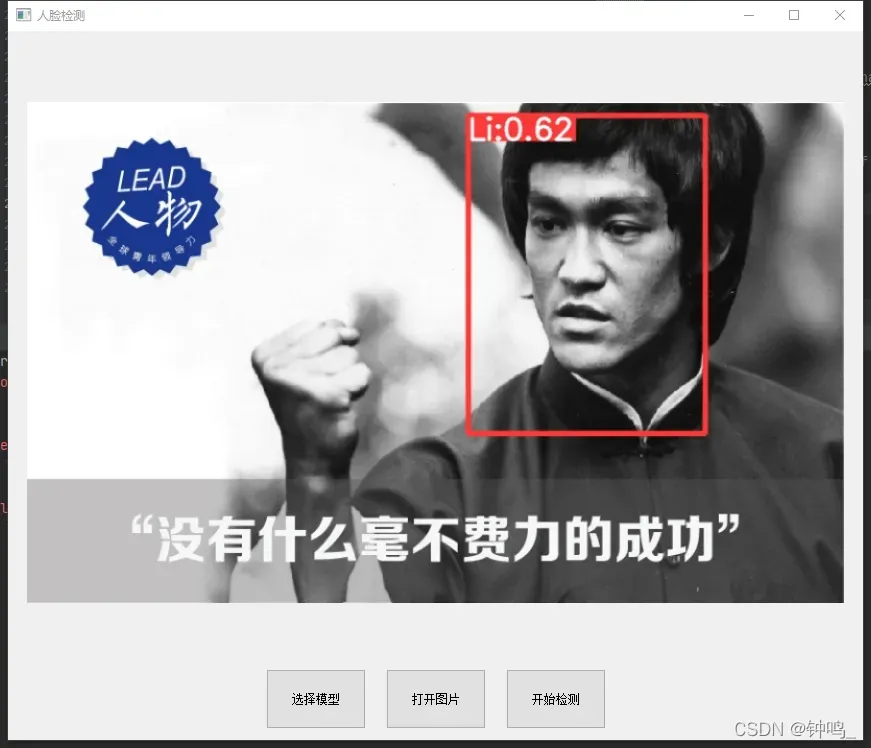
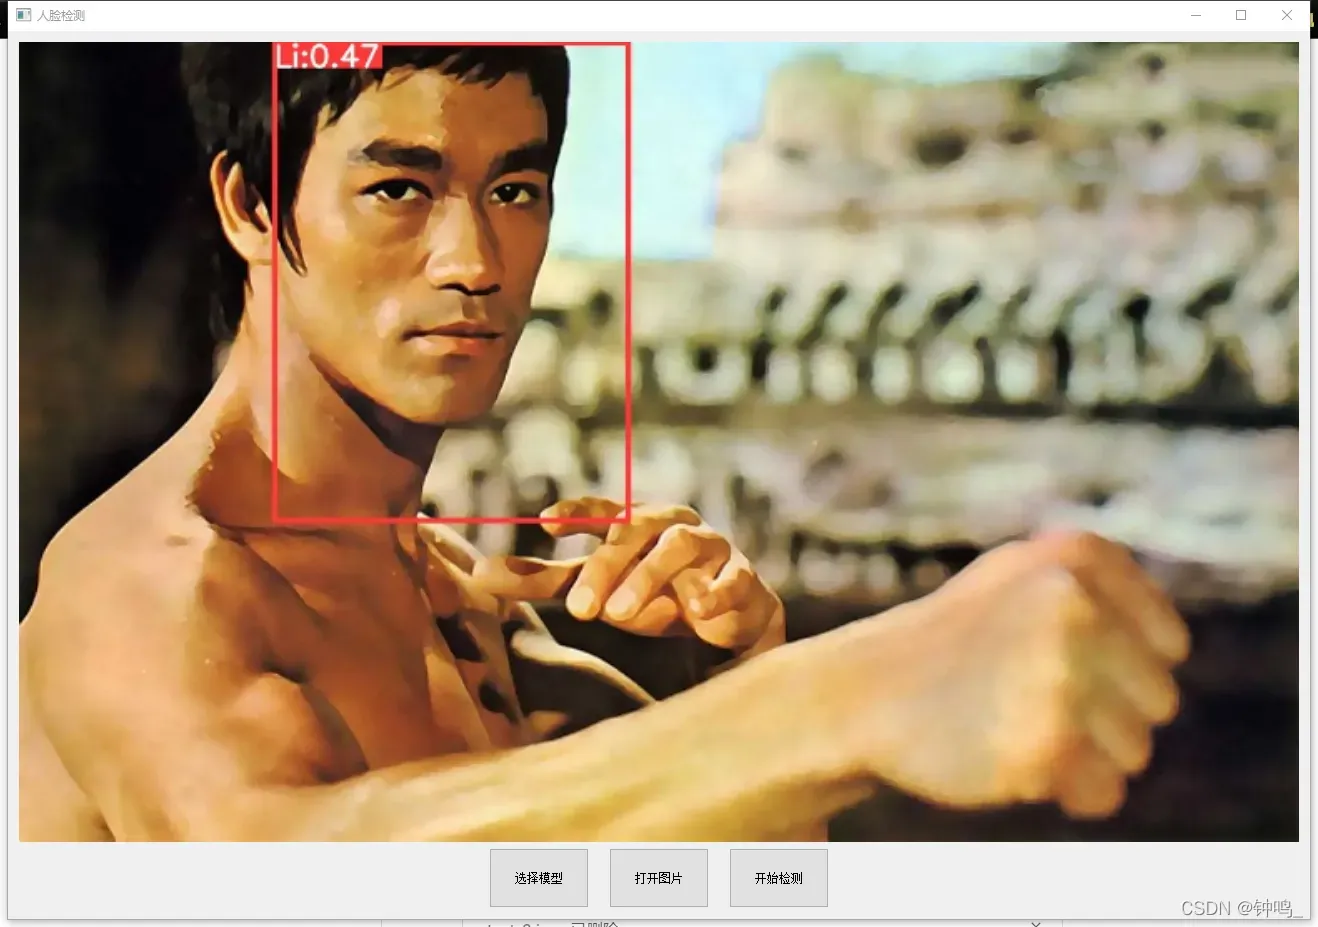
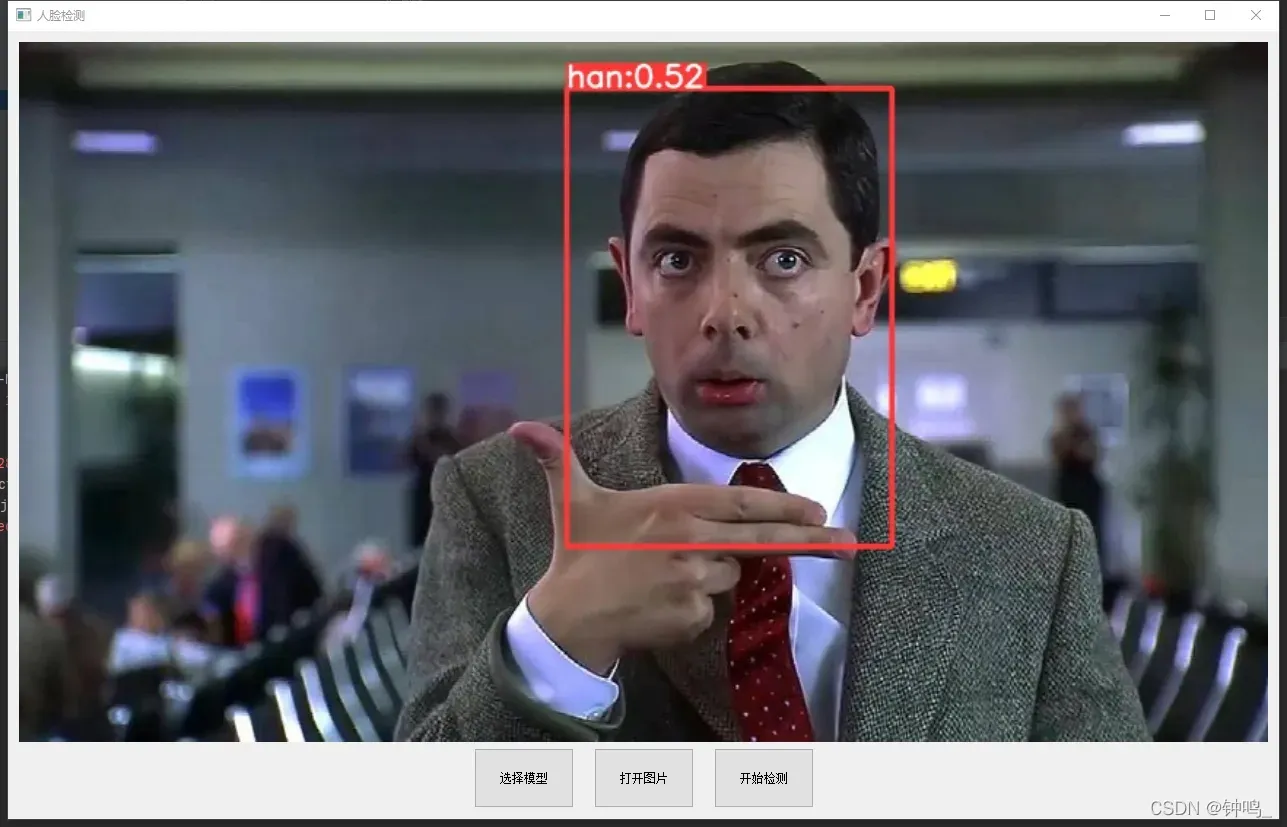
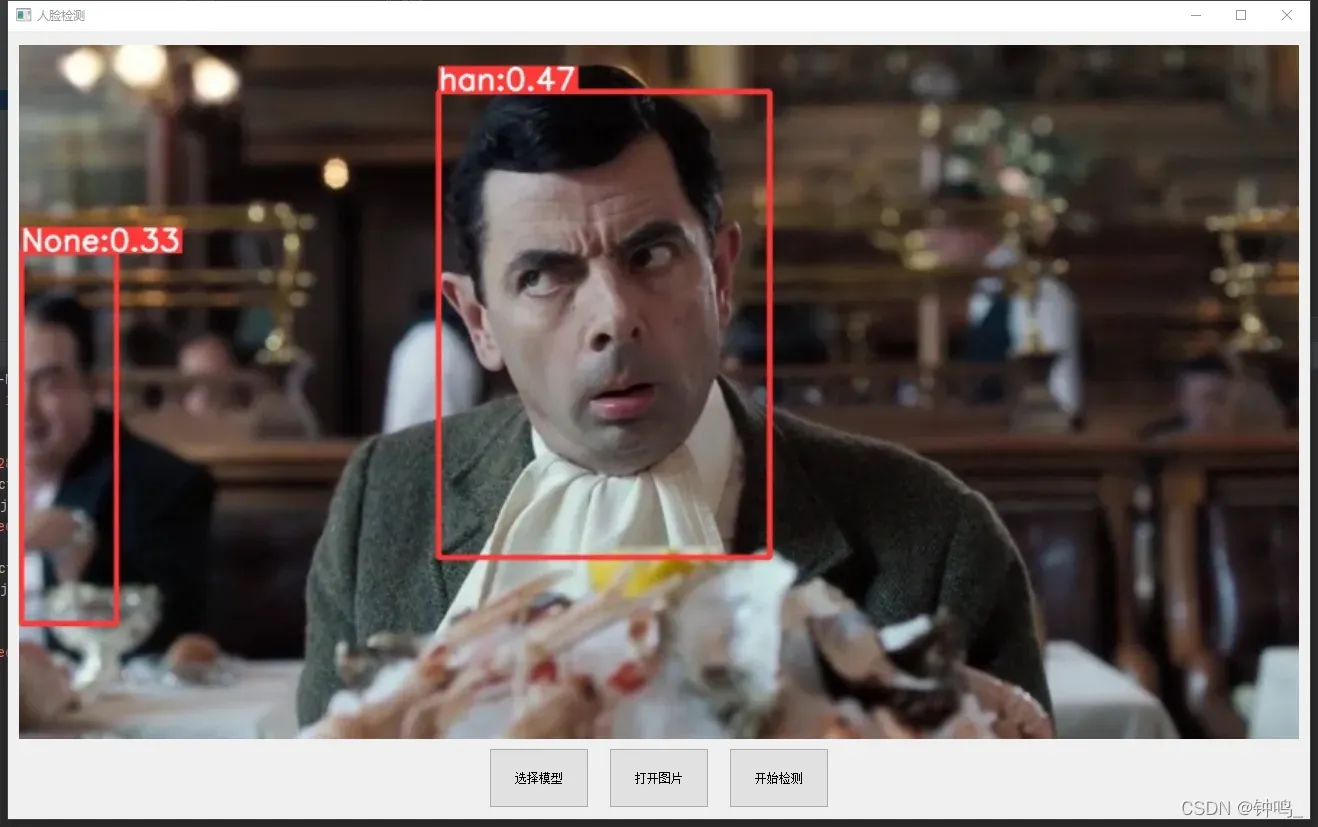
结果显示:
人脸检测部分使用的预训练模型是yolov5s,训练集用的是CelebA Dataset
由于人脸检测部分只需要将人脸框出,不需要分类,所以我只选了2000张人脸图片进行训练

可以看到,效果非常好
人脸识别部分用的数据集是CASIA-WebFace,模型的backbone是以MobileNet为基础的FaceMobileNet,最后的特征向量长度(embedding_size)选用512,就是说用512维的向量表征人脸。
class FaceMobileNet(nn.Module):

    def __init__(self, embedding_size):
        super().__init__()
        self.conv1 = ConvBnPrelu(1, 64, kernel=(3, 3), stride=2, padding=1)
        self.conv2 = ConvBn(64, 64, kernel=(3, 3), stride=1, padding=1, groups=64)
        self.conv3 = DepthWise(64, 64, kernel=(3, 3), stride=2, padding=1, groups=128)
        self.conv4 = MultiDepthWiseRes(num_block=4, channels=64, kernel=3, stride=1, padding=1, groups=128)
        self.conv5 = DepthWise(64, 128, kernel=(3, 3), stride=2, padding=1, groups=256)
        self.conv6 = MultiDepthWiseRes(num_block=6, channels=128, kernel=(3, 3), stride=1, padding=1, groups=256)
        self.conv7 = DepthWise(128, 128, kernel=(3, 3), stride=2, padding=1, groups=512)
        self.conv8 = MultiDepthWiseRes(num_block=2, channels=128, kernel=(3, 3), stride=1, padding=1, groups=256)
        self.conv9 = ConvBnPrelu(128, 512, kernel=(1, 1))
        self.conv10 = ConvBn(512, 512, groups=512, kernel=(7, 7))
        self.flatten = Flatten()
        self.linear = nn.Linear(2048, embedding_size, bias=False)
        self.bn = nn.BatchNorm1d(embedding_size)

    def forward(self, x):
        out = self.conv1(x)
        out = self.conv2(out)
        out = self.conv3(out)
        out = self.conv4(out)
        out = self.conv5(out)
        out = self.conv6(out)
        out = self.conv7(out)
        out = self.conv8(out)
        out = self.conv9(out)
        out = self.conv10(out)
        out = self.flatten(out)
        out = self.linear(out)
        out = self.bn(out)
        return out
在个人电脑上(GPU:1650s)一张图片的推理时间为0.03s左右,在WebFace数据集上的测试结果有98.6%的准确率,效果还不错。
Yolov5
源地址:
https://github.com/ultralytics/yolov5
下载CelebA Dataset数据集,自己选取要训练的图片并制作标签。参考https://github.com/ultralytics/yolov5/wiki/Train-Custom-Data
或者用数据集的list_bbox_celeba.txt标签文件制作yolo格式标签。参考https://blog.csdn.net/weixin_41809530/article/details/106333414
# 制作标签
from PIL import Image,ImageDraw

anno_box_path = r"D:/AIstudyCode/data/CelebA/Anno/list_bbox_celeba.txt"
label_dir = "D:/AIstudyCode/data/CelebA/labels"
img_dir = "D:/AIstudyCode/data/CelebA/Img/img_celeba.7z/img_celeba.7z/img_celeba"
count = 0
epoch = 1
box_file = open(anno_box_path,"r")

i = 0


for line in box_file:
    if i < 2:
        i += 1
        continue
    i += 1
    print(line)

    imgname = line[0:6]
    #print(imgname)

    img_strs = line.split()
    x1, y1, w, h = int(img_strs[1]), int(img_strs[2]), int(img_strs[3]), int(img_strs[4])
    x2, y2 = x1+w, y1+h

    img = Image.open(f"{img_dir}/{img_strs[0]}")
    img_w, img_h = img.size

    # ****************************
    dw = 1. / (int(img_w))
    dh = 1. / (int(img_h))
    x = ((x1 + x2) / 2.0 - 1)*dw
    y = ((y1 + y2) / 2.0 - 1)*dh
    w = (x2 - x1)*dw
    h = (y2 - y1)*dh
    # x = x * dw
    # w = w * dw
    # y = y * dh
    # h = h * dh
    # ****************************
    label_txt = open(f"{label_dir}/{imgname}.txt", "w")

    label_txt.write(f"0 {x} {y} {w} {h}\n")
    label_txt.flush()
    label_txt.close()

    if i == 1562:
        exit()
data文件夹下新建 face.yaml
train: /media/system/dataset/CelebA/Img/images/train
val: /media/system/dataset/CelebA/Img/images/train
# number of classes
nc: 1
# class names
names: ['face']
train和val地址分别填训练集和验证集的地址,这里直接填一样的也行。
直接培训
python train.py --data face.yaml --weights yolov5s.pt --img 640 --cfg yolov5s.yaml --epoch 20
实际上epoch为12的时候已经训练的可以了,大概一个多小时的训练时间


Arcface
参考https://github.com/ColinFred/Build-Your-Own-Face-Model
重要的:
损失函数:Focal Loss
Focal Loss的作用是降低容易样本对 loss 的贡献度,使模型关注那些困难样本。由于简单的样本一般占多数,困难样本占少数,Focal Loss 的这种特点可以使模型学习到更加好的特征。
我用的和原来的一样
import torch
import torch.nn as nn

class FocalLoss(nn.Module):

    def __init__(self, gamma=2):
        super().__init__()
        self.gamma = gamma
        self.ce = torch.nn.CrossEntropyLoss()

    def forward(self, input, target):
        logp = self.ce(input, target)
        p = torch.exp(-logp)
        loss = (1 - p) ** self.gamma * logp
        return loss.mean()
实际上可以乘以一个

度量函数
最初,模型的输出直接经过 Softmax Loss ,用得到的结果进行分类,但是效果并不好。后来,在原来的 Softmax Loss 基础上进行改进,演绎出了像 SphereFace, CosFace, ArcFace 这样的 Additional Margin Metric Loss 。顾名思义,就是在分类边界上增加了Margin,先将特征映射到角度特征空间中,再增加类间距。

Additional Margin Metric Loss 的本质,是使得训练的过程更加困难,通过这种困难,磨砺模型,使其训练得更好。

CosFace
class CosFace(nn.Module):

    def __init__(self, in_features, out_features, s=30.0, m=0.40):
        super().__init__()
        self.in_features = in_features
        self.out_features = out_features
        self.s = s
        self.m = m
        self.weight = nn.Parameter(torch.FloatTensor(out_features, in_features))
        nn.init.xavier_uniform_(self.weight)

    def forward(self, input, label):
        cosine = F.linear(F.normalize(input), F.normalize(self.weight))
        phi = cosine - self.m
        output = cosine * 1.0  # make backward works
        batch_size = len(output)
        output[range(batch_size), label] = phi[range(batch_size), label]
        return output * self.s
ArcFace
class ArcFace(nn.Module):

    def __init__(self, embedding_size, class_num, s=30.0, m=0.50):
        """ArcFace formula:
            cos(m + theta) = cos(m)cos(theta) - sin(m)sin(theta)
        Note that:
            0 <= m + theta <= Pi
        So if (m + theta) >= Pi, then theta >= Pi - m. In [0, Pi]
        we have:
            cos(theta) < cos(Pi - m)
        So we can use cos(Pi - m) as threshold to check whether
        (m + theta) go out of [0, Pi]

        Args:
            embedding_size: usually 128, 256, 512 ...
            class_num: num of people when training
            s: scale, see normface https://arxiv.org/abs/1704.06369
            m: margin, see SphereFace, CosFace, and ArcFace paper
        """
        super().__init__()
        self.in_features = embedding_size
        self.out_features = class_num
        self.s = s
        self.m = m
        self.weight = nn.Parameter(torch.FloatTensor(class_num, embedding_size))
        nn.init.xavier_uniform_(self.weight)

        self.cos_m = math.cos(m)
        self.sin_m = math.sin(m)
        self.th = math.cos(math.pi - m)
        self.mm = math.sin(math.pi - m) * m

    def forward(self, input, label):
        cosine = F.linear(F.normalize(input), F.normalize(self.weight))
        sine = ((1.0 - cosine.pow(2)).clamp(0, 1)).sqrt()
        phi = cosine * self.cos_m - sine * self.sin_m
        phi = torch.where(torch.tensor(cosine > self.th), phi, cosine - self.mm)  # drop to CosFace
        # update y_i by phi in cosine
        output = cosine * 1.0  # make backward works
        batch_size = len(output)
        output[range(batch_size), label] = phi[range(batch_size), label]
        return output * self.s
ArcFace 存在越界问题。Arc 代表角,其额外差距m是一个角度,而 CosFace 中的m是一个余弦值。ArcFace 的越界发生在原来的角度加上额外的角度超过180度的时候。如果越界发生了,就使用 CosFace 代替 ArcFace
测试
两个模型都训练完了之后要合在一起使用,全部放在yolov5文件夹下
首先,要加载模型,从图像数据库中读取信息
self.model_face= FaceMobileNet(conf.embedding_size).to(self.device)
self.model_face = nn.DataParallel(self.model_face)
self.model_face.load_state_dict(torch.load(conf.test_model, map_location=conf.device))
self.model_face.eval()
读取图片库信息,保存到 self.features 和 self.labels
    def read_path(self, path_name):
        for dir_item in os.listdir(path_name):
            # 从初始路径开始叠加,合并成可识别的操作路径
            full_path = os.path.abspath(os.path.join(path_name, dir_item))

            if os.path.isdir(full_path):  # 如果是文件夹,继续递归调用
                self.read_path(full_path)
            else:  # 文件
                if dir_item.endswith('.jpg'):
                    image = Image.open(full_path)
                    image = transform(image)
                    image = image.unsqueeze(0)
                    with torch.no_grad():
                        feature = self.model_face(image).squeeze().cpu().numpy()

                    self.features.append(feature)
                    label = path_name.split('\\')[-1]
                    self.labels.append(label)
为了测试,我选择了四位名人的照片,李小龙、比恩等。每个人都有几张图片对比。

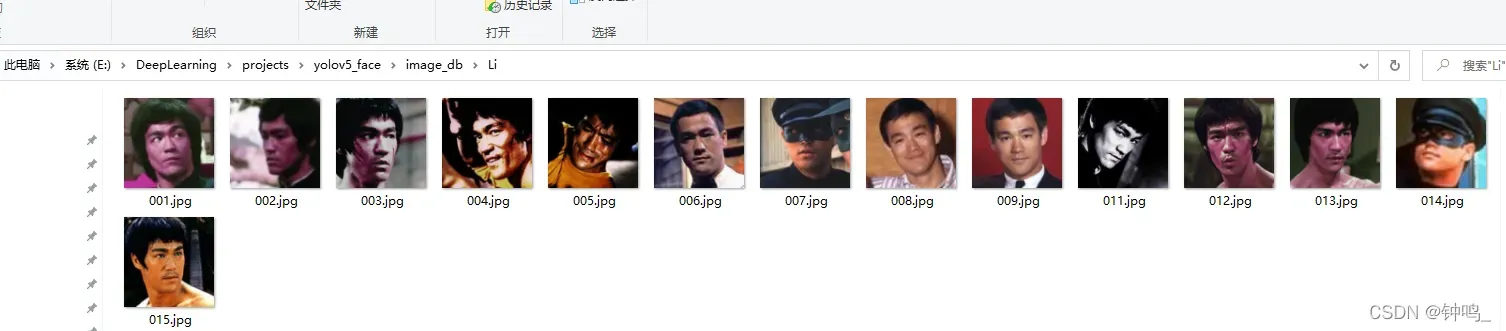
计算出所有的图片的特征,保存到 self.features 中。当要识别某一张图片时,用yolo算法框出人脸,再用arcface计算特征,与上面的图片库的特征做对比,计算余弦相似度。结果选择相似度最高的那张图。当相似度超过某一阈值时,则认定两张人脸是同一个人,如果相似度没有超过阈值,则该人脸不在数据库中。
# Writeresults
for *xyxy, conf, cls in reversed(det):

	face_img = im0[int(xyxy[1]):int(xyxy[3]), int(xyxy[0]):int(xyxy[2])]
	face_img = cv2.resize(face_img, (128, 128))  # 缩放至128*128
	face_img = cv2.cvtColor(face_img, cv2.COLOR_BGR2GRAY)
	face_img = torch.Tensor(face_img).unsqueeze(0)
	face_img -= 127.5
	face_img /= 127.5
	# face_img = T.Normalize(mean=[0.5], std=[0.5])(face_img)
	face_img = face_img.unsqueeze(0).to(device)
	with torch.no_grad():
	    fea = self.model_face(face_img).squeeze().cpu().numpy()

	best_score = 0.33
	label = None
	for i, feature in enumerate(self.features):
	    score = self.cosin_metric(fea, feature)
	    if score > best_score:
	        best_score = score
	        label = self.labels[i]
	print(best_score, label)
更改显示的标签
 # label_ = None if hide_labels else (names[c] if hide_conf else f'{names[c]} {conf:.2f}')
label_ = f"{label}:{best_score:.2f}"
结果:
参考
- https://blog.csdn.net/weixin_41809530/article/details/107313752
- https://github.com/ColinFred/Build-Your-Own-Face-Model/tree/master/recognition
文章出处登录后可见!