一.运行环境
opencv2、windows、vs
二.图像获取、分割、保存
双目相机图片
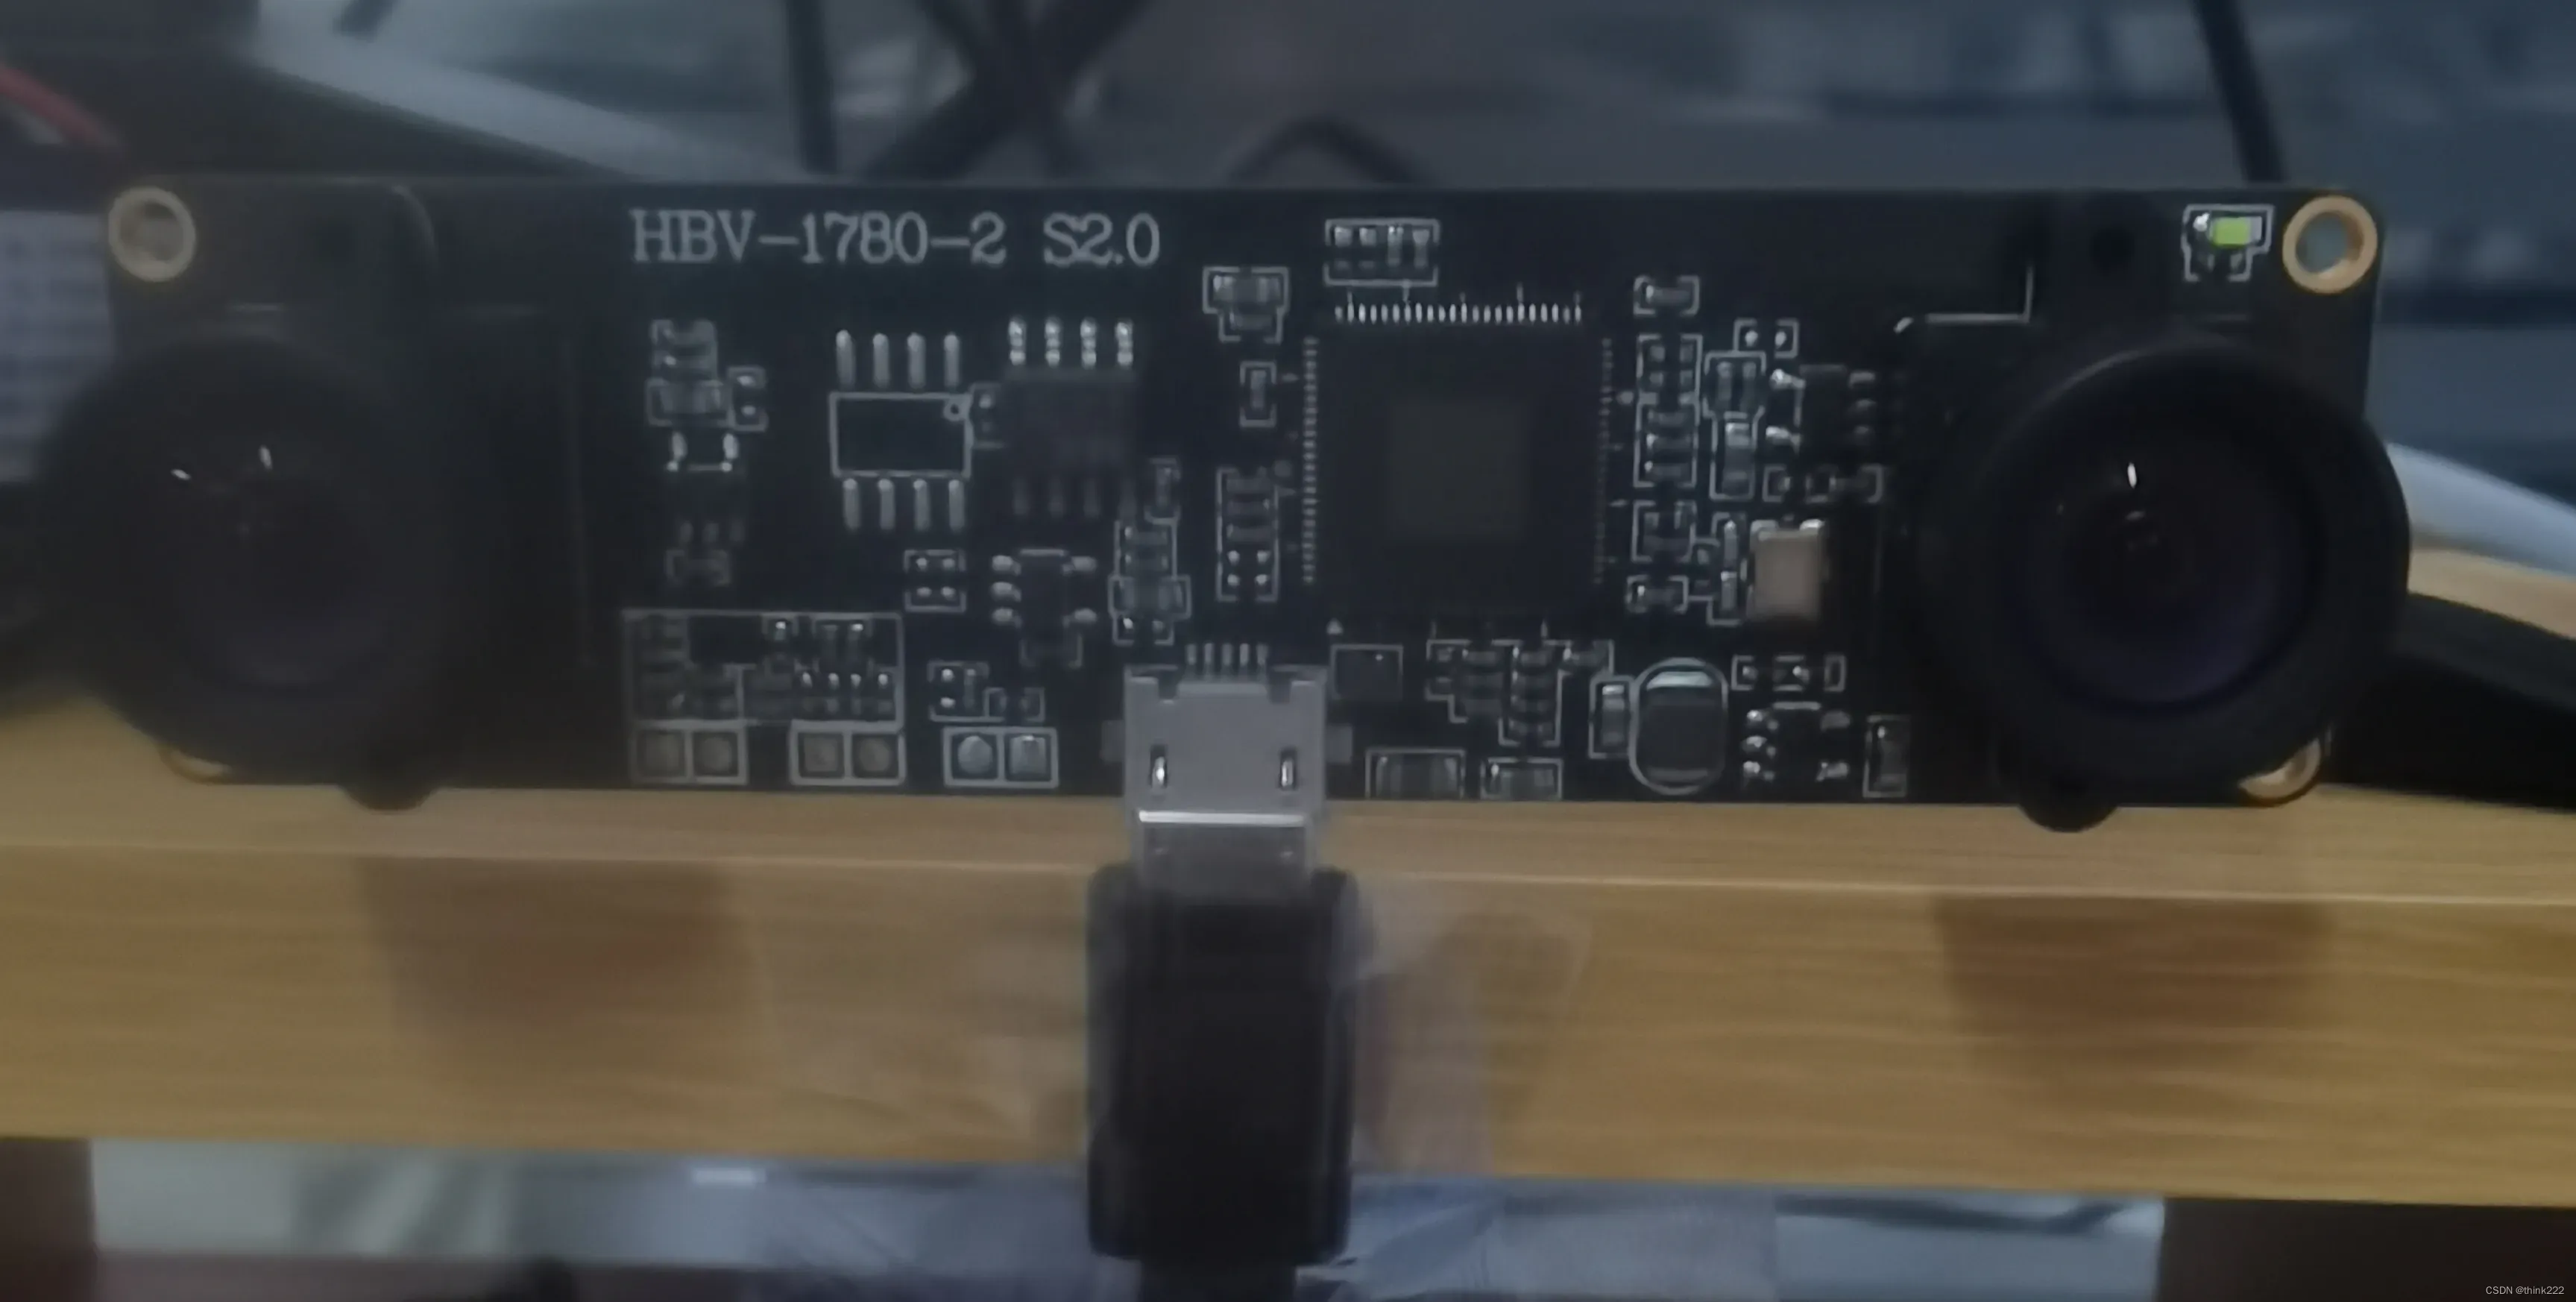
代码根据参考博客和自己硬件以及需求经行更改
#include <opencv2/core/core.hpp>
#include <opencv2/highgui/highgui.hpp>
#include <opencv2/imgproc/imgproc.hpp>
#include <iostream>
using namespace std;
using namespace cv;
void main()
{
	Mat input_image;
	VideoCapture cam(1);
	Rect left_rect(0, 0, 1280, 720);   //创建一个Rect框,属于cv中的类,四个参数代表x,y,width,height
	Rect right_rect(1280, 0, 1280, 720);
	Mat image_left, image_right;
	string left_road;
	string right_road;
	int num = 0;


	if (!cam.isOpened())
		exit(0);
	cam.set(CV_CAP_PROP_FRAME_WIDTH, 2560);
	cam.set(CV_CAP_PROP_FRAME_HEIGHT, 960);
	while (true) {
		cam >> input_image;
		image_left = Mat(input_image, left_rect).clone();
		image_right = Mat(input_image, right_rect).clone();
		imshow("input image1", image_left);
		imshow("input image2", image_right);
		char q=waitKey(30);
		if (q == 27) {    //按esc退出
			break;
		}
		if (q == 32)     //按空格保存
		{
			num++;
			cout << num;
			left_road = "F:\\graph\\left\\" + to_string(num) + ".png";
			right_road = "F:\\graph\\right\\"+to_string(num) + ".png";
			imwrite(left_road, image_left);
			imwrite(right_road, image_right);
		}
	}
	cam.release();
}
tips:如果出现调用双目摄像头只出现一个图像时,大概率是图像分辨率没有设置对
	VideoCapture cap(1); //笔记本上一般0是自带的摄像头,1是外插摄像头
	cap.set(CAP_PROP_FRAME_WIDTH,2560);
    cap.set(CAP_PROP_FRAME_HEIGHT,720);
三.标定
MATLAB标定
参考博文(一)手把手教双目相机标定(超详细,附代码)_THU-弘毅的博客-CSDN博客_双目相机标定
matlab双目标定(详细过程)_西海岸看日出的博客-CSDN博客_matlab双目相机标定
输入stereoCameraCalibrator,打开工作界面
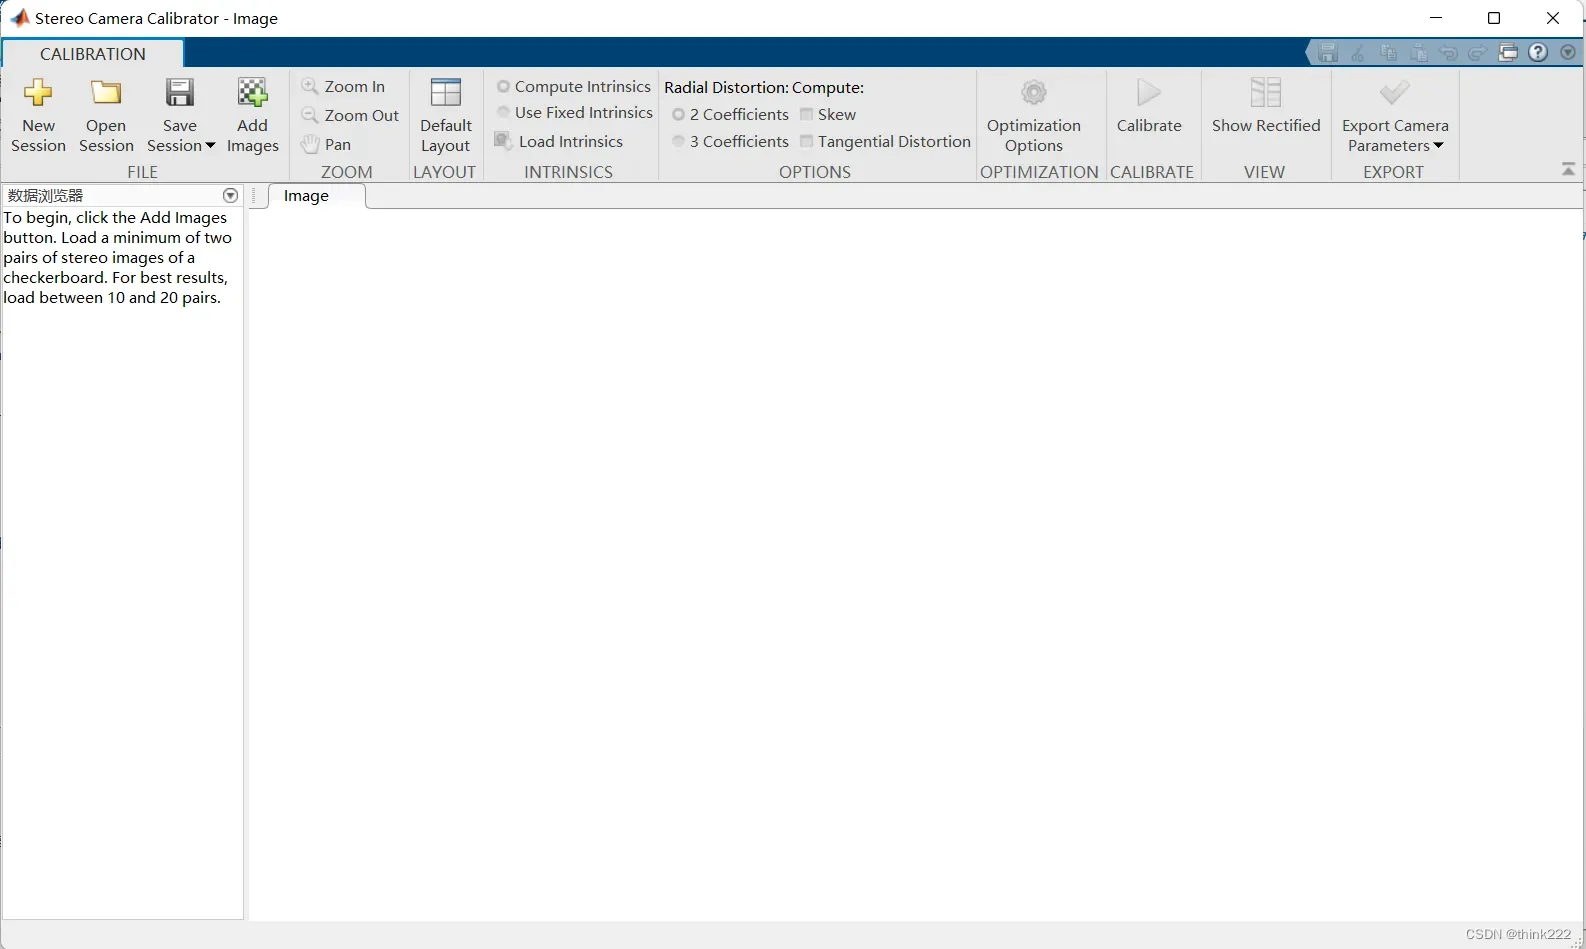
点击add images,添加左右相机照片,并且修改标定板网格的尺寸,点击确定;
点击calibrate,结果如下
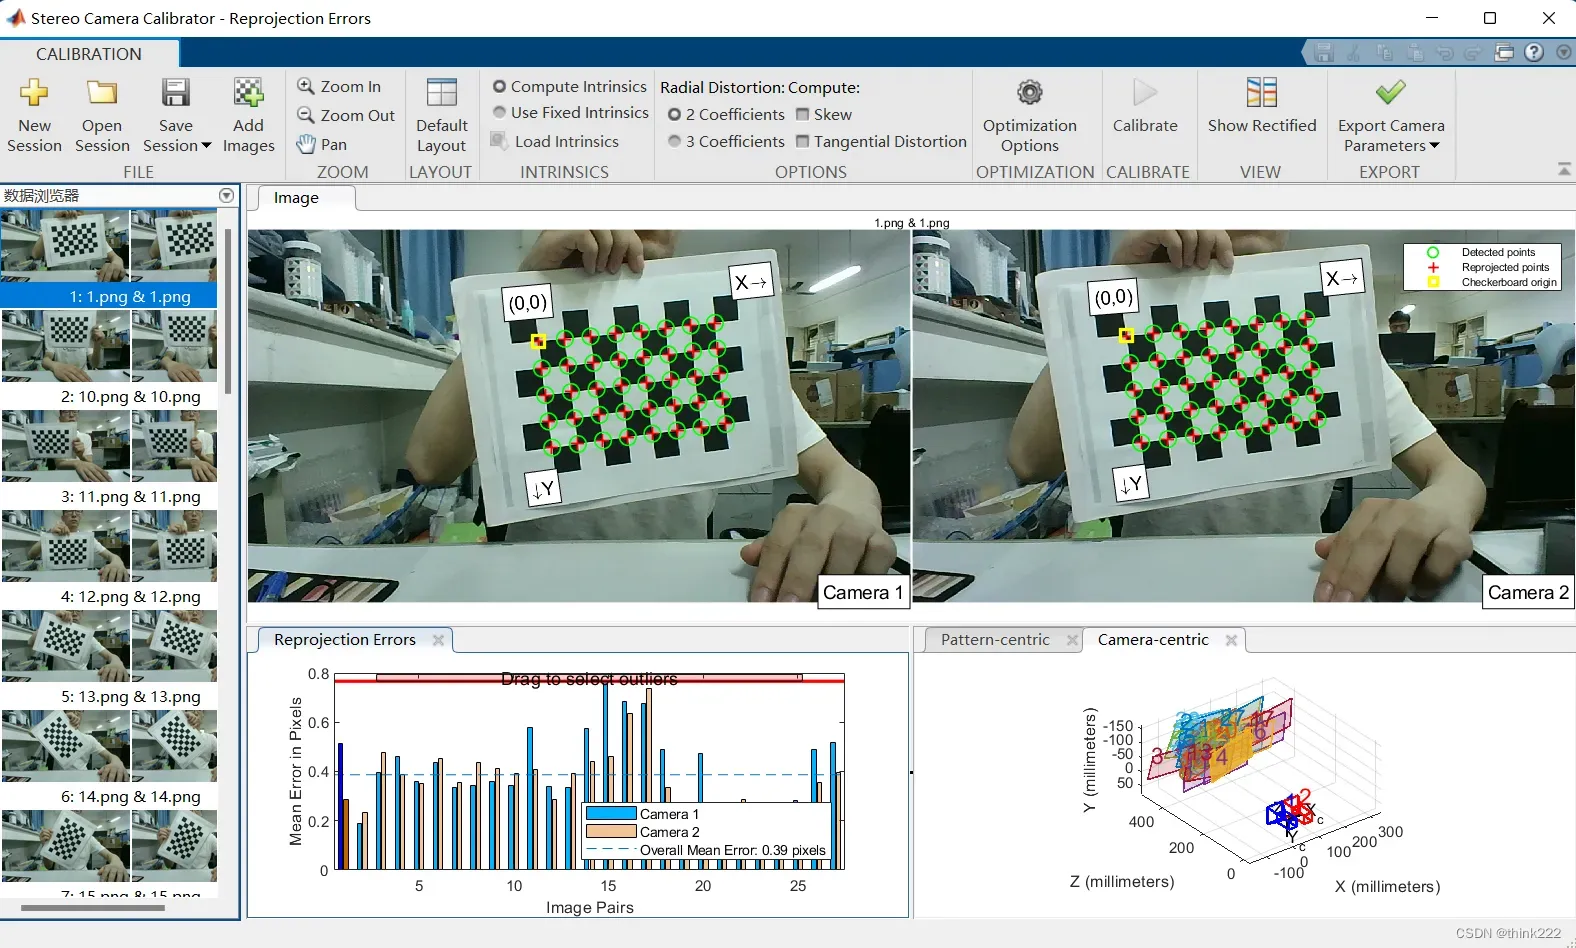
点击export camera parameters,回到主界面可以参看标定结果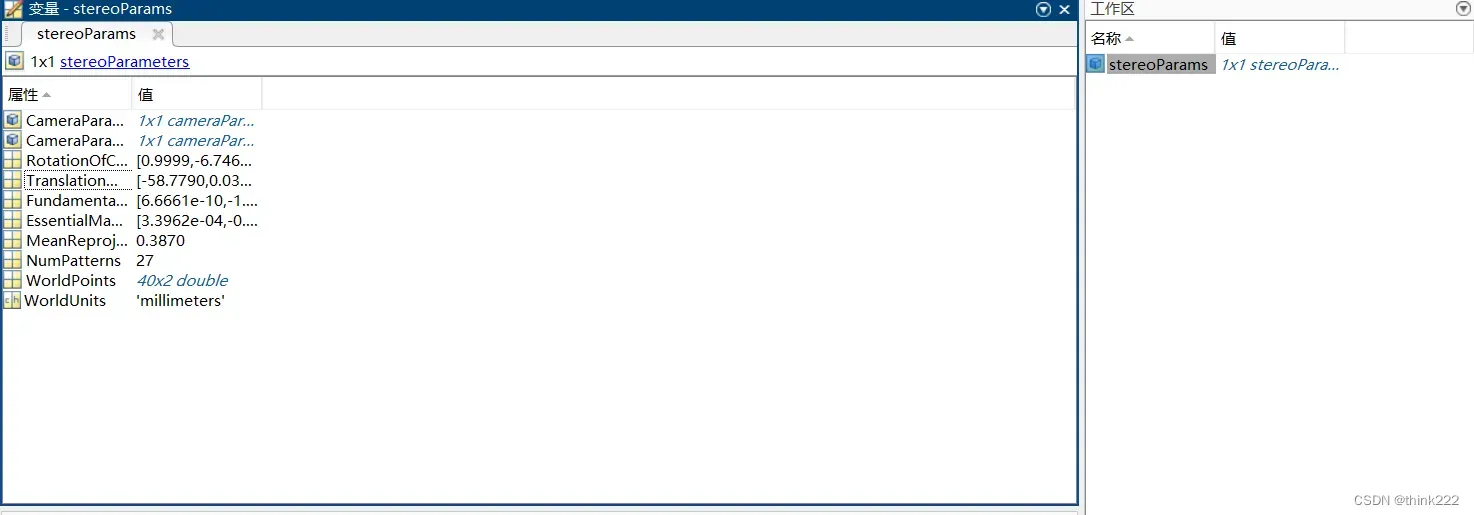
TranslationOfCamera2:相机2相对于相机1的偏移矩阵,可以直接使用。
RotationOfCamera2:相机2相对于相机1的旋转矩阵,需要转置之后才能使用。
CameraParameters1与CameraParameters2为左右摄像头的单独标定参数。CameraParameters1与CameraParameters2中包含如下文件:
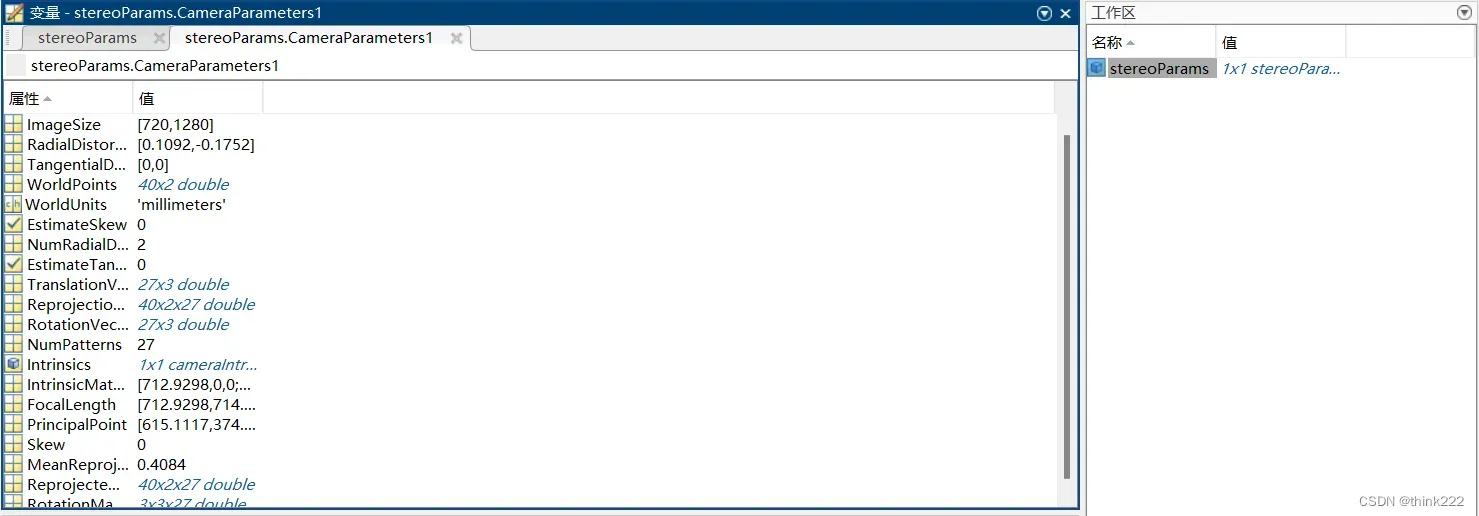
IntrinsicMatrix存放的是摄像头的内参,只与摄像机的内部结构有关,需要先转置再使用。
RadialDistortion:径向畸变,摄像头由于光学透镜的特性使得成像存在着径向畸变,可由K1,K2,K3确定。
TangentialDistortion:切向畸变,由于装配方面的误差,传感器与光学镜头之间并非完全平行,因此成像存在切向畸变,可由两个参数P1,P2确定。
未完待续….
文章出处登录后可见!
已经登录?立即刷新
