背景:听同事说这个都是在GPU上跑的,cpu跑这个比较费劲。我本地mac跑这个,也是为了调试一些相关的插件和api。为了开发方便点。当然确实提吃内存的。
目录
一、Stable-diffusion-webui 项目地址和官方安装方式
项目地址:
GitHub – AUTOMATIC1111/stable-diffusion-webui: Stable Diffusion web UI
官方安装文档:
https://github.com/AUTOMATIC1111/stable-diffusion-webui/wiki/Installation-on-Apple-Silicon
二、自己的安装方式
2.1、更新一下自己的homebrew
# 安装更新homeBrew
/bin/bash -c "$(curl -fsSL https://raw.githubusercontent.com/Homebrew/install/HEAD/install.sh)"


# 检查版本
brew -v
2.2、安装相关依赖
这里需要注意,Stable-diffusion-webui是必须在python3.10版本及以上才能跑的。
# 安装相关依赖和python

brew install cmake protobuf rust python@3.10 git wget


# pip3的源
pip3 config set global.index-url https://pypi.tuna.tsinghua.edu.cn/simple
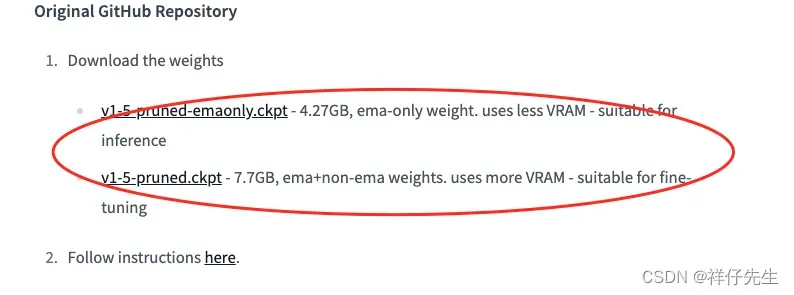
2.3、下载代码
git clone https://github.com/AUTOMATIC1111/stable-diffusion-webui2.4、下载模型
模型放在代码仓库里models/Stable-diffusion的位置

模型下载的地址
runwayml/stable-diffusion-v1-5 · Hugging Face
或者
https://civitai.com

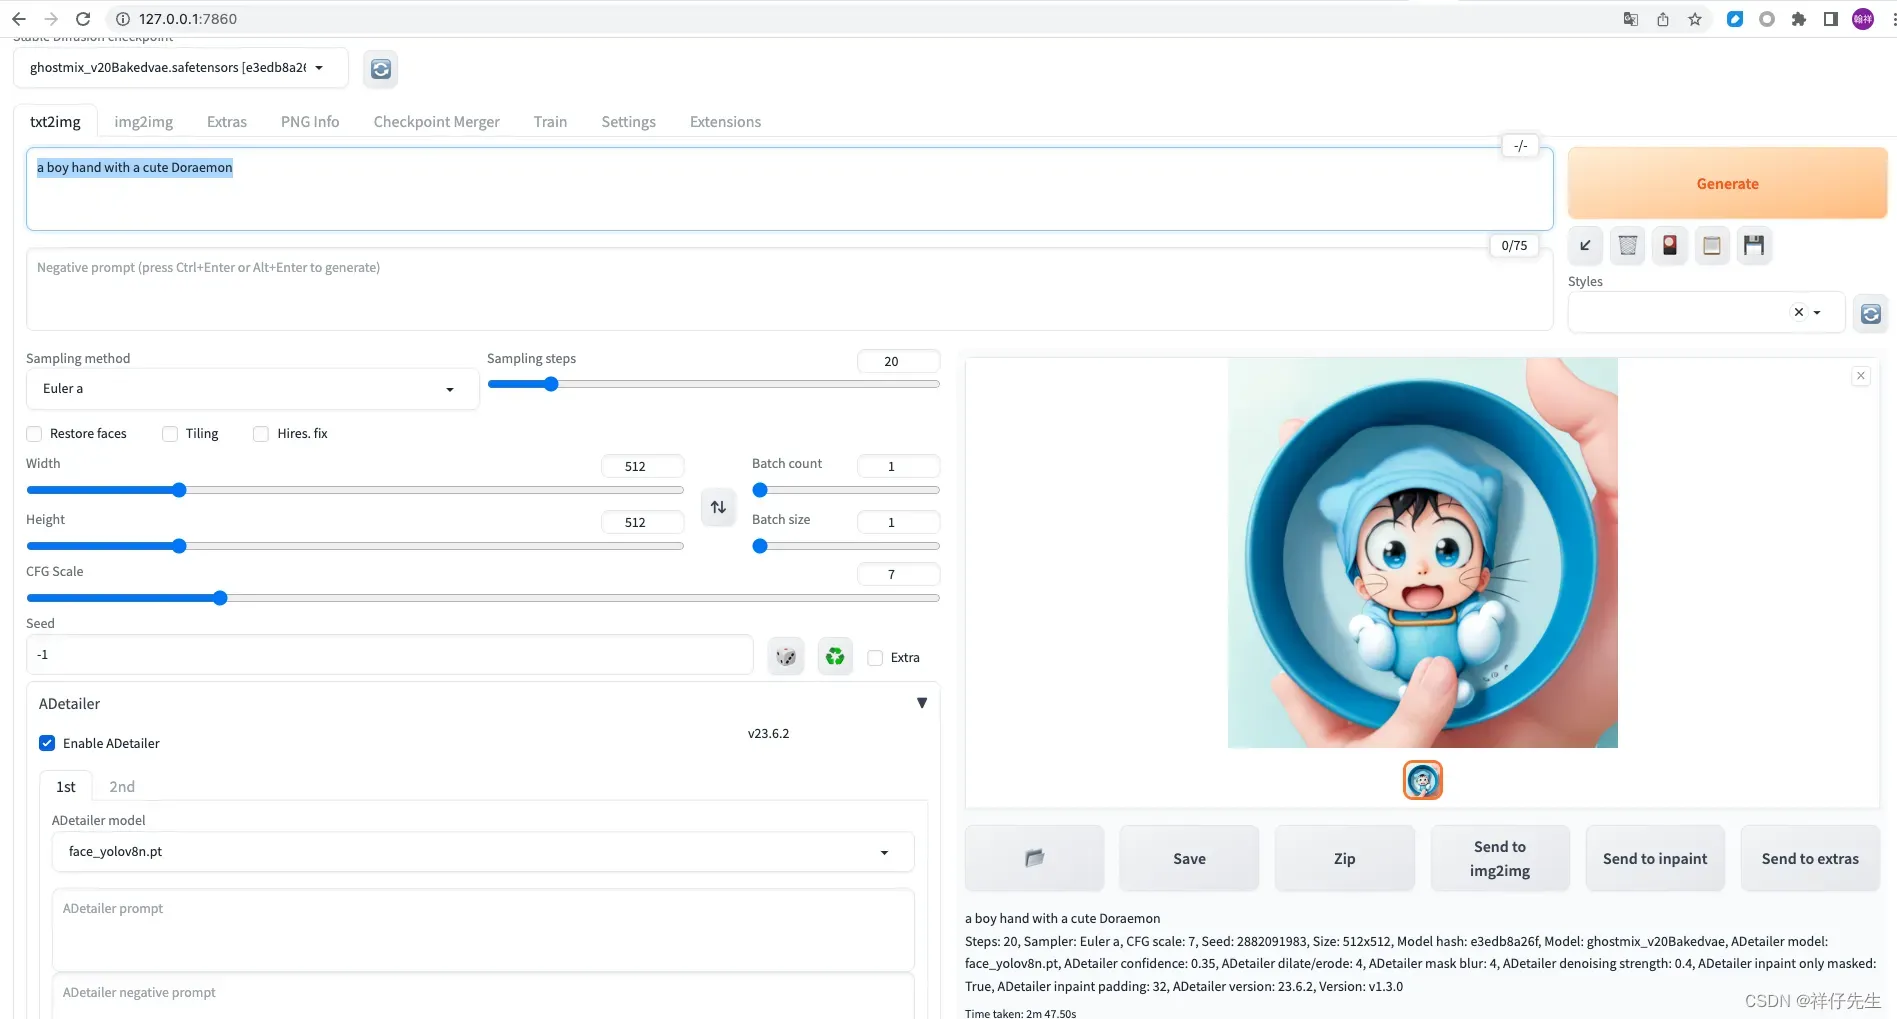
2.5、 启动服务
# 启动图形化界面
./webui.sh

# 启动api
./webui.sh --nowebui
http://127.0.0.1:7860/
当然了,我们也可以通过api调用。
接口地址:http://127.0.0.1:7861/sdapi/v1/txt2img
接口文档:http://127.0.0.1:7861/docs

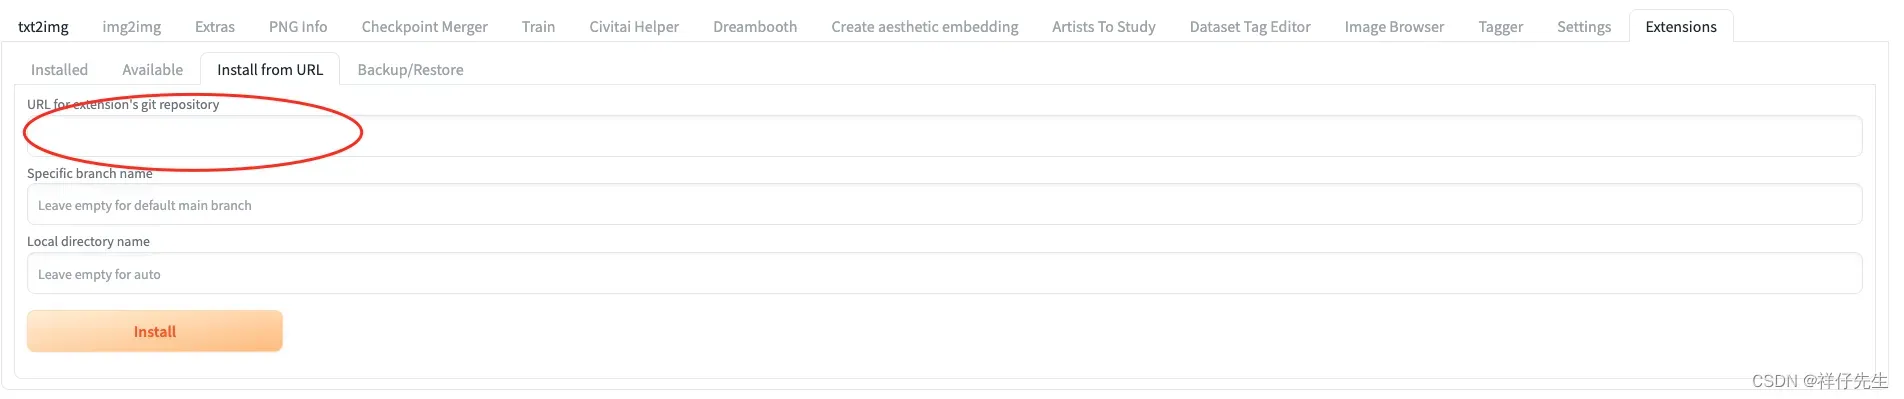
2.6、插件安装
方法一:
可以在extensions文件下 直接git clone 插件的代码
方法二:
在这里面粘贴对应的github的git地址,然后点击install
三、报错解决办法
问题1:
PermissionError: [Errno 13] Permission denied: ‘/Users/*****/.cache/huggingface/hub/models–openai–clip-vit-large-patch14/refs/main’
解决办法:
Run
open ~/.cache then take the huggingface folder from the window that opens and move it to the trash and try running
./webui.sh again.
问题2:
一些python包安装补上,系统运行容易卡在gfpgan、clip,所以建议提前安装好这些组件
pip3 install gfpgan安装clip比较特殊,直接pip3 install clip只能安装0.2.0版本,CLIP反推功能无法正常使用(但是系统可以正常运行起来),1.0版本clip安装方式如下(建议上梯子):
pip install ftfy regex tqdm
pip install git+https://github.com/openai/CLIP.git
自动生成的,还挺好看的。哈哈哈
文章出处登录后可见!