前言
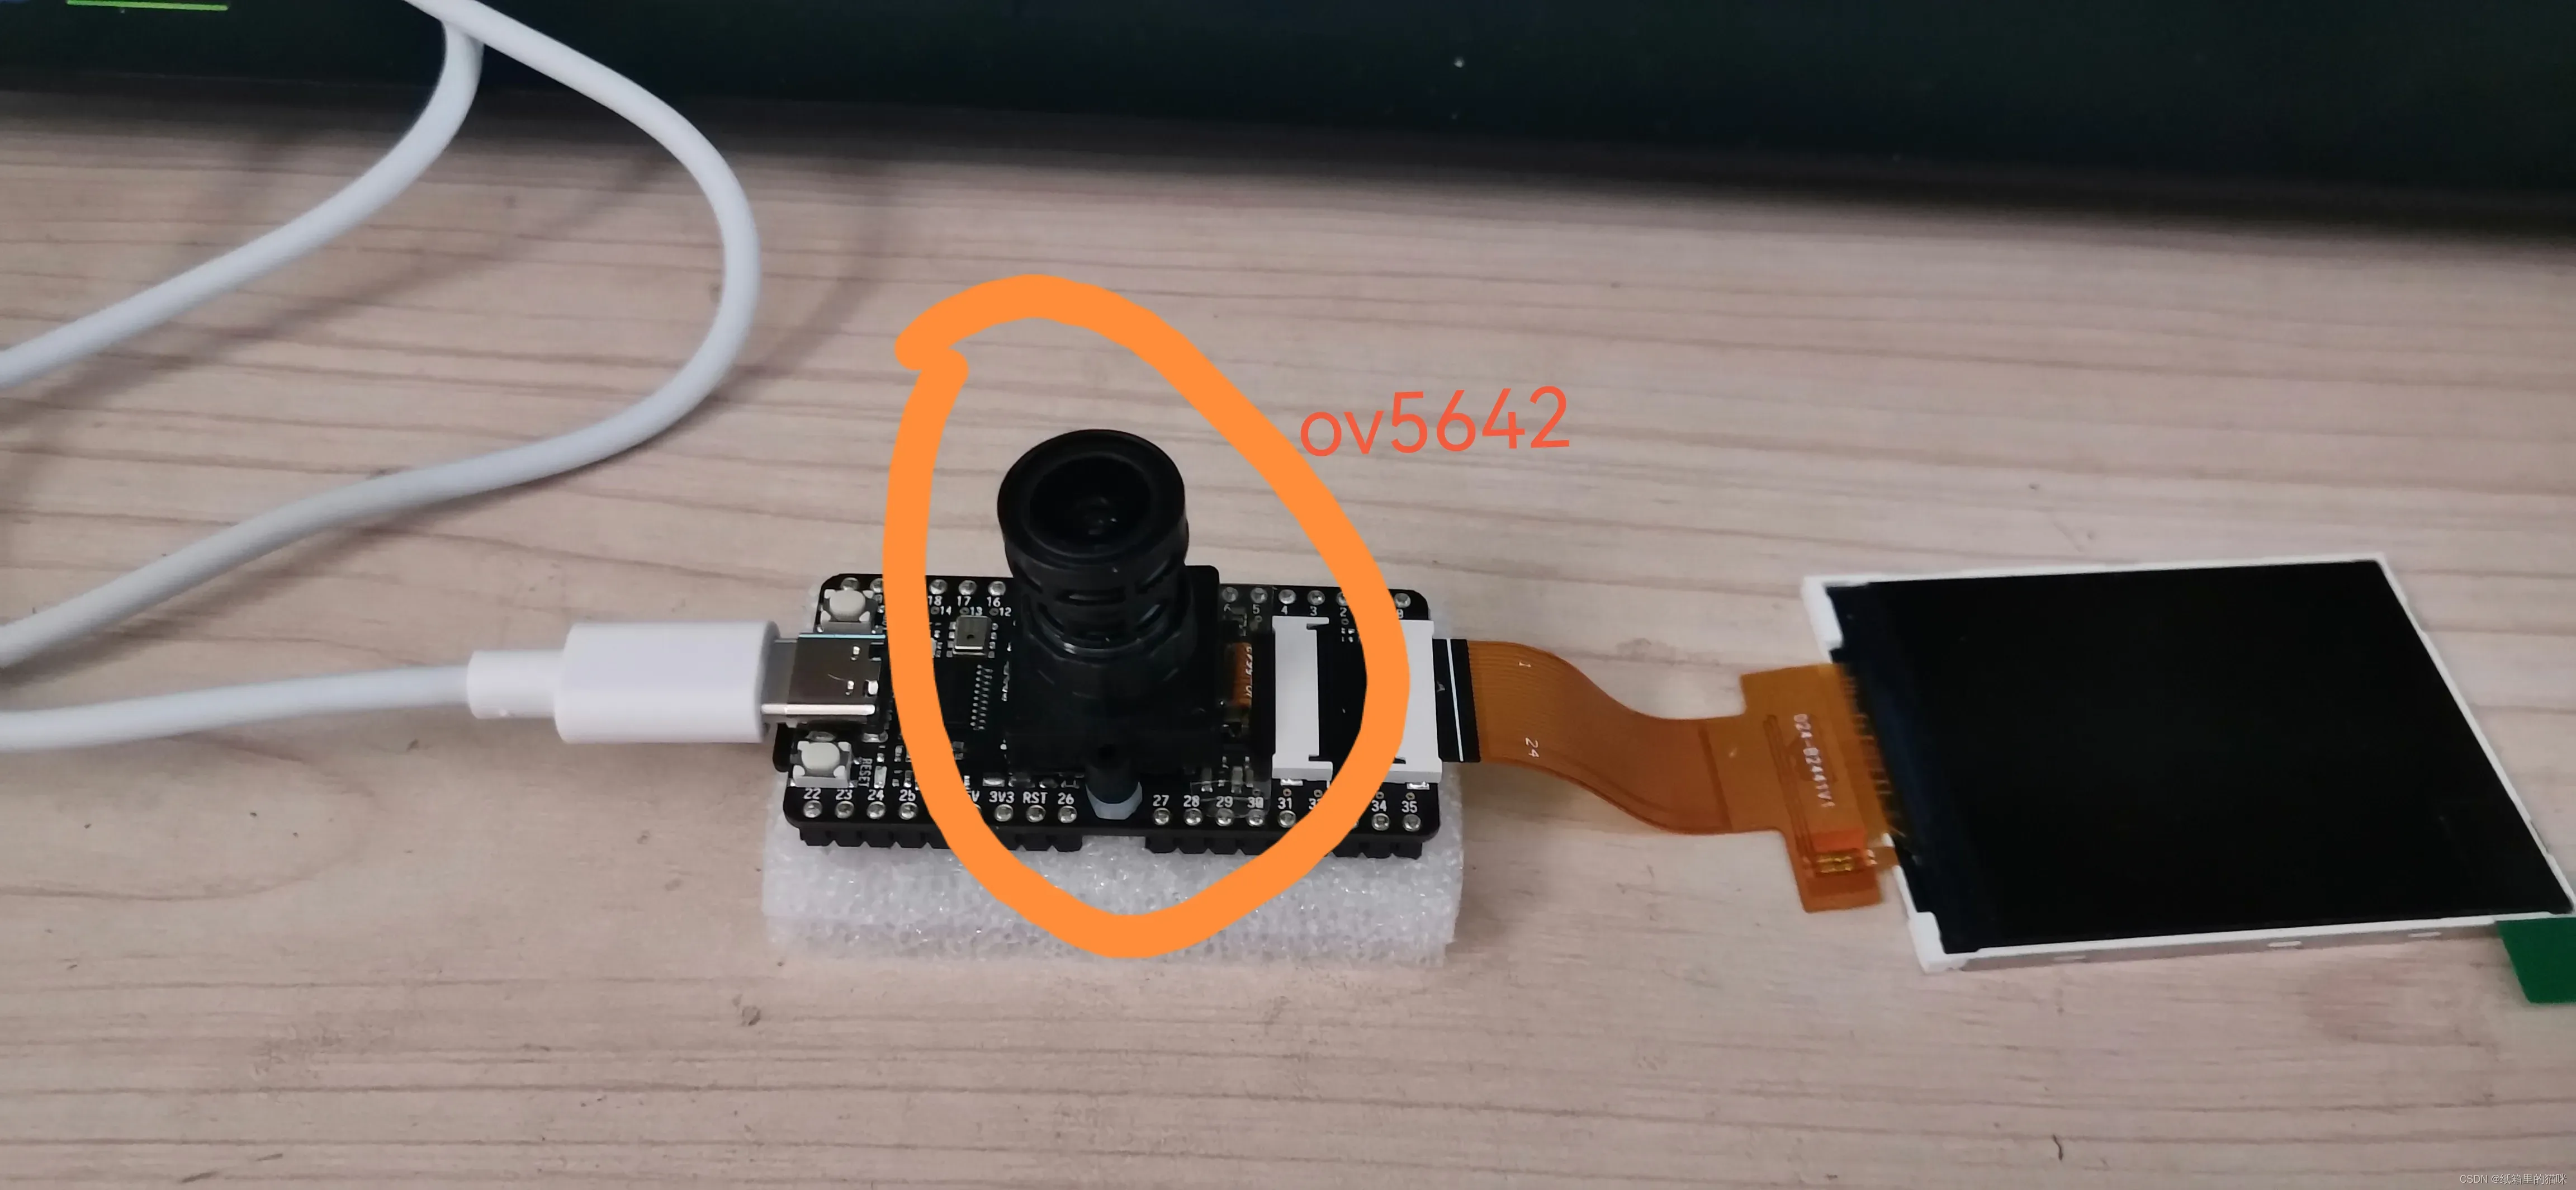
MAIX BIT使用的是OV5642,像素为500w,但实际使用只有30w,但对于物体检测,人脸识别是够用的,用maix bit进行拍照,所得照片可以直接用于后面的数据集训练,减少了图片格式转换这一步骤。
一、初始化摄像头
sensor.reset([, freq=24000000[, set_regs=True[, dual_buff=False]]])
参数说明:
freq: 设置摄像头时钟频率,频率越高帧率越高,但是画质可能更差。默认 24MHz, 如果摄像头有彩色斑点(ov7740),可以适当调低比如 20MHz
set_regs: 允许程序写摄像头寄存器,默认为 True。 如果需要自定义复位序列,可以设置为False,然后使用sensor.__write_reg(addr, value) 函数自定义写寄存器序列
dual_buff: 默认为False。允许使用双缓冲,会增高帧率,但是内存占用也会增加(大约为384KiB)
choice: 指定需要搜索的摄像头类型,ov类型(1),gc类型(2),mt类型(3),不传入该参数则搜索全部类型摄像头
二、使用方法
1.设置帧大小
用于设置摄像头输出帧大小,k210最大支持VGA格式,大于VGA将无法获取图像,Maix Bit开发板配置的屏幕是320*240分辨率,推荐设置为QVGA格式
sensor.set_framesize(framesize[, set_regs=True])
参数说明:
framesize: 帧大小
set_regs: 允许程序写摄像头寄存器,默认为 True。 如果需要自定义设置帧大小的序列,可以设置为False,然后使用sensor.__write_reg(addr, value) 函数自定义写寄存器序列
返回值:
True : 设置成功
False: 设置错误
2.设置帧格式
用于设置摄像头输出格式,Maix Bit开发板配置的屏幕使用的是RGB565,推荐设置为RGB565格式
sensor.set_pixformat(format[, set_regs=True])
format: 帧格式
set_regs: 允许程序写摄像头寄存器,默认为 True。 如果需要自定义设置像素格式的序列,可以设置为False,然后使用sensor.__write_reg(addr, value) 函数自定义写寄存器序列
可选的帧格式有GRAYSCALE, RGB565, YUV422
返回值:
True : 设置成功
False: 设置错误
3.图像捕捉控制
图像捕捉功能控制
sensor.run(enable)
参数说明:
enable: 1 表示开始抓取图像 0 表示停止抓取图像
返回值:
True : 设置成功
False: 设置错误
4.拍摄图像
使用摄像头拍摄一张照片
sensor.snapshot()
返回值:
img: 返回的图像对象
5.分辨率
获取摄像头分辨率宽度,高度
sensor.width()
sensor.height()
返回值:
int类型的摄像头分辨率宽度,高度
6. 设置彩条测试模式
将摄像头设置为彩条测试模式,开启彩条测试模式后,摄像头会输出一彩条图像,常用来检测摄像机总线是否连接正确。
sensor.set_colorbar(enable)
参数说明:
enable: 1 表示开启彩条测试模式 0 表示关闭彩条测试模式
7.设置对比度
设置摄像头对比度
sensor.set_contrast(contrast)
参数:
constrast: 摄像头对比度,范围为[-2,+2]
返回值:
True : 设置成功
False: 设置错误
8. 设置亮度
设置摄像头亮度
sensor.set_brightness(brightness)
参数:
brightness: 摄像头亮度,范围为[-2,+2]
返回值:
True : 设置成功
False: 设置错误
9. 设置饱和度
设置摄像头饱和度
sensor.set_saturation(saturation)
constrast: 摄像头饱和度,范围为[-2,+2]
返回值:
True : 设置成功
False: 设置错误
10. 设置自动增益
设置摄像自动增益模式,如果需要追踪颜色,需要关闭自动增益
sensor.set_auto_gain(enable,gain_db)
sensor.get_gain_db()#获取摄像头增益值,返回float类型的增益值
参数:
enable: 1 表示开启自动增益 0 表示关闭自动增益
gain_db: 关闭自动增益时,设置的摄像头固定增益值,单位为dB
11. 设置摄像头
设置摄像头水平镜像
sensor.set_hmirror(enable)
参数:
enable: 1 表示开启水平镜像 0 表示关闭水平镜像
设置摄像头垂直翻转
sensor.set_vflip(enable)
参数:
enable: 1 表示开启垂直翻转 0 表示关闭垂直翻转
12. 设置IDE质量
设置传送给 IDE 图像的质量
sensor.set_jb_quality(quality)
quality:int 类型,图像质量百分比(0~100),数字越大质量越好
三、用MAIX BIT拍照
使用 这个 脚本来进行采集图片
按照 图片采集脚本使用说明 采集图片到SD卡
将SD卡中的图片拷贝到电脑, 整理成上面的目录结构, 所有图片的分辨率为224×224
注意 SD卡需要硬件支持SPI通信, 并使用MBR(msdos)分区方案,并格式化为FAT32格式
代码:
import sensor, lcd
from Maix import GPIO
from fpioa_manager import fm
from board import board_info
import os, sys
import time
import image

#### image size ####
set_windowing = (224, 224)

#### sensor config ####

sensor.reset(freq=22000000, dual_buff=False)
sensor.set_pixformat(sensor.RGB565)
sensor.set_framesize(sensor.QVGA) # 320x240
try:
    sensor.set_jb_quality(95)         # for IDE display quality
except Exception:
    pass # no IDE support
if set_windowing:
    sensor.set_windowing(set_windowing)


sensor.skip_frames()

#### lcd config ####
lcd.init(type=1, freq=15000000)
lcd.rotation(2)

#### boot key ####
boot_pin = 16 # board_info.BOOT_KEY
fm.register(boot_pin, fm.fpioa.GPIOHS0)
key = GPIO(GPIO.GPIOHS0, GPIO.PULL_UP)

######################################################

#### main ####
def capture_main(key):
    def draw_string(img, x, y, text, color, scale, bg=None , full_w = False):
        if bg:
            if full_w:
                full_w = img.width()
            else:
                full_w = len(text)*8*scale+4
            img.draw_rectangle(x-2,y-2, full_w, 16*scale, fill=True, color=bg)
        img = img.draw_string(x, y, text, color=color,scale=scale)
        return img

    def del_all_images():
        os.chdir("/sd")
        images_dir = "cap_images"
        if images_dir in os.listdir():
            os.chdir(images_dir)
            types = os.listdir()
            for t in types:
                os.chdir(t)
                files = os.listdir()
                for f in files:
                    os.remove(f)
                os.chdir("..")
                os.rmdir(t)
            os.chdir("..")
            os.rmdir(images_dir)

    # del_all_images()
    os.chdir("/sd")
    dirs = os.listdir()
    images_dir = "cap_images"
    last_dir = 0
    for d in dirs:
        if d.startswith(images_dir):
            if len(d) > 11:
                n = int(d[11:])
                if n > last_dir:
                    last_dir = n
    images_dir = "{}_{}".format(images_dir, last_dir+1)
    print("save to ", images_dir)
    if images_dir in os.listdir():
        img = image.Image()
        img = draw_string(img, 2, 200, "please del cap_images dir", color=lcd.WHITE,scale=1, bg=lcd.RED)
        lcd.display(img)
        sys.exit(1)
    os.mkdir(images_dir)
    last_cap_time = 0
    last_btn_status = 1
    save_dir = 0
    save_count = 0
    os.mkdir("{}/{}".format(images_dir, save_dir))
    while(True):
        img0 = sensor.snapshot()
        if set_windowing:
            img = image.Image()
            img = img.draw_image(img0, (img.width() - set_windowing[0])//2, img.height() - set_windowing[1])
        else:
            img = img0.copy()
        # img = img.resize(320, 240)
        if key.value() == 0:
            time.sleep_ms(30)
            if key.value() == 0 and (last_btn_status == 1) and (time.ticks_ms() - last_cap_time > 500):
                last_btn_status = 0
                last_cap_time = time.ticks_ms()
            else:
                if time.ticks_ms() - last_cap_time > 5000:
                    img = draw_string(img, 2, 200, "release to change type", color=lcd.WHITE,scale=1, bg=lcd.RED)
                else:
                    img = draw_string(img, 2, 200, "release to capture", color=lcd.WHITE,scale=1, bg=lcd.RED)
                    if time.ticks_ms() - last_cap_time > 2000:
                        img = draw_string(img, 2, 160, "keep push to change type", color=lcd.WHITE,scale=1, bg=lcd.RED)
        else:
            time.sleep_ms(30)
            if key.value() == 1 and (last_btn_status == 0):
                if time.ticks_ms() - last_cap_time > 5000:
                    img = draw_string(img, 2, 200, "change object type", color=lcd.WHITE,scale=1, bg=lcd.RED)
                    lcd.display(img)
                    time.sleep_ms(1000)
                    save_dir += 1
                    save_count = 0
                    dir_name = "{}/{}".format(images_dir, save_dir)
                    os.mkdir(dir_name)
                else:
                    draw_string(img, 2, 200, "capture image {}".format(save_count), color=lcd.WHITE,scale=1, bg=lcd.RED)
                    lcd.display(img)
                    f_name = "{}/{}/{}.jpg".format(images_dir, save_dir, save_count)
                    img0.save(f_name, quality=95)
                    save_count += 1
                last_btn_status = 1
        img = draw_string(img, 2, 0, "will save to {}/{}/{}.jpg".format(images_dir, save_dir, save_count), color=lcd.WHITE,scale=1, bg=lcd.RED, full_w=True)
        lcd.display(img)
        del img
        del img0


def main():
    try:
        capture_main(key)
    except Exception as e:
        print("error:", e)
        import uio
        s = uio.StringIO()
        sys.print_exception(e, s)
        s = s.getvalue()
        img = image.Image()
        img.draw_string(0, 0, s)
        lcd.display(img)
main()
总结
用MAIX BIT(K210)拍出来的照片可以直接当作数据集来使用。
文章出处登录后可见!