我电脑安装的python是3.7.4的,所以python如果版本不一样的话(不是3.7的),下边的内容不建议完全参考,可以适当参考。
主要是注意很多numpy和models与你安装的tensorflow的版本对应,我个人建议还是以1.18以下,如果安装2.0虽然改进了很多弊端,让代码来的更简洁了,但是可能很多模型还没有跟上,会导致报错,这是坑!!!!
注意:tensorflow2.3版本后支持tf.keras,所以tensorflow2.3后无需单独安装keras,以免冲突.具体可以参考这篇文章:Keras vs tf.keras: 在TensorFlow 2.0中有什么区别?(https://zhuanlan.zhihu.com/p/89017996)
安装tensorflow
- 参考博客:TensorFlow安装与环境配置 — 简单粗暴 TensorFlow 2 0.4 beta 文档
- 或者参考博客:Tensorflow教程(1)Tensorflow的下载和安装 – 盛世芳华 – 博客园
第一步输入
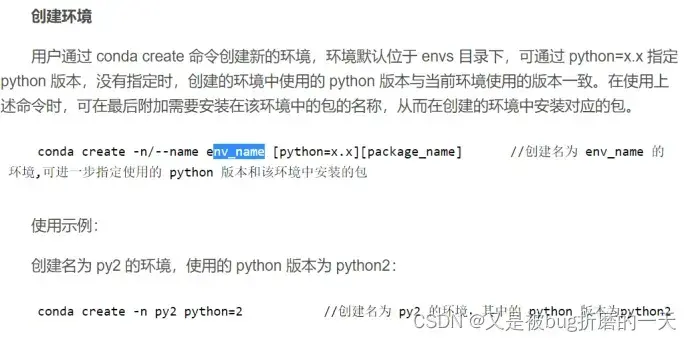
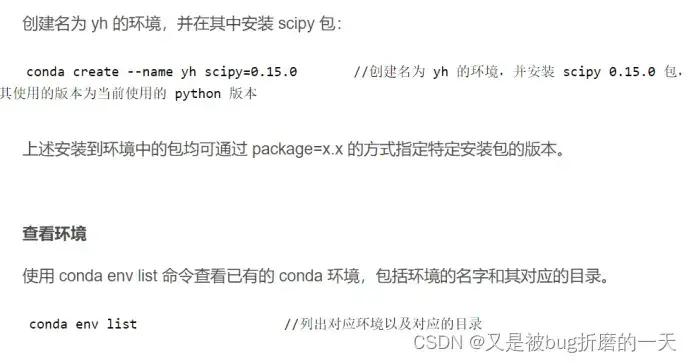
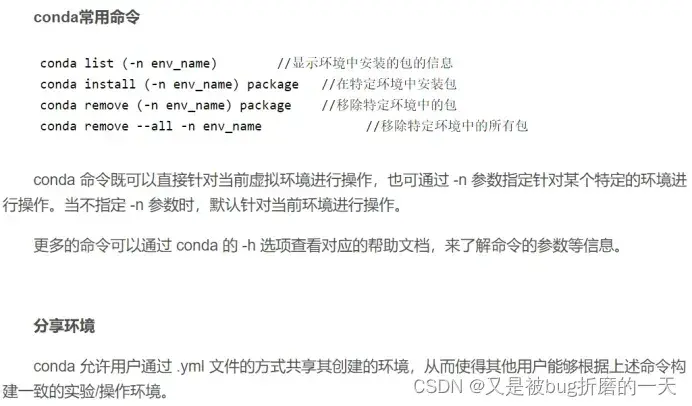
conda create –name tf2 python=3.7
安装报错:
CondaHTTPError: HTTP 000 CONNECTION FAILED for url
<https://repo.anaconda.com/pkgs/main/win-64/python-3.7.11-h6244533_0.conda>
Elapsed: –
An HTTP error occurred when trying to retrieve this URL.
HTTP errors are often intermittent, and a simple retry will get you on your way
出错解决:
参考博客:
(10条消息) Windows下conda报错:CondaHTTPError: HTTP 000 CONNECTION FAILED_renwu-CSDN博客
参考博客:(10条消息) Conda Install Package Error_Ada’s Corner-CSDN博客
我先在ananconda prompt里一行一行的输入以下

然后找到这个. condrac文件
我把“.condrac”文件中-default那一行删除了,并把https改成http。
再重新输入conda create –name tf2 python=3.7
安装成功:
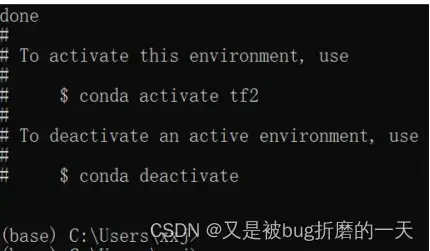

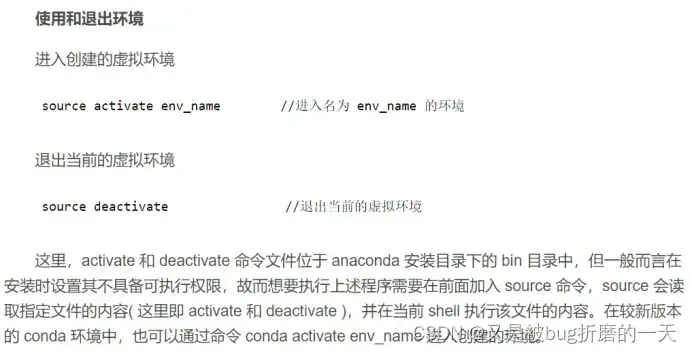
激活虚拟环境tf2

先将Pip更换成清华源,这样下载会快点
pip config set global.index-url Simple Index
然后再
pip install tensorflow

安装又报错了,原因是没安装下边这几个包,先安装这几个包
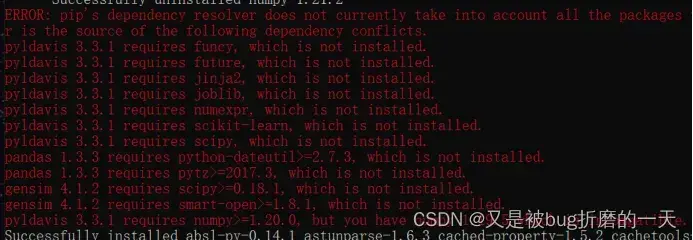
安装gensim

又出错了。。。
换源,换成豆瓣的;输入下列命令:
pip install gensim -i Simple Index –trusted-host pypi.douban.com
pip install pyldavis -i http://pypi.douban.com/simple/ –trusted-host pypi.douban.com
又又报错了。numpy版本与tensorflow不匹配,要降低Numpy的版本

安装pip install -U numpy==1.19.2
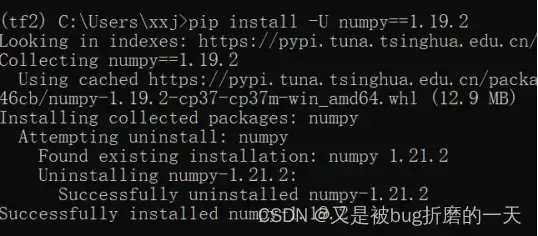
再pip install tensorflow
退出虚拟环境,最好用conda deactivate

写个小程序检查tensorflow是否安装成功
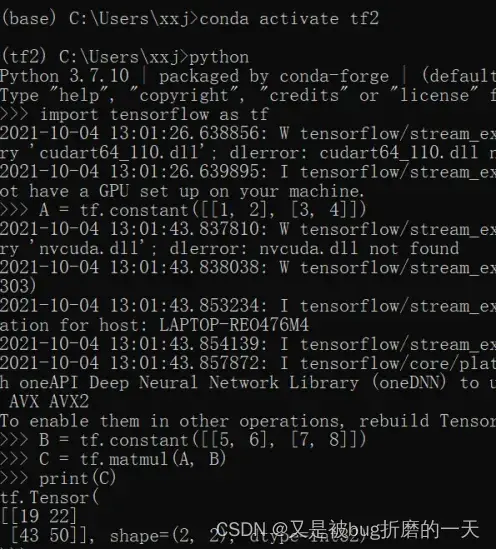
进入安装好tensorflow的虚拟环境tf2,输入python,然后逐行输入下列代码:
conda activate tf2 ##进入虚拟环境tf2
Python
A = tf.constant([[1, 2], [3, 4]])
B = tf.constant([[5, 6], [7, 8]])
C = tf.matmul(A, B)
print(C)
如果运行出现下图结果,说明tensorflow已安装成功,运行途中可能会输出一些 TensorFlow 的提示信息,属于正常现象。

以下是整个代码截图:
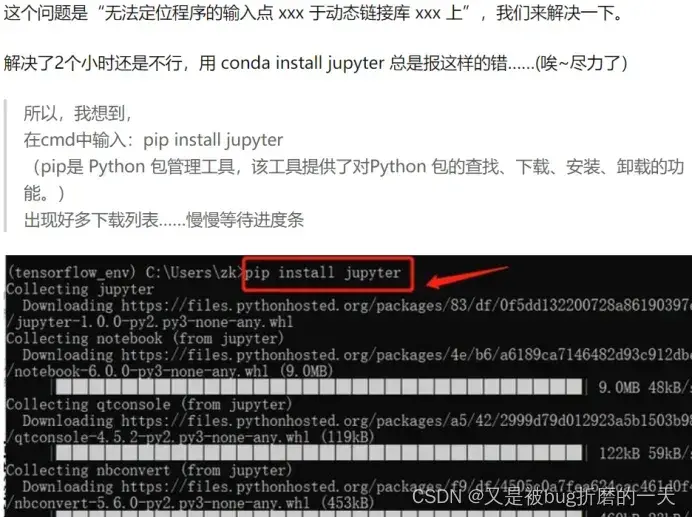
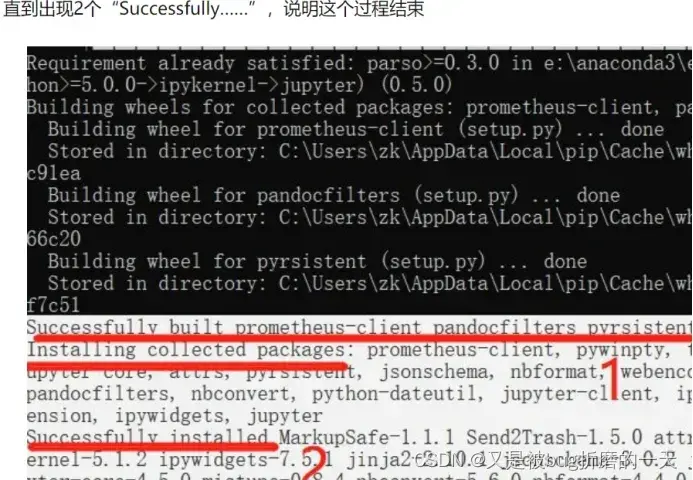
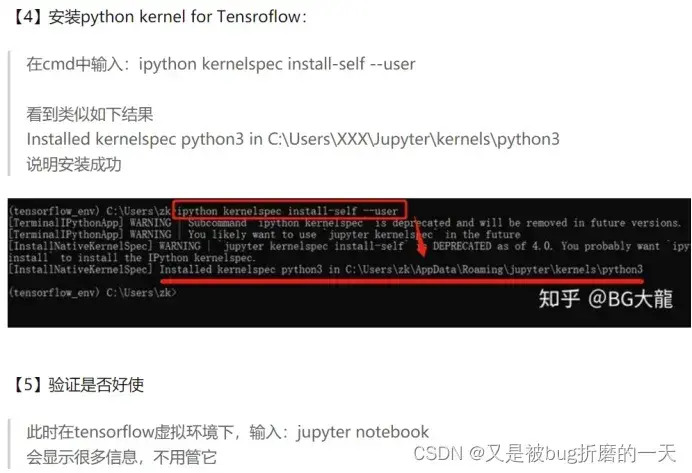
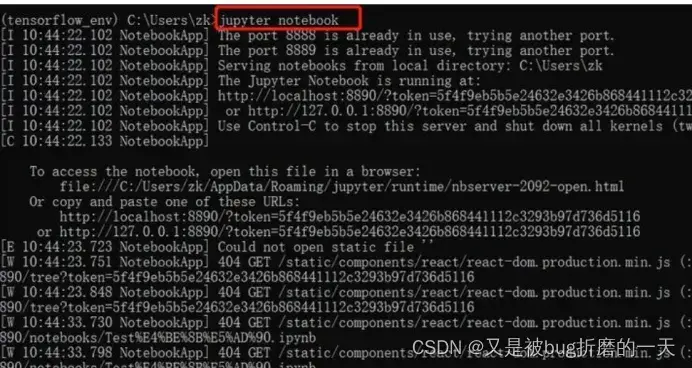
以下内容均来自:【TensorFlow】怎么在jupyter Notebook中使用TensorFlow – 知乎
(怎么在jupyter Notebook中使用TensorFlow)
或者参考:【题目】在jupyter中使用Tensorflow_C小C的博客-CSDN博客_jupyter tensorflow(在jupyter中使用Tensorflow)
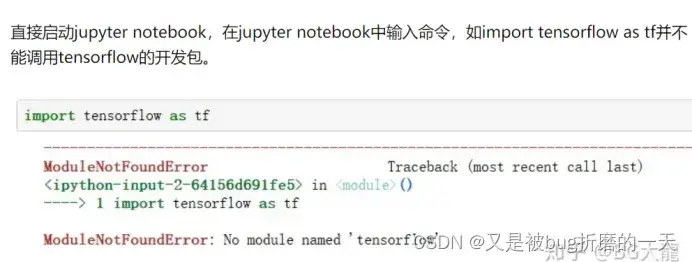

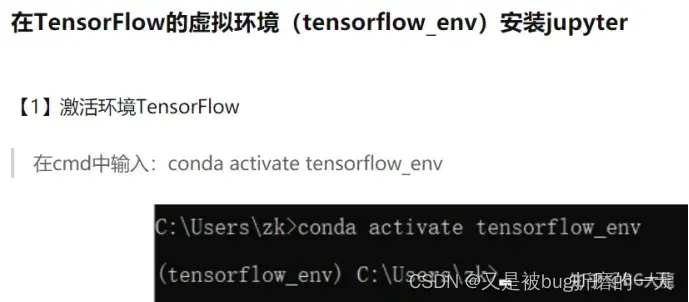
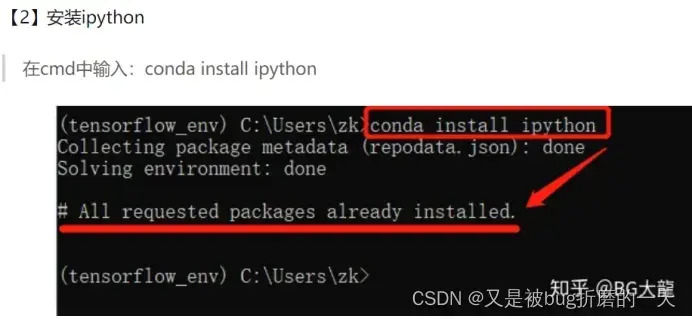
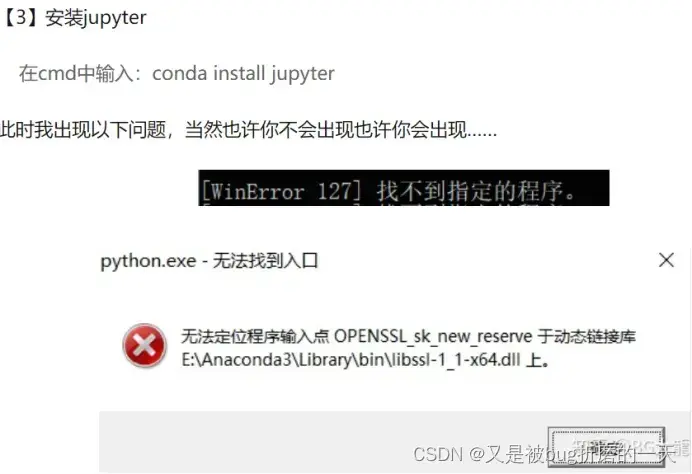

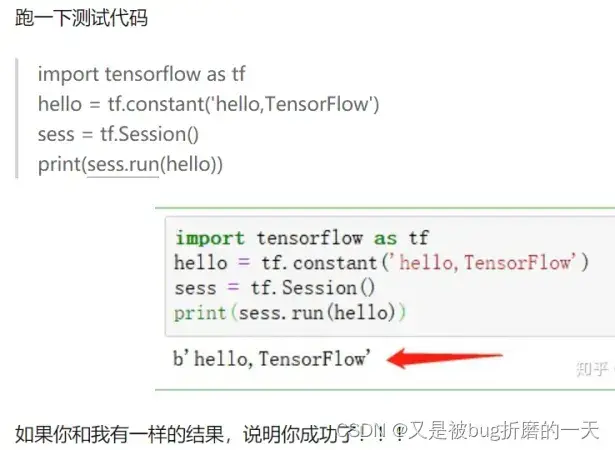
但是!!!我的输出结果又报错了,如下图:
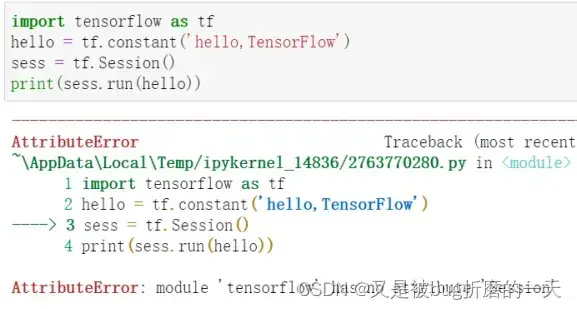
经查找原因是tensorflow2.0与1.0版本不兼容

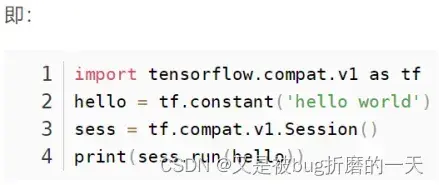
或者可以这样解决,将上述测试代码换成如下:
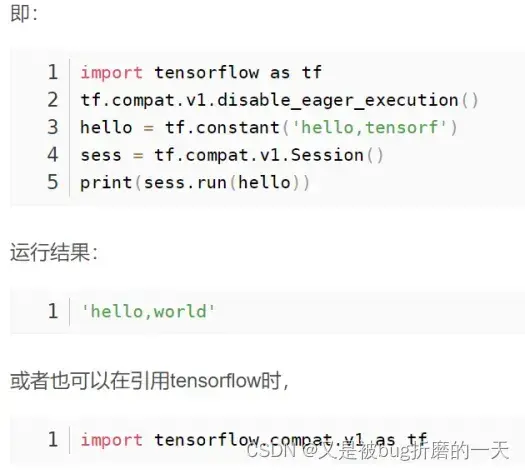
经我测试,发现还是有错:

只要添加一句:tf.compat.v1.disable_eager_execution()就可以完美解决报错。
调整后的代码:
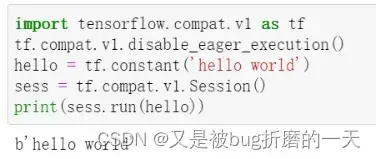
至此,tensorflow安装成功。
文章出处登录后可见!
