前言:
最近由于ChatGPT 的大热,AI 应用领域再次进入大众的视线,今天介绍一款AI应用whisper 可以较为准确的将人声转换为文字(支持多国语言)
一、安装
安装有两种方式pip 和源码编译安装,这里介绍pip安装方式
安装python 3.9.9 和pyTouch 1.10.1 (安装步骤省略,官网下载安装即可)由于pip 的版本使用了指定的pyTouch 所以安装最新的python 版本会出现问题。
安装ffmpeg,下方为各类OS 的安装方式
# on Ubuntu or Debian
sudo apt update && sudo apt install ffmpeg

# on Arch Linux
sudo pacman -S ffmpeg

# on MacOS using Homebrew (https://brew.sh/)
brew install ffmpeg

# on Windows using Chocolatey (https://chocolatey.org/)
choco install ffmpeg

# on Windows using Scoop (https://scoop.sh/)
scoop install ffmpeg
安装wisper 和rust
pip install -U openai-whisper
pip install setuptools-rust
二、使用
whisper 支持 cpu 和 gpu,默认完成后,只使用cpu加速
whisper.exe 屋顶.mp3 --language zh --model small效果如何,当然是拿jay的歌来做测试,下图是结果;显然在语速慢的环境中效果还是不错的,换成双截棍…就不能看了…
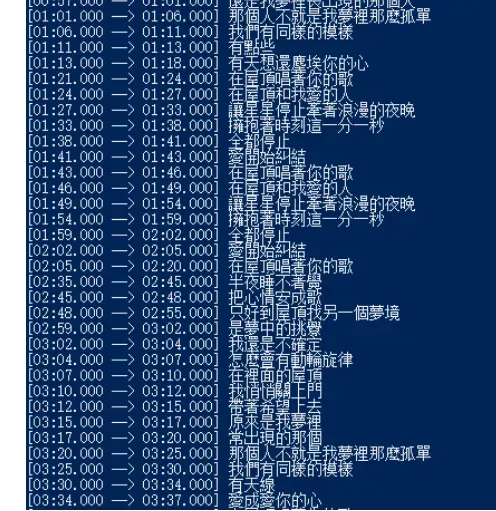
(图:屋顶转换成歌词)
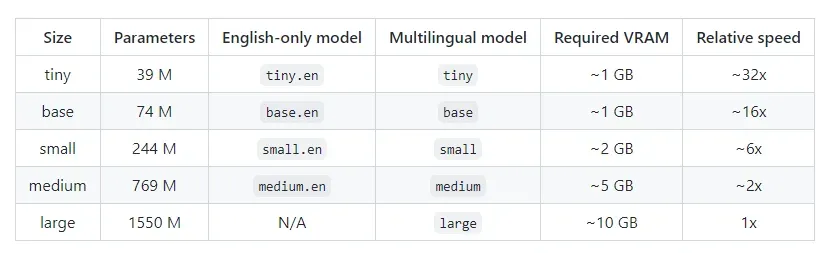
–model 表示AI使用的模型,共有5个模型,模型越大精确度也越高(当然对设备的性能要求也越高)
–language 表示语音的语种 这里 zh=Chinese
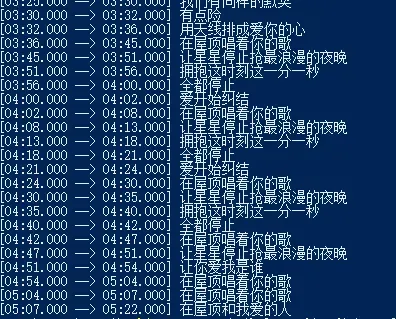
我们从截图看到,转译出来的文字有简体也有繁体,这主要是AI 的样本既有简体又有繁体,如果我们希望输出结果是简体,则加上 –initial_prompt “以下是普通话的句子。”
whisper 屋顶.mp3 --language zh --model small --initial_prompt "以下是普通话的句子。"重新执行一次,结果如图:
使用CUDA
执行如下指令,安装带cuda 的pytorch
pip uninstall torch
pip cache purge
pip3 install torch torchvision torchaudio --extra-index-url https://download.pytorch.org/whl/cu116
–device cuda 使用device参数 指定 cuda
whisper 屋顶.mp3 --language zh --model small --device cuda --initial_prompt "以下是普通话的句子。"其他未尽事宜可以通过 –help 来了解
whisper --help注意:第一次调用时,会下载模型,国内直接下载速度会很慢!
参考文献
文章出处登录后可见!
已经登录?立即刷新