目录
准备工作
主机电脑配置检查
需要16G内存,8G显存(网上说是6G就够,不过跑出来图片像素会低,显存越大画质也越好)
CPU要求不高,我的配置是 i5-8400
显卡,咱用的是 2060s ,一千多点买的二手显卡
内存是32G (16G就可以)
电源600W (400W也能跑,不过怕功率不够)[电源功率= (显卡功率+CPU+100) * 1.5]
主板是 微星B360M
系统是win10
安装以下软件
Python
从官网下载Python,选择Windows Installer (64-bit)版本并安装(python 3.10 (必须是这个版本))
以下命令查看python是否安装成功
python –version
Git
.下载Git for Windows并安装
下载stable-diffusion-webui仓库
打开git bash 选择合适的文件夹路径拉取项目代码
git clone https://github.com/AUTOMATIC1111/stable-diffusion-webui.git
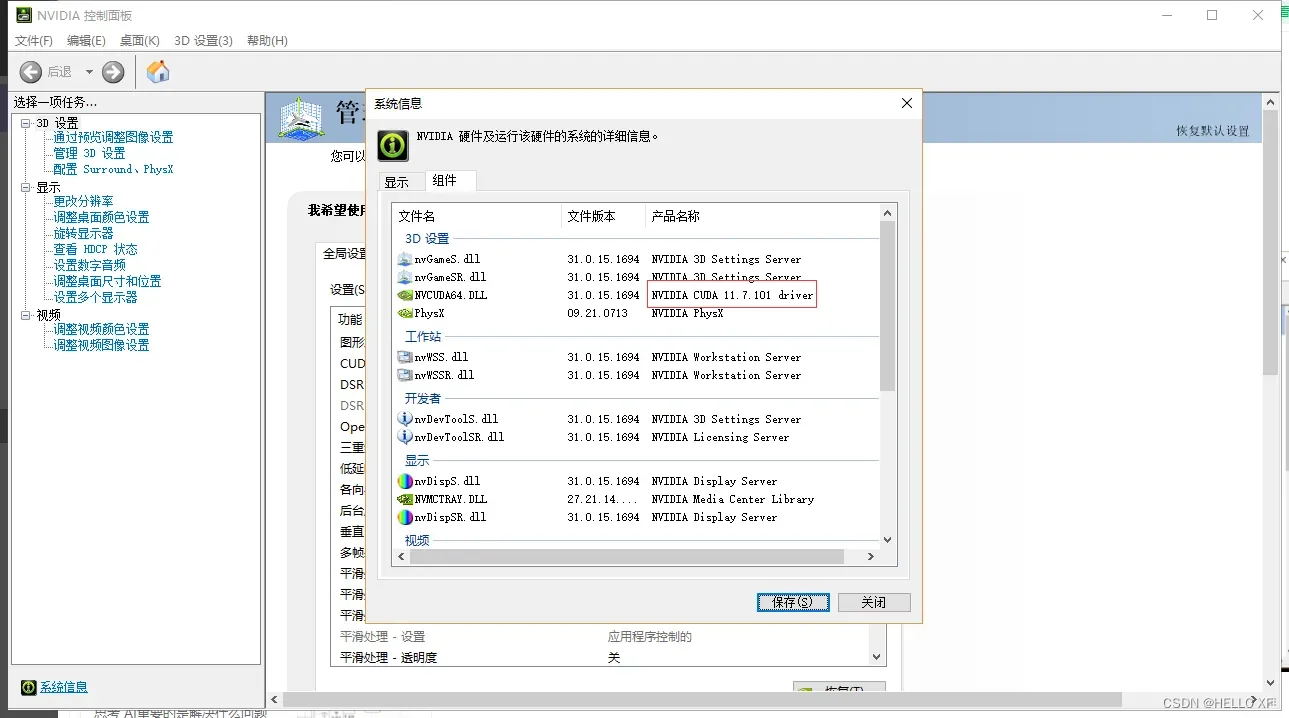
根据显卡属性安装CUDA
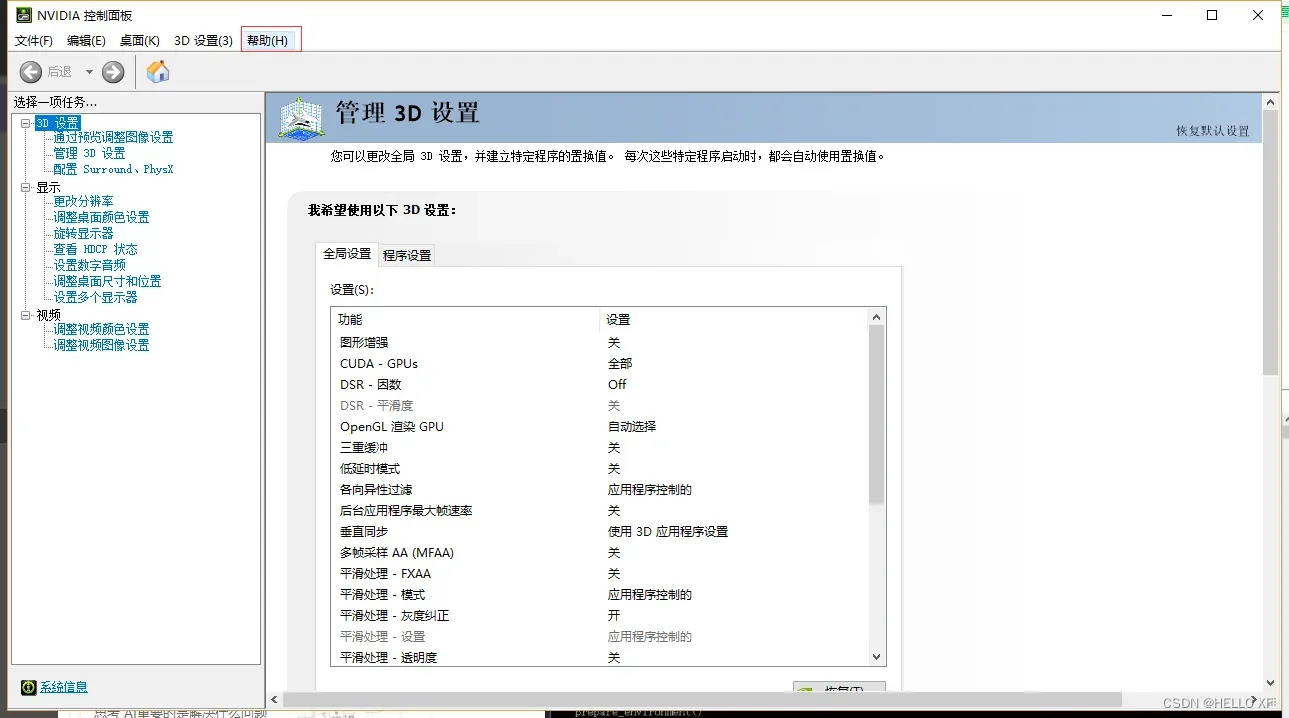
进入 PyTorch
根据自己cuda版本 找到pytorch下载版本的pip命令,比如我的是 11.7

以前版本的torch下载命令地址
Previous PyTorch Versions | PyTorch
2.下载stable diffusion的训练模型
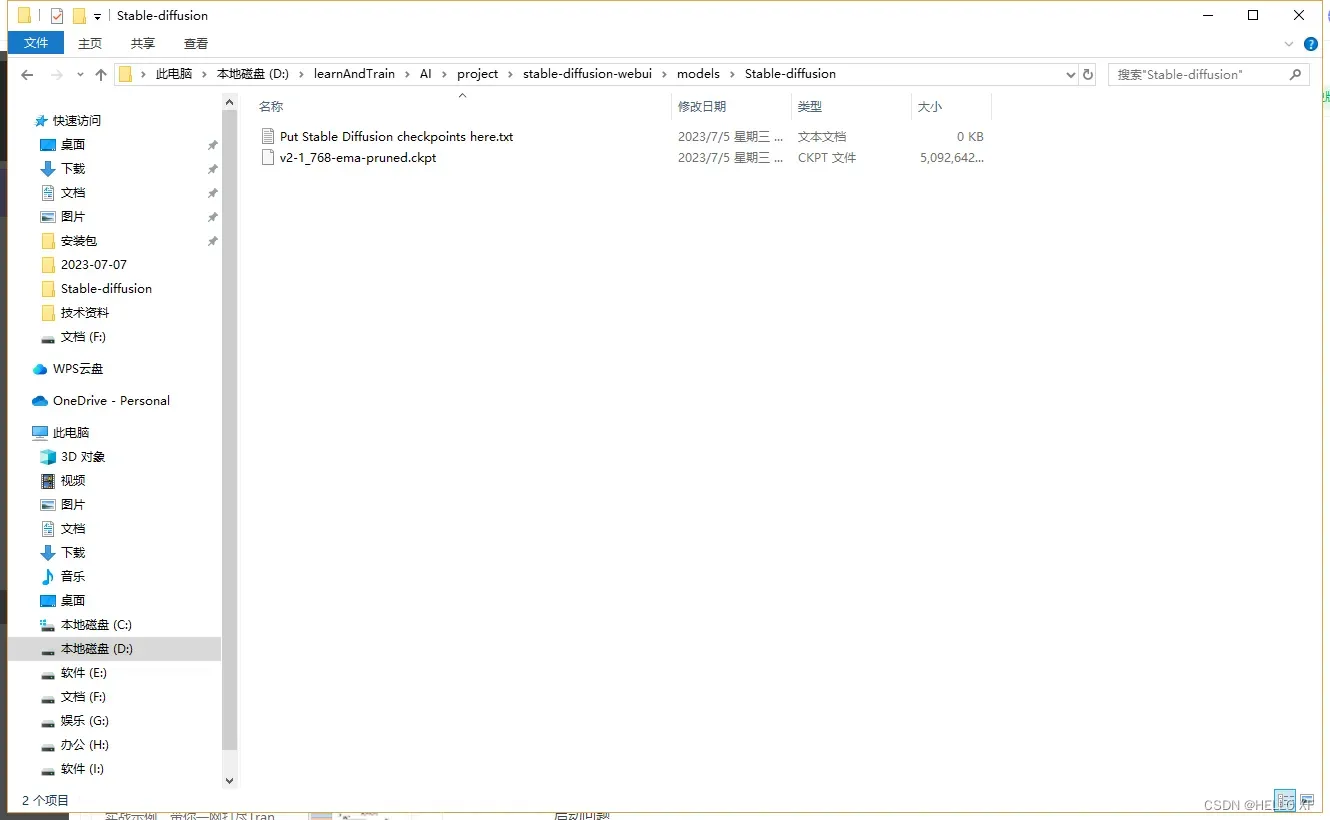
4. 从Hugging Face下载v2-1_768-ema-pruned.ckpt。 文件很大,因此需要一段时间才能下载完成
地址:https://huggingface.co/CompVis/stable-diffusion-v-1-4-original/tree/main
下载好之后,请把模型放置在sd-webui的models/stable-diffusion目录下
启动
点击stable-diffusion-webui文件夹下的webui.bat启动程序
问题处理
启动问题
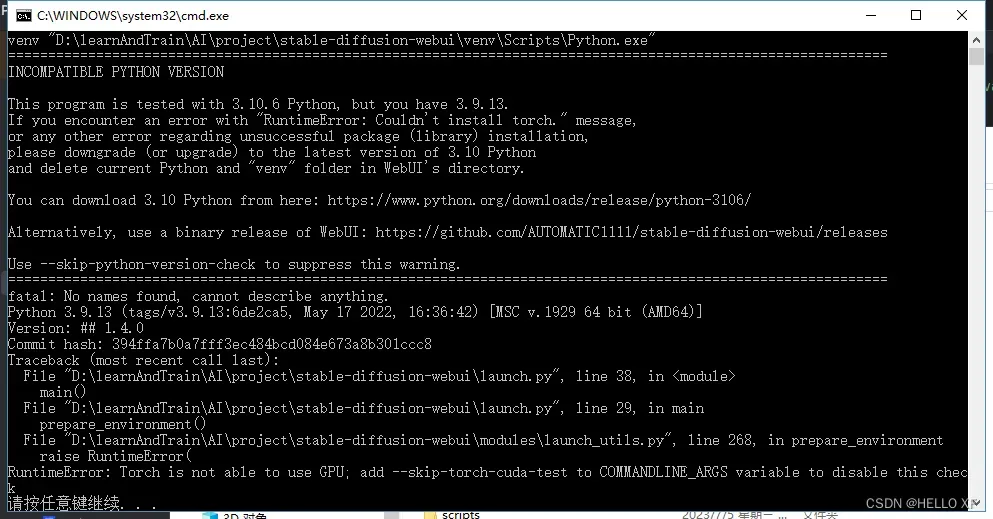
以上问题的原因是pytorch没安装好,或是版本不对应,获取不到GPU
安装适合CUDA版本的torch
Previous PyTorch Versions | PyTorch
安装正确的torch后,可以用以下代码测试是否torch能用上GPU
import torch
print(torch.__version__)
print(torch.cuda.is_available())
模型加载问题
异常内容:
Stable diffusion model failed to load
Loading weights [ad2a33c361] from D:\learnAndTrain\AI\project\stable-diffusion-webui\models\Stable-diffusion\v2-1_768-ema-pruned.ckpt
NansException: A tensor with all NaNs was produced in Unet. This could be either because there’s not enough precision to represent the picture, or because your video card does not support half type. Try setting the “Upcast cross attention layer to float32” option in Settings > Stable Diffusion or using the –no-half commandline argument to fix this. Use –disable-nan-check commandline argument to disable this check.
Time taken: 0.35s
Torch active/reserved: 3241/3642 MiB, Sys VRAM: 5970/8192 MiB (72.88%)
出现以上问题需要加启动参数
用记事本打开webui.bat,找到这一行
%PYTHON% launch.py %*
加三个参数,按我的改
%PYTHON% launch.py %* –disable-nan-check –precision full –no-half
第1个参数不改,stable diffusion跑不起来,第二个参数和第三个参数不加,图像生成后就是黑屏。
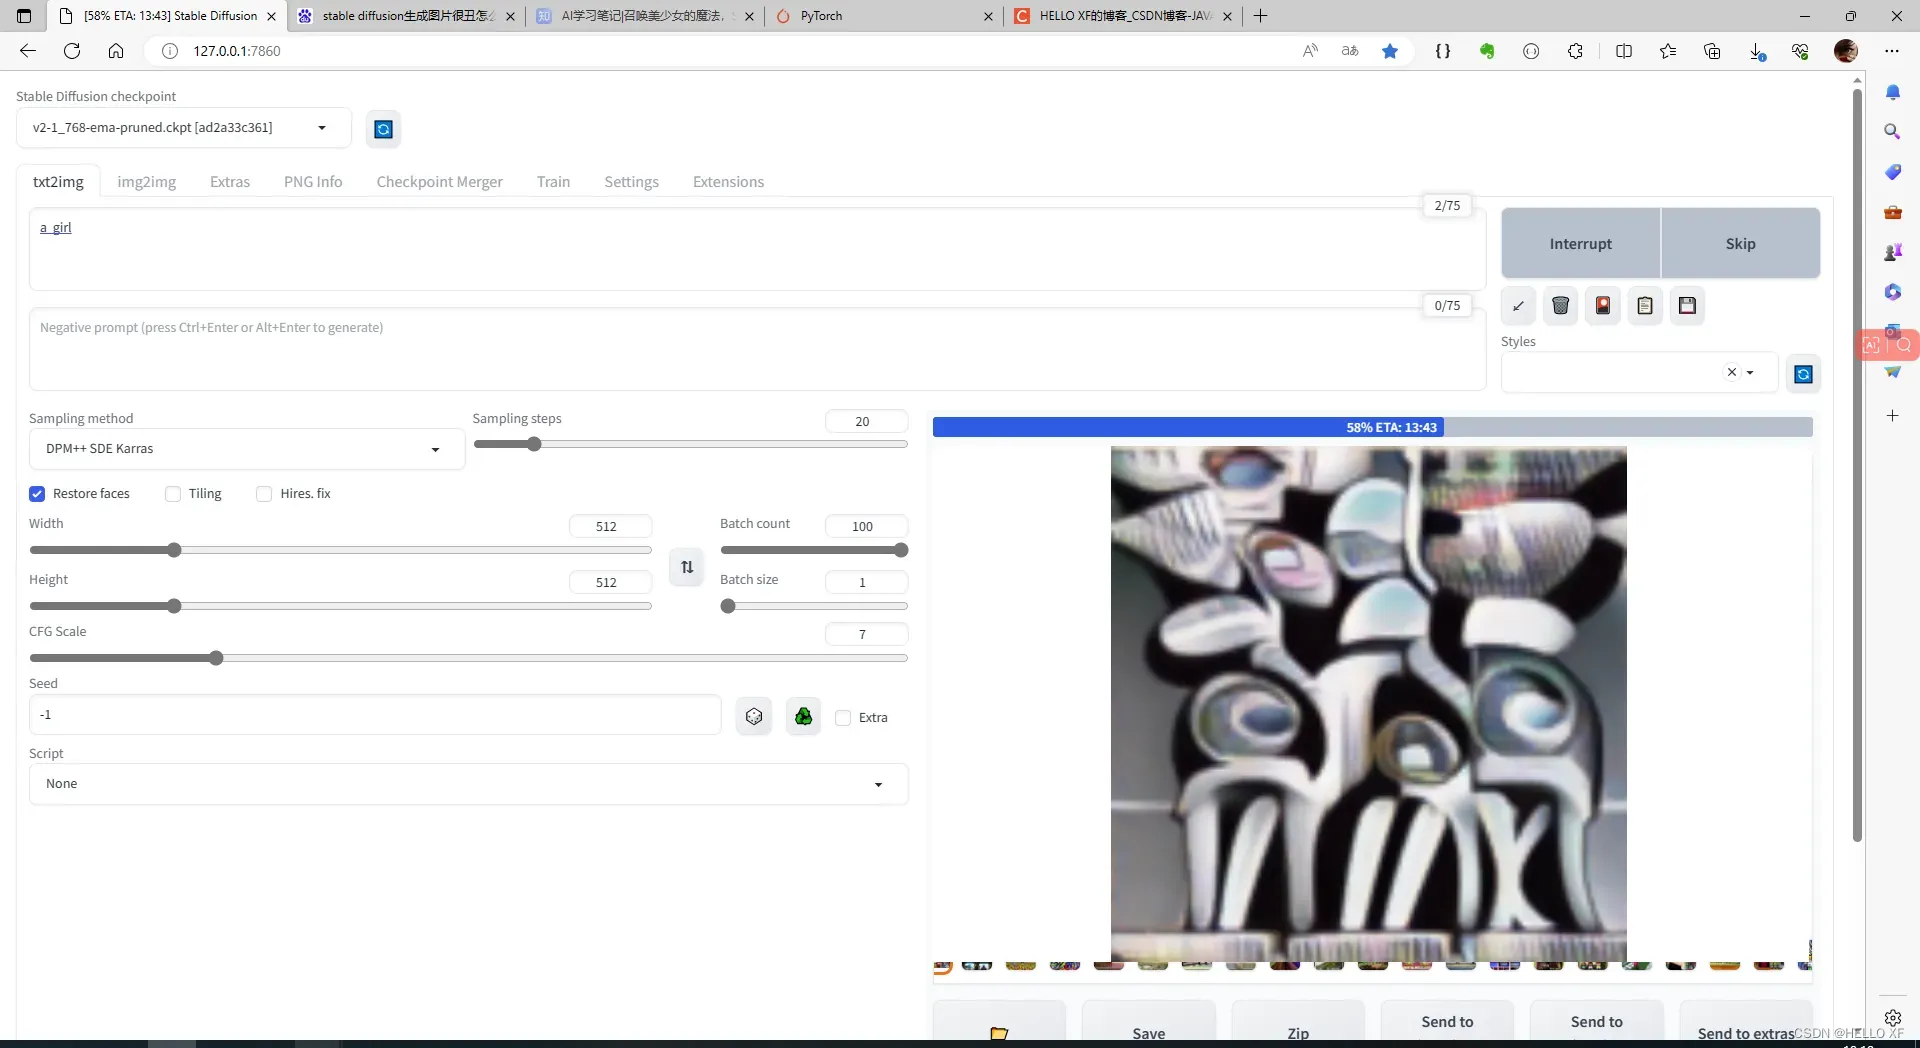
改完,再运行webui.bat,出现这个就对了:(划重点:127.0.0.1:7860,在浏览器里跑)
这是启动后界面
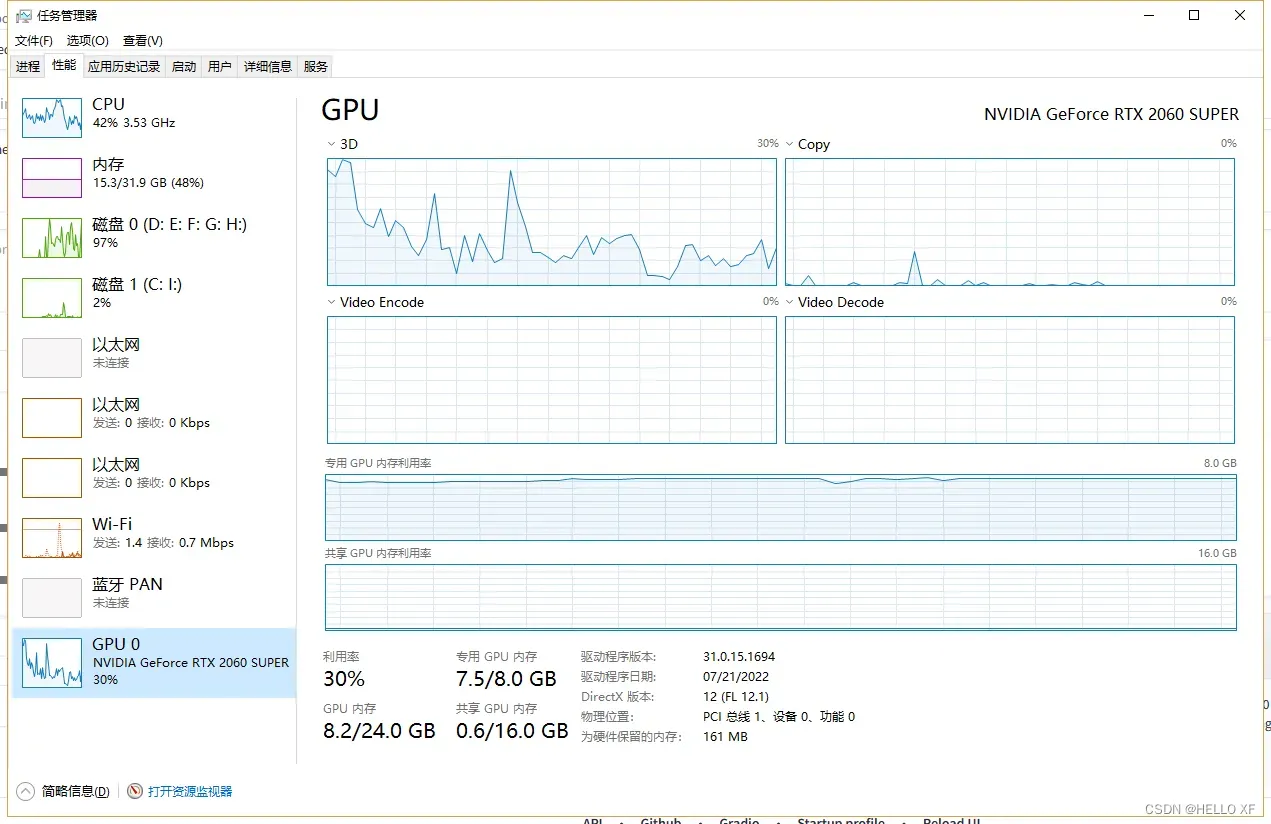
以下是运行时的系统状态截图
附几张生成的图片(咒语还不太会,图片略丑):


文章出处登录后可见!