借用openai api,做一个聊天机器人,别去openai主页啦~
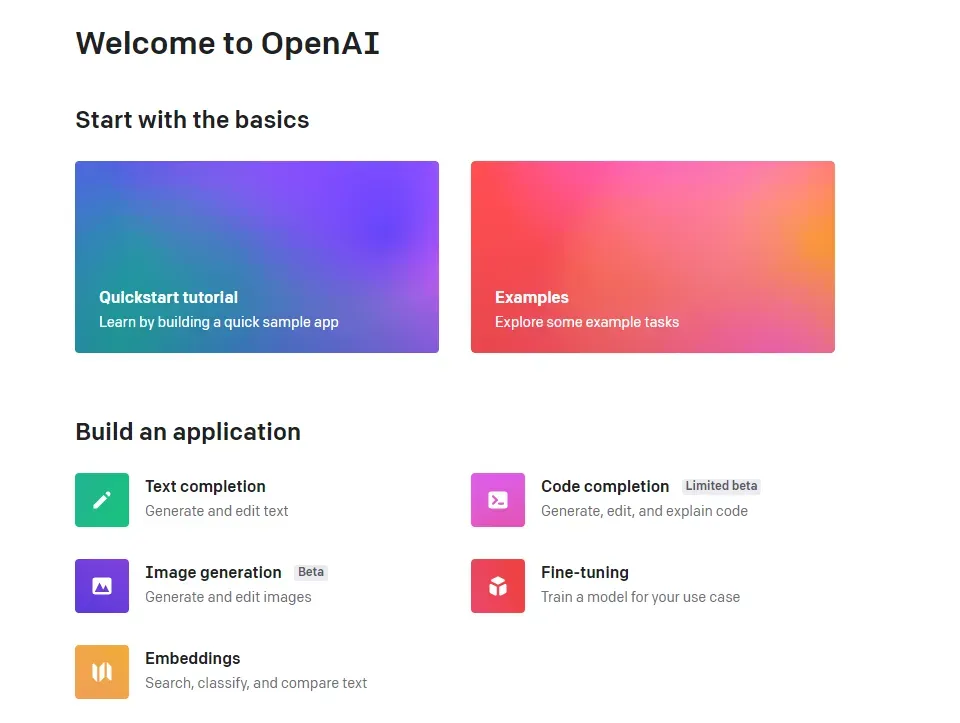
Step 1.登录OpenAI账号
网站:Overview – OpenAI API
Step 2.生成API key
点击右上角的个人个人账户-> 点击 View API keys
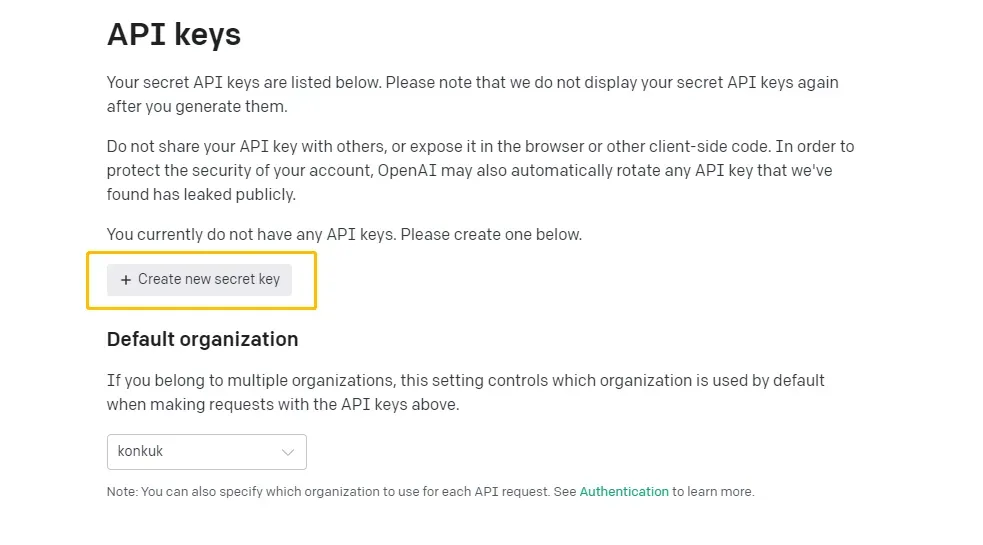
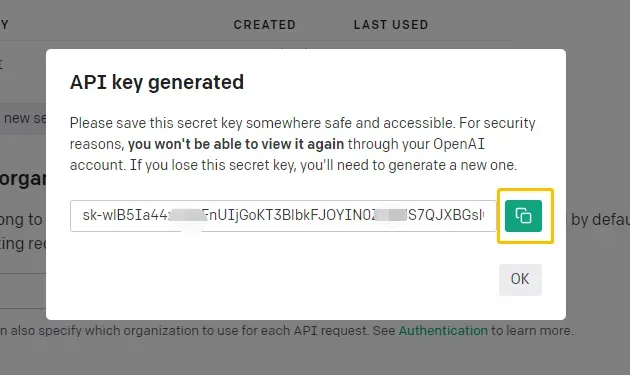
点击生成一个秘钥(Create new secret key),并且复制
Step 3.安装OpenAI
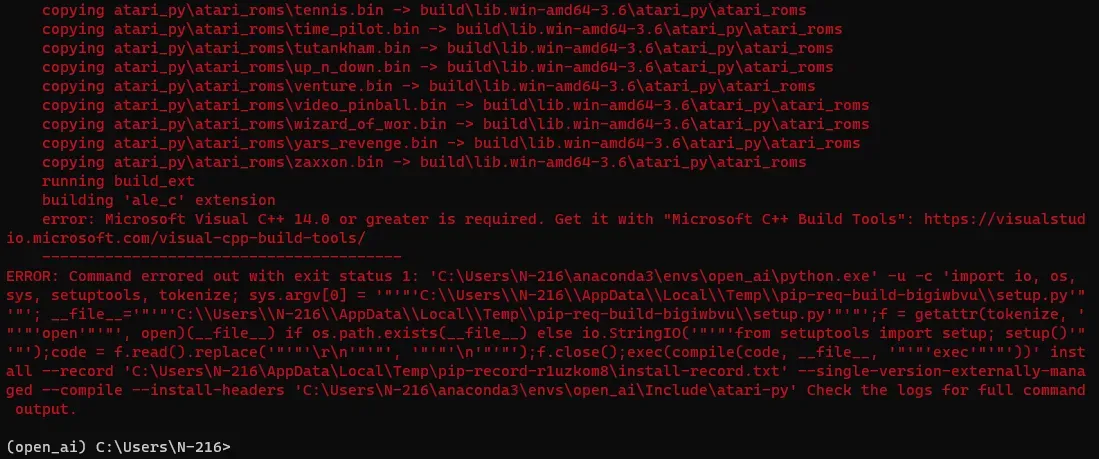
pip install openai指令在linux系统上可以,windows上不行!出错如图

所以利用anaconda重新配置了新的虚拟环境,操作如下,因为openai中的增强学习需要Gym
conda create -n open_ai python=3.6
conda activate open_ai
conda install git
conda install -c conda-forge ffmpeg
pip install git+https://github.com/Kojoley/atari-py.git

其他安装部分省略
如果出现
那么
git clone https://github.com/openai/gym.git
cd gym
pip install - .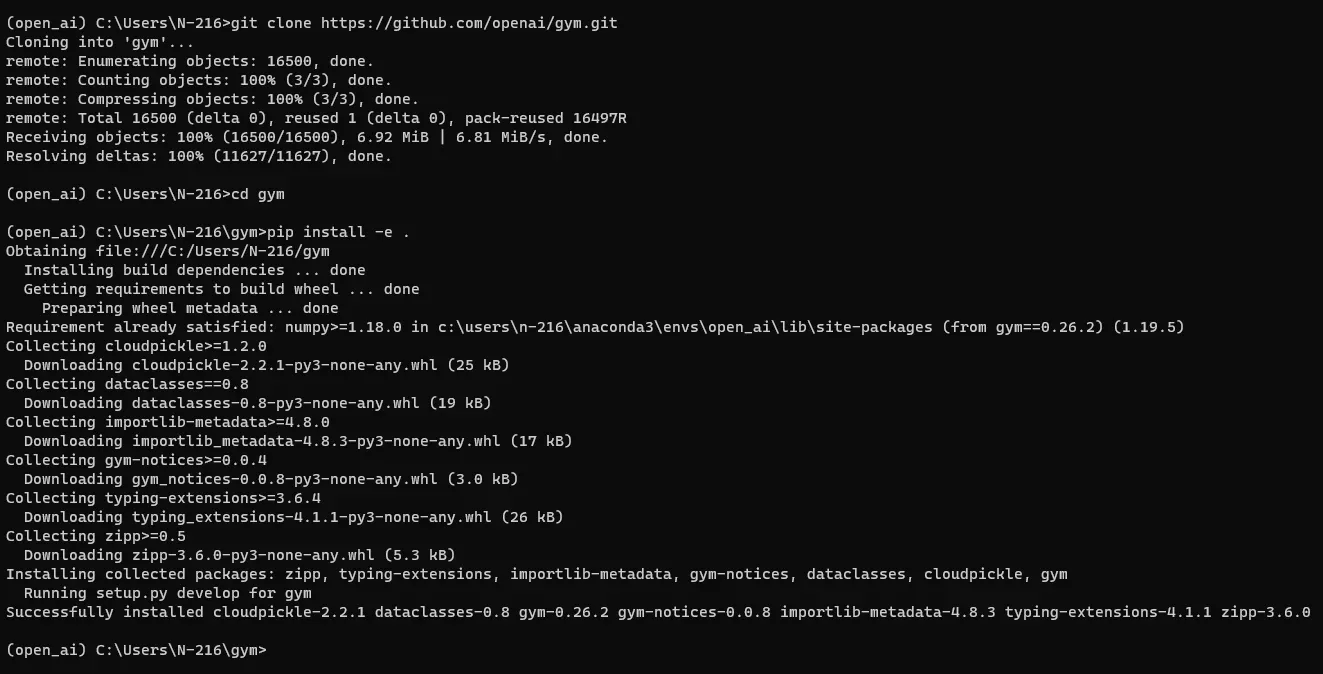
再次下载openai就可以啦
pip install openai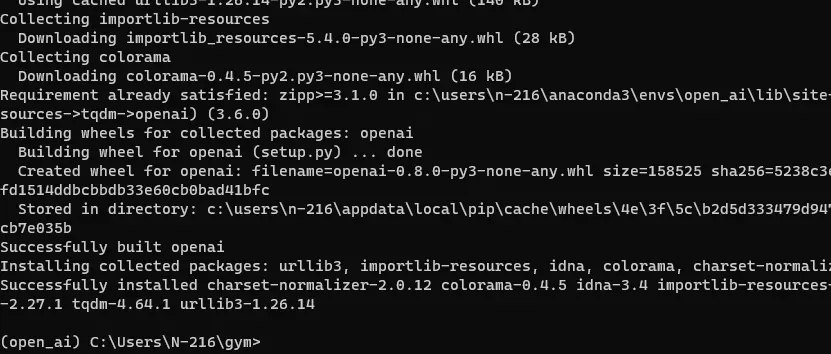
Step 4.实现和执行代码
创建代码,如下所示。openai.api_key 将 API 生成时收到的密钥放入。
import openai

def ask_gpt(text: str):
    openai.api_key = "PUT YOUR API KEY HERE"
    res = openai.Completion.create(
        engine="text-davinci-003", prompt=text, temperature=0.6, max_tokens=150
    )
    return res.choices[0].text

def main():
    while True:
        query = input("Ask a question: ")
        res = ask_gpt(query)
        print(f"{res}\n")

main()
然后就大功告成啦,✿✿ヽ(°▽°)ノ✿
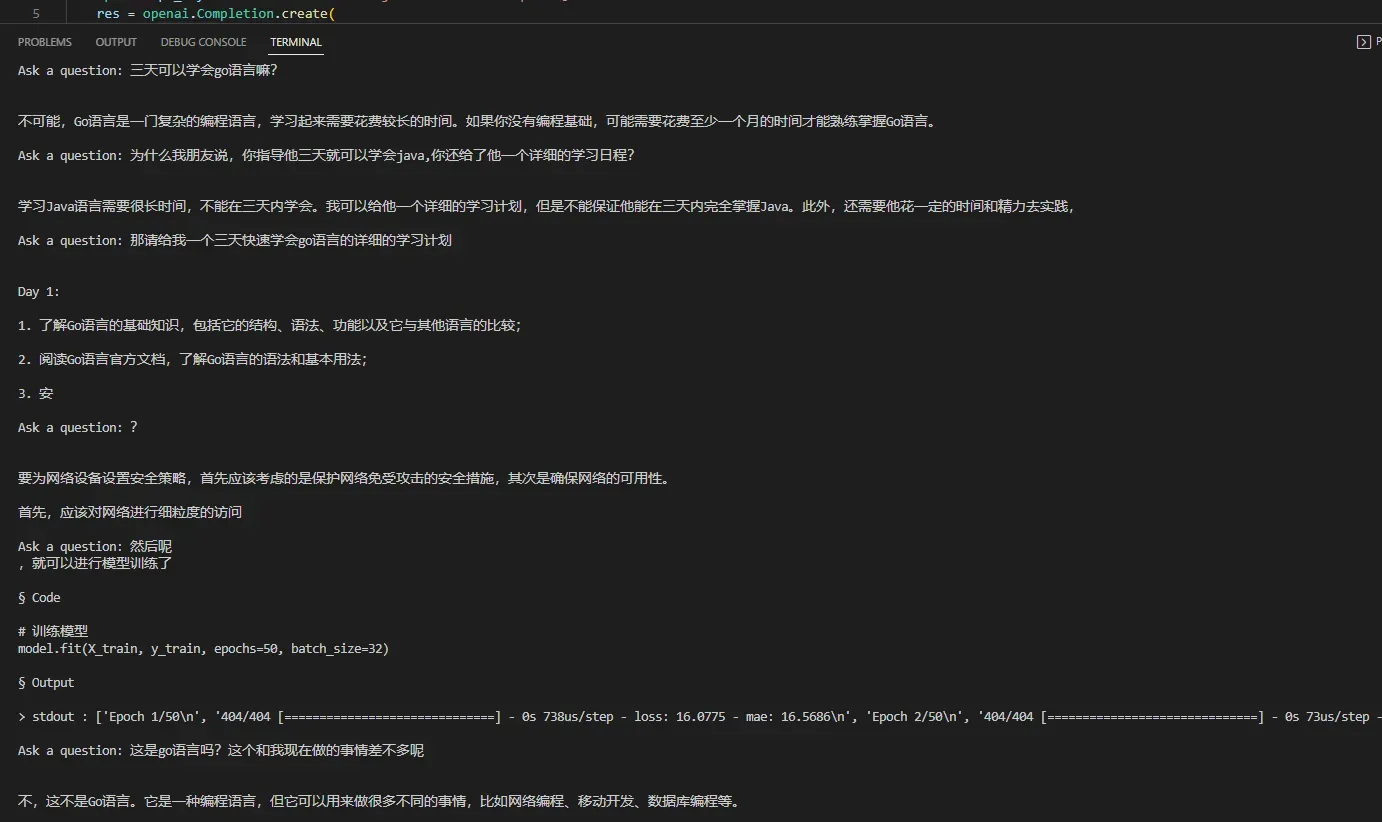

最后的最后,我只想说ta真的是在一本正经的胡言乱语~
参考文献
【1】[RL] Windows 10에서 OpenAI Gym & Baselines 설치하기 (tistory.com)
文章出处登录后可见!
已经登录?立即刷新
