transforms的相关操作(Pytorch)
日志:
2022.6.18:加入transforms.TenCrop()
一、图像的相关变化
1、格式转换
(1)transforms.ToTensor()
可将PIL格式、数组格式转换为tensor格式
img_path = "E:\expression_recognition\\2.jpg"
img = Image.open(img_path)  # #数组类型PIL类型都可
a1 = transforms.ToTensor()
img_tensor = (img)
(2)transforms.ToPILImage()
将tensor格式 或者 数组类型的数据转换为 PIL 格式
img_path="E:\expression_recognition\\1.jpg"
img = Image.open(img_path)
img_array = numpy.array(img)
a1 = transforms.ToTensor()
img_tensor = a1(img)

# 1、数组转换为PIL格式
a2 = transforms.ToPILImage()
img_array = numpy.uint8(img_array)  # 满足类型需求
img_PIL = a2(img_array)

# 2、tensor转换为PIL格式
img_tensor = img_tensor.float()  # 满足类型需求
img_PIL = a2(img_tensor)
(3)transforms.Normalize()
注意该操作只能对tensor格式进行操作,因此放transforms.ToTensor()之后
对图像进行标准化处理
| 括号中的值 | transforms.Resize() |
|---|---|
| mean,std | 以三通道为例:[0.5,0.5,0.5],[0.5,0.5,0.5] |
2、图像大小和颜色变换
(1)transforms.Resize()
可对tensor类型,PIL类型进行缩放,不可对数组类型进行缩放
| 括号中的值 | transforms.Resize() |
|---|---|
| W | 图片缩放为(W*W) |
| (H,W) | 图片缩放为(H*W) |
a = transforms.Resize([256,512])   # [H,W]
img_resize = a2(img)
img_resize.show()

(2)transforms.ColorJitter()
可对tensor类型,PIL类型进行修改,不可对数组类型进行修改
| 括号中的值 | transforms.ColorJitter(brightness, contrast, saturation, hue) |
|---|---|
| brightness | 亮度 |
| contrast | 对比度 |
| saturation | 饱和度 |
| hue | 色调 |
a3 = transforms.ColorJitter(brightness=0.5, contrast=0.5, saturation=0.5, hue=0.5)
img_colorjitter = a3(img)
img_colorjitter.show()
左端原图,右端变换完的图

(3)transforms.Grayscale()和transforms.RandomGrayscale()
可对tensor类型,PIL类型进行修改,不可对数组类型进行修改
| 功能 | |
|---|---|
| transforms.Grayscale() | 将图像变为灰度图像 |
| transforms.RandomGrayscale() | 将图像随机变为灰度图像 |
a4 = transforms.Grayscale(num_output_channels=1)
img_grayscale = a4(img)
img_grayscale.show()
a5 = transforms.RandomGrayscale(p=0.1)
img_randomgrayscale = a5(img)
img_randomgrayscale.show()

3、图像的裁剪与旋转
(1)随机裁剪transforms.RandomCrop()
可对tensor类型,PIL类型进行修改,不可对数组类型进行修改
随机裁剪有很多参数,但是目前用到的只有这一种参数
| 参数 | 功能 |
|---|---|
| size | 按照所给的size大小进行裁剪,size可以是(h,w)或直接是w |
import matplotlib.pyplot as plt
# 解决中文显示问题
plt.rcParams['font.sans-serif'] = ['SimHei']
plt.rcParams['axes.unicode_minus'] = False
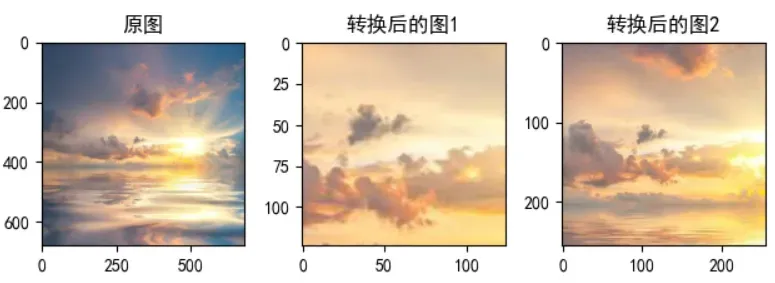
a6 = transforms.RandomResizedCrop((124,124))
a7 = transforms.RandomResizedCrop(256)
img_randomresizedcrop1 = a6(img)
img_randomresizedcrop2 = a7(img)
plt.subplot(1,3,1),plt.imshow(img),plt.title("原图")
plt.subplot(1,3,2),plt.imshow(img_randomresizedcrop1),plt.title("转换后的图1")
plt.subplot(1,3,3),plt.imshow(img_randomresizedcrop2),plt.title("转换后的图2")
plt.show()

(2)中心裁剪transforms.CenterCrop()
可对tensor类型,PIL类型进行修改,不可对数组类型进行修改
与随机裁剪基本一样,只不过是从中心进行裁剪
| 参数 | 功能 |
|---|---|
| size | 按照所给的size大小进行中心裁剪,size可以是(h,w)或直接是w |
(3)随机长宽比裁剪transforms.RandomResizedCrop()
可对tensor类型,PIL类型进行修改,不可对数组类型进行修改
主要用到以下两个参数:
| 参数 | 功能 |
|---|---|
| size | 输出的分辨率大小 |
| scale | 随机crop的大小区间,如scale=(0.8, 1.0)(前面是h的倍数,后面是w的倍数),表示随机crop出来的图片会在的0.8倍至1倍之间 |
import matplotlib.pyplot as plt
# 解决中文显示问题
plt.rcParams['font.sans-serif'] = ['SimHei']
plt.rcParams['axes.unicode_minus'] = False
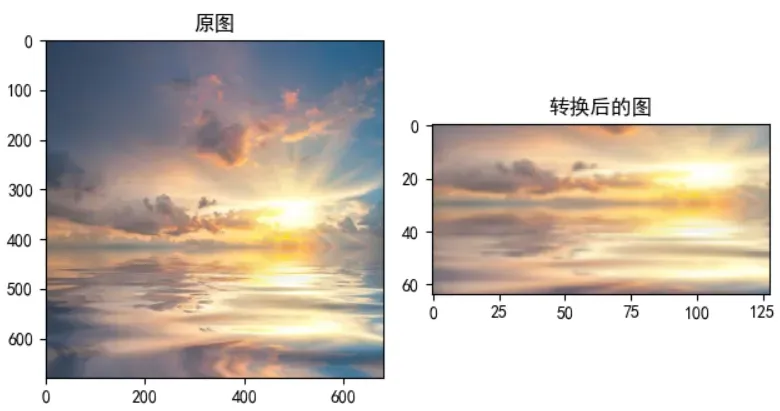
a6 = transforms.RandomResizedCrop((64,128), scale=(0.08, 1.0))
img_randomresizedcrop = a6(img)
plt.subplot(1,2,1),plt.imshow(img),plt.title("原图")
plt.subplot(1,2,2),plt.imshow(img_randomresizedcrop),plt.title("转换后的图")
plt.show()
(4)10次裁剪transforms.TenCrop()
裁剪图片的中间部分和四个角并进行翻转得到四张图片(默认水平翻转)
| 参数 | 功能 |
|---|---|
| size | 裁剪图片的大小 |
| vertical_flip | 是否垂直翻转 |
默认采用水平翻转,第一张为原图
a7 = transforms.TenCrop(224)
img1 = a7(img)
plt.figure(figsize=(20,18))
plt.subplot(3,4,1),plt.imshow(img),plt.title(1)
for i in range(0,10):
    plt.subplot(3,4,i+2),plt.imshow(img1[i]),plt.title(str(i+1))
plt.show()

文章出处登录后可见!
已经登录?立即刷新